A Guide To Taking Photos At Any Time Of Day
I’ll get to that title in a minute. As it’s a new year, I thought to myself, nothing would start this year off quite like giving myself another creative activity to attempt to accomplish routinely. As a teacher and creative person, I guess I really can’t help myself. That’s why this blog will endeavor to educate and teach you, as well as others about photography. And maybe sometimes about other things, too. Idk. We’ll see.
Anyway, this is my first official post and I have absolutely made it too long and very detailed. As I do. But, if you get through it, you may actually walk away from your computer, or more likely your phone having gained a minutiae of knowledge that may even help you along your own journey with photography. I don’t like the word journey. It isn’t really a quest either. Experience? No. Whatever. You might learn some stuff and it might actually be about photography and I hope you enjoy reading this as much as I’ve enjoyed writing it.
Now, Back To This Post’s Title
This is a guide of sorts, and possibly a declaration on taking photos in whatever light is available at any given time. You, like anyone learning photography, want to get better. You watch videos and read posts that constantly tell you how golden hour is the absolute best (and only) time to photograph. You’ve probably heard that if you want all the followers and all the likes, you have to shoot everything in the late afternoon and early evening. Well, in case the title of this post hasn’t already spoiled it for you, golden hour is just an hour out of the day and, you guessed it, there are other hours of the day to shoot.
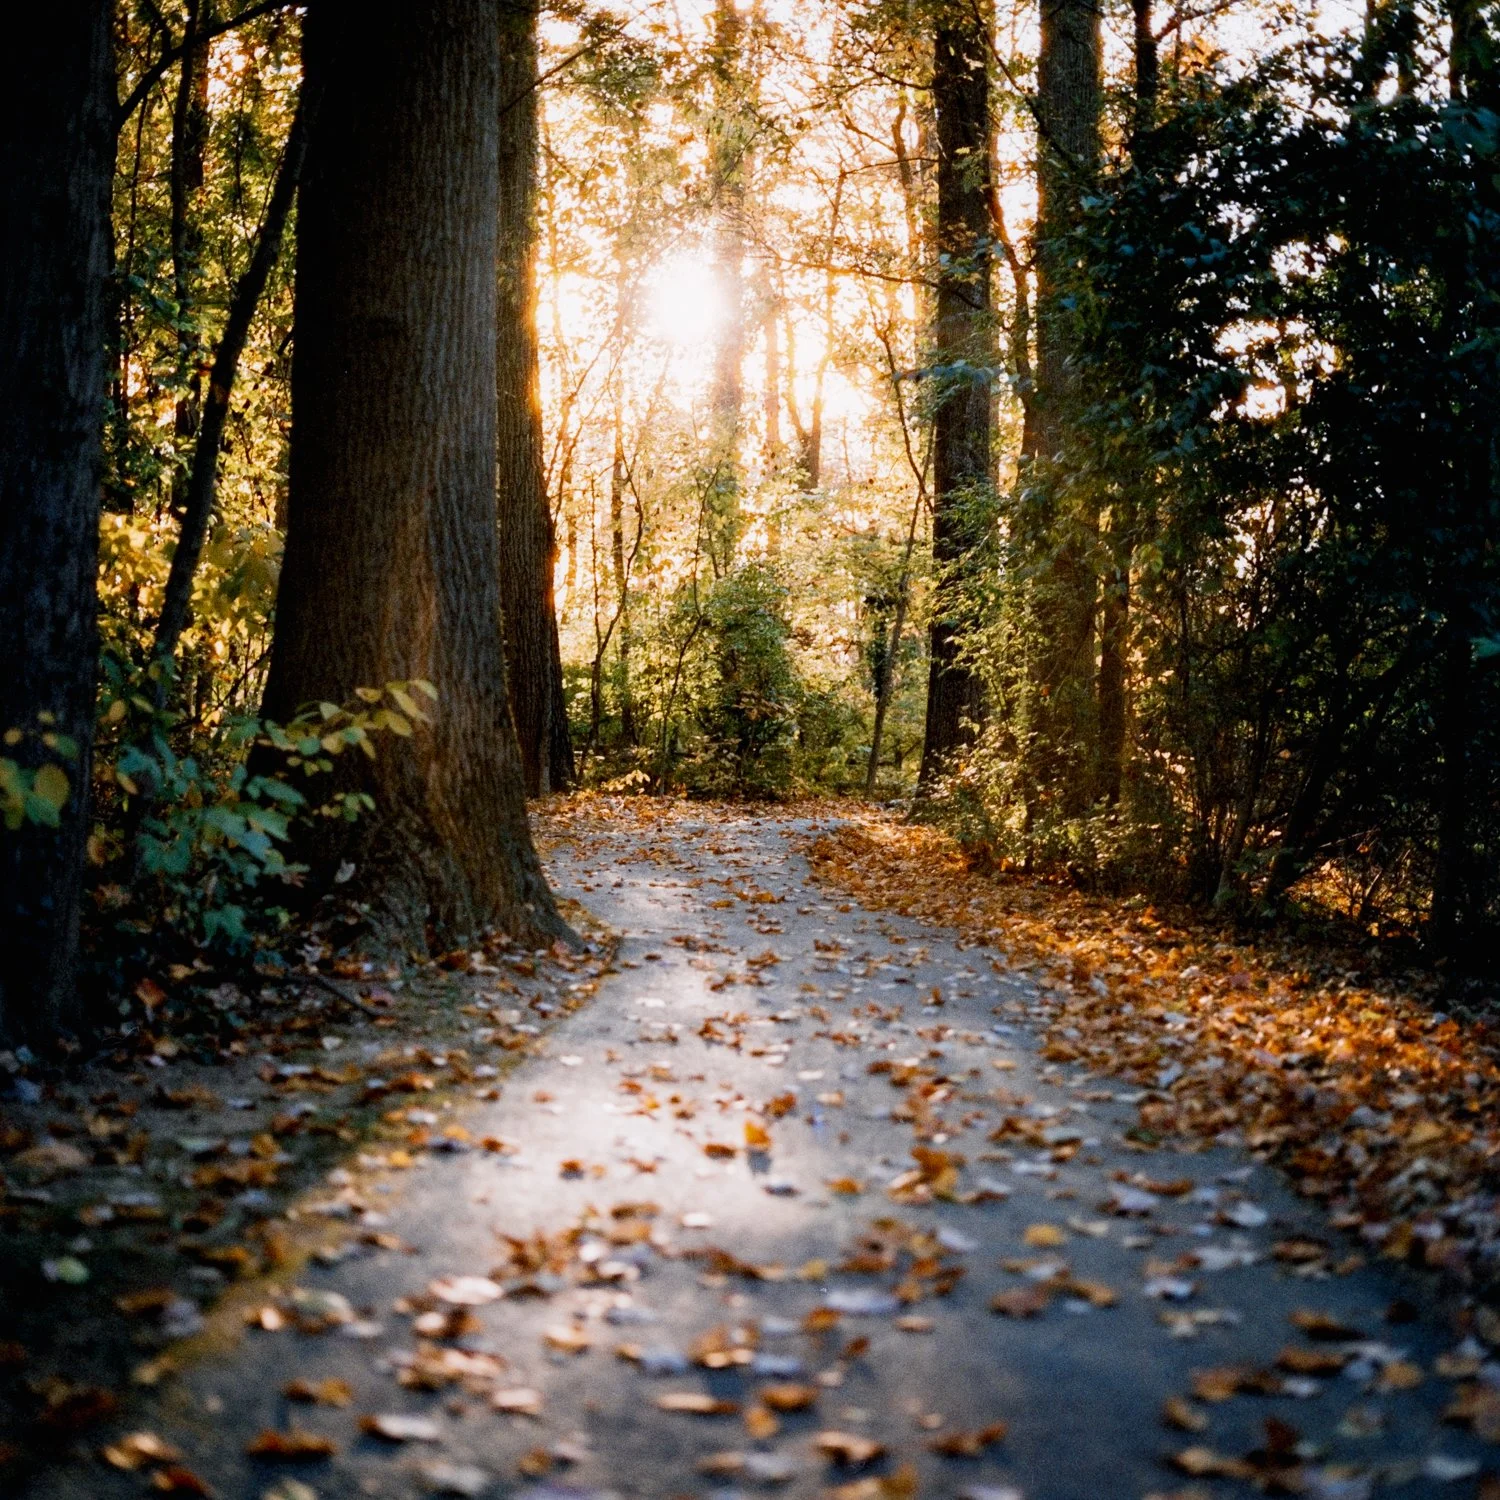
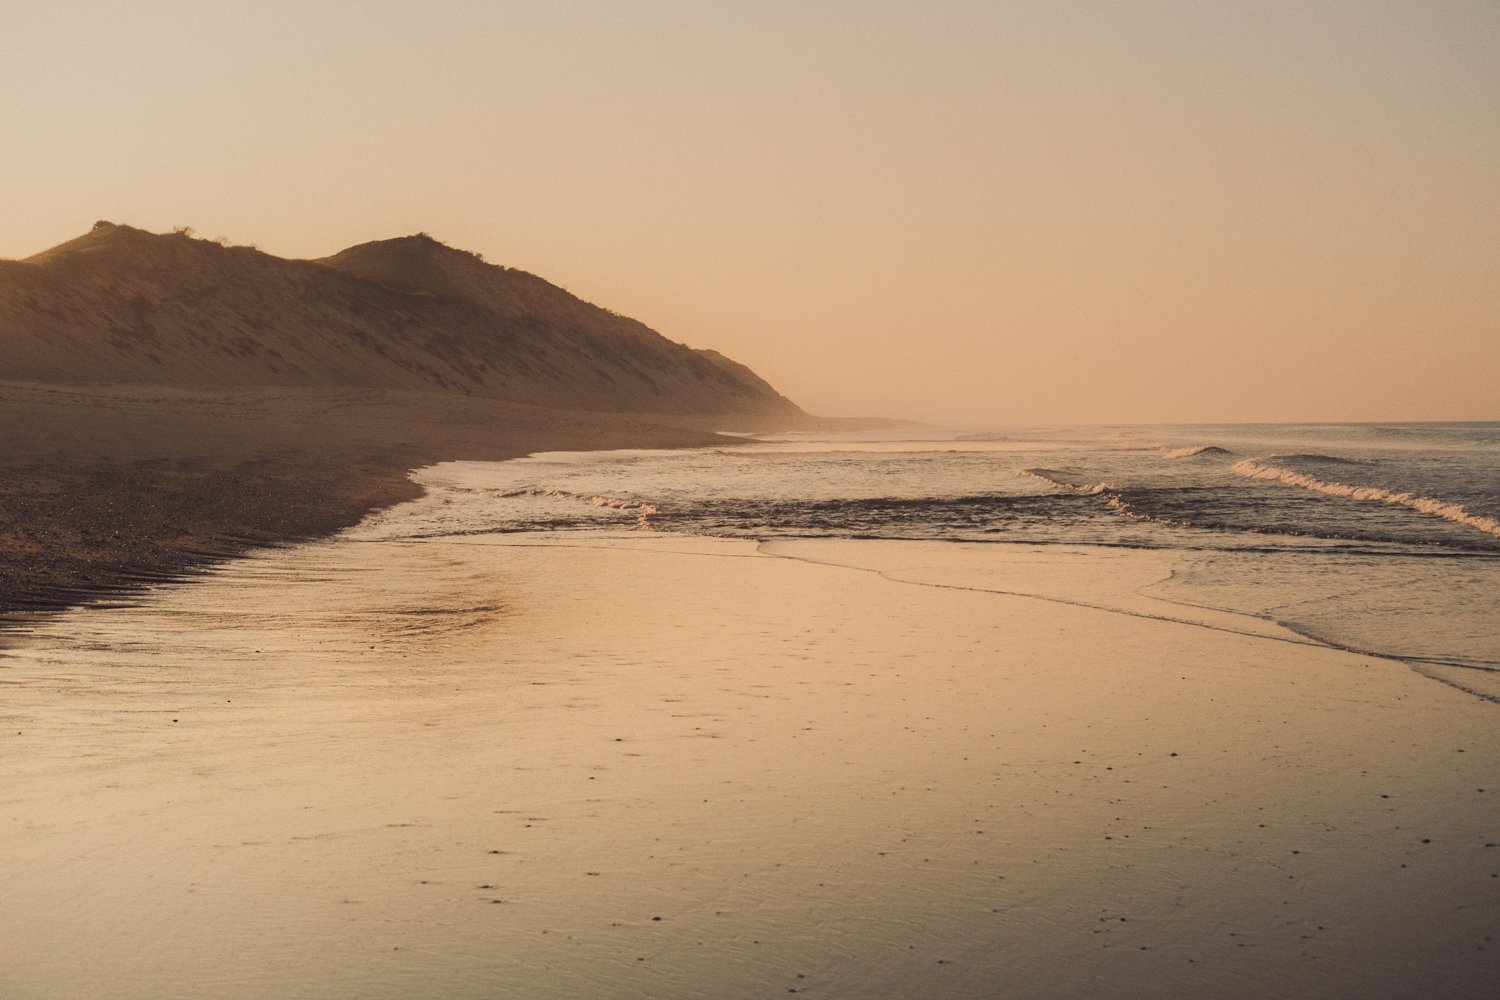
Sure, it is a beautiful time to shoot, and I do it just like any other photographer. But, you can’t become the photographer you hope to be if you restrict yourself to just an hour or so per day to photograph in. I mean, sure I guess you can, but then you end up trapping yourself and your progress will be slow and your skillset narrow. All of your photos will inevitably look the same. You will get so comfortable shooting that way, it will become easy and boring. You will lose interest in photography. You might think, it is too late to try something new. Sorry… that was a bit of a rabbit hole. Whether you are new to photography, or have been doing it for a while now, trying something new and breaking out of your comfort zone is going to make you a better photographer.
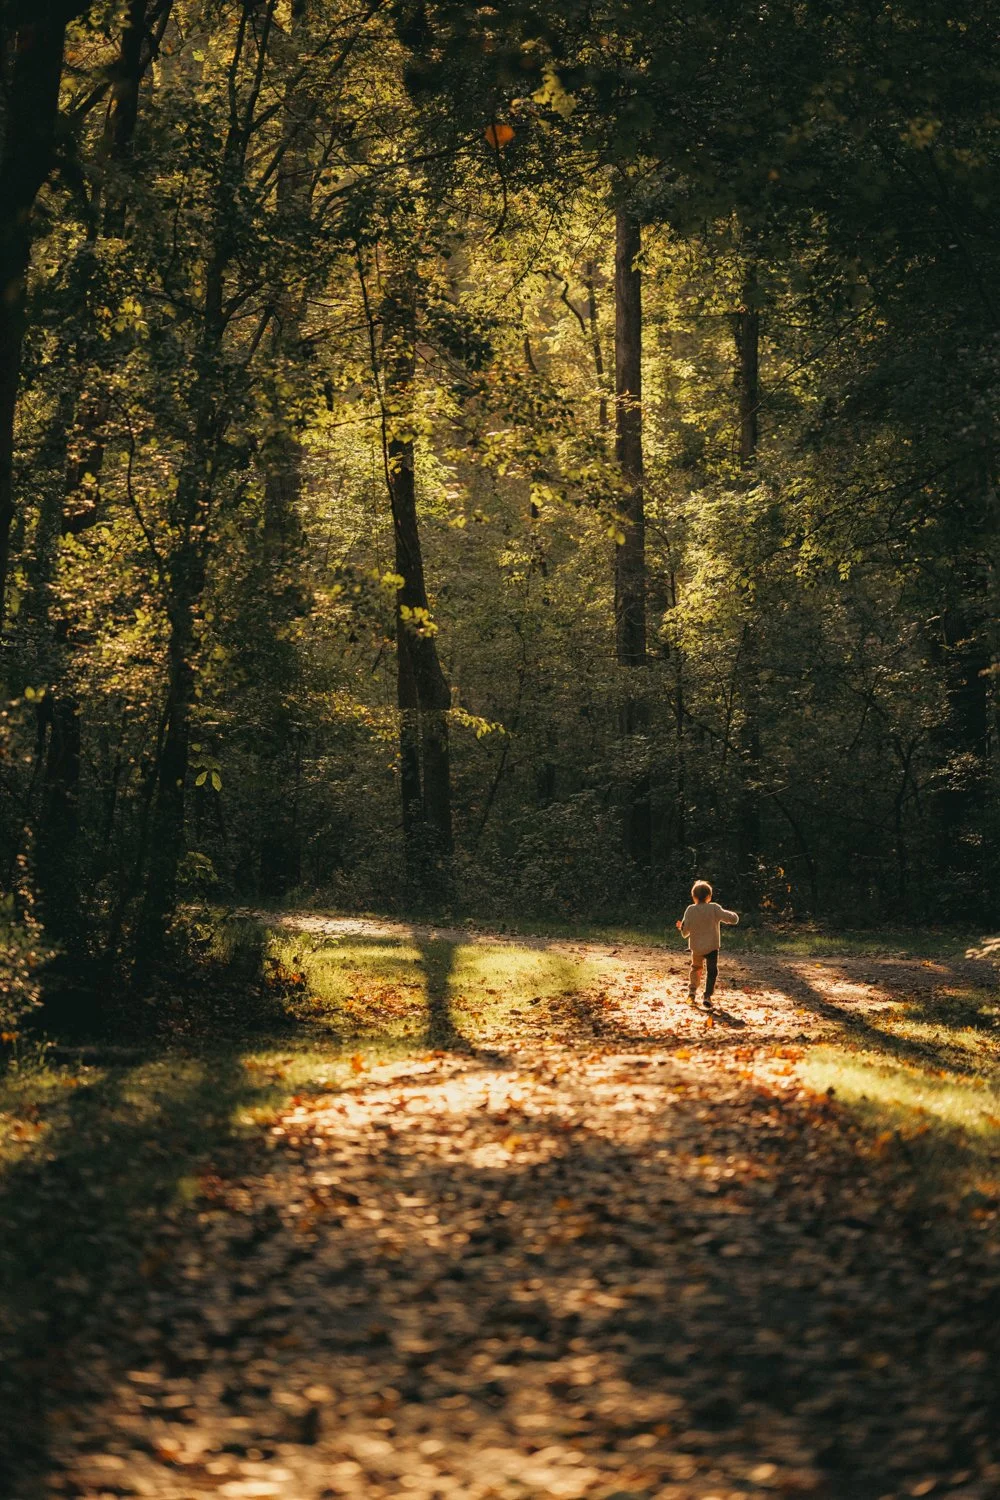
Start learning how to shoot in any light. Learn how to use artificial light. Learn how to use all the different variations of natural light. Why not learn how to shoot in both, together? Even if you ultimately stick with natural light, or you become a studio photographer, the more you know, the better it makes you. Besides, knowing how to manipulate any form of light to get the best possible photo translates to whatever scenario you are shooting in. Try to go at it with an open mind and some patience. You are going to take some terrible photos at first. That is the whole point, though. Take bad ones, learn from them, try again, get better. And I’m here to help get you started. If there’s light, there’s hope.
Bright, Harsh Midday Light
A lot of photographers will shy away from shooting in bright, harsh midday light. I get it. The shadows can be heavy and unflattering and the highlights can blow out real fast. It all can be very distracting. So what? Who said that is wrong? Yeah, maybe it does look bad. Maybe it’s because you haven’t tried some different methods to push the boundaries of shooting in this type of light. There are no real hard-and-fast rules to photography, as it is an art form. Let these ‘rules’ or ‘guidelines’ be more like suggestions and don’t worry about not following them too closely. What’s the saying? You have to crack some eggs if you want to make an omelette?
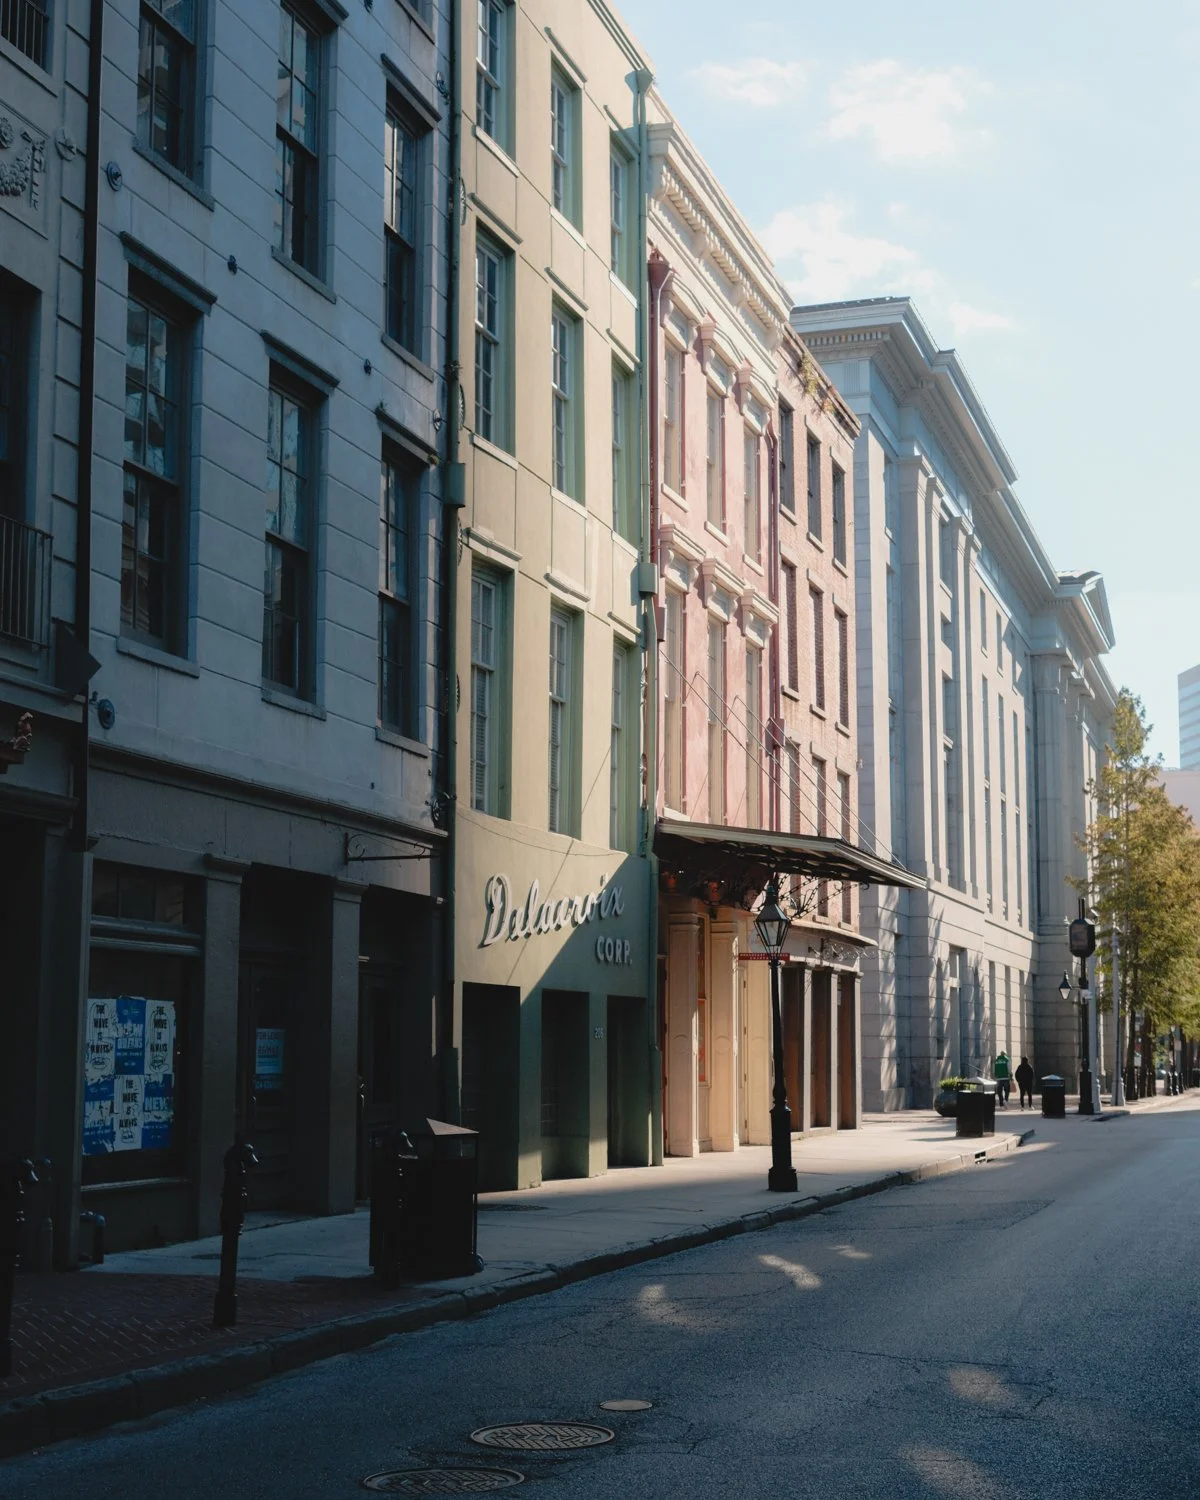
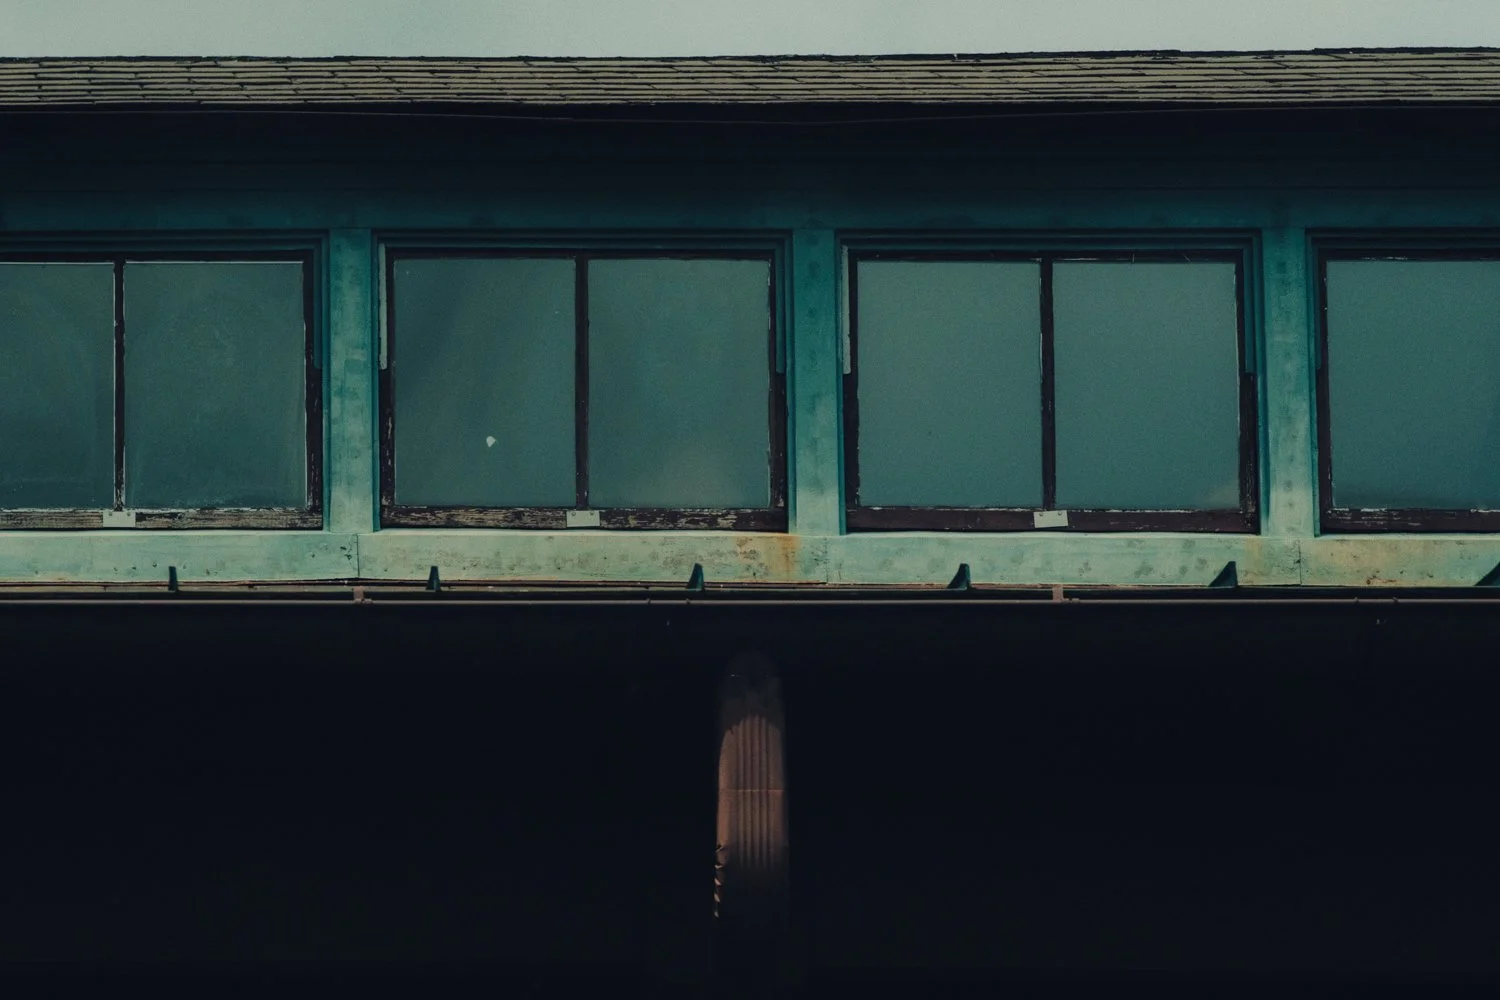
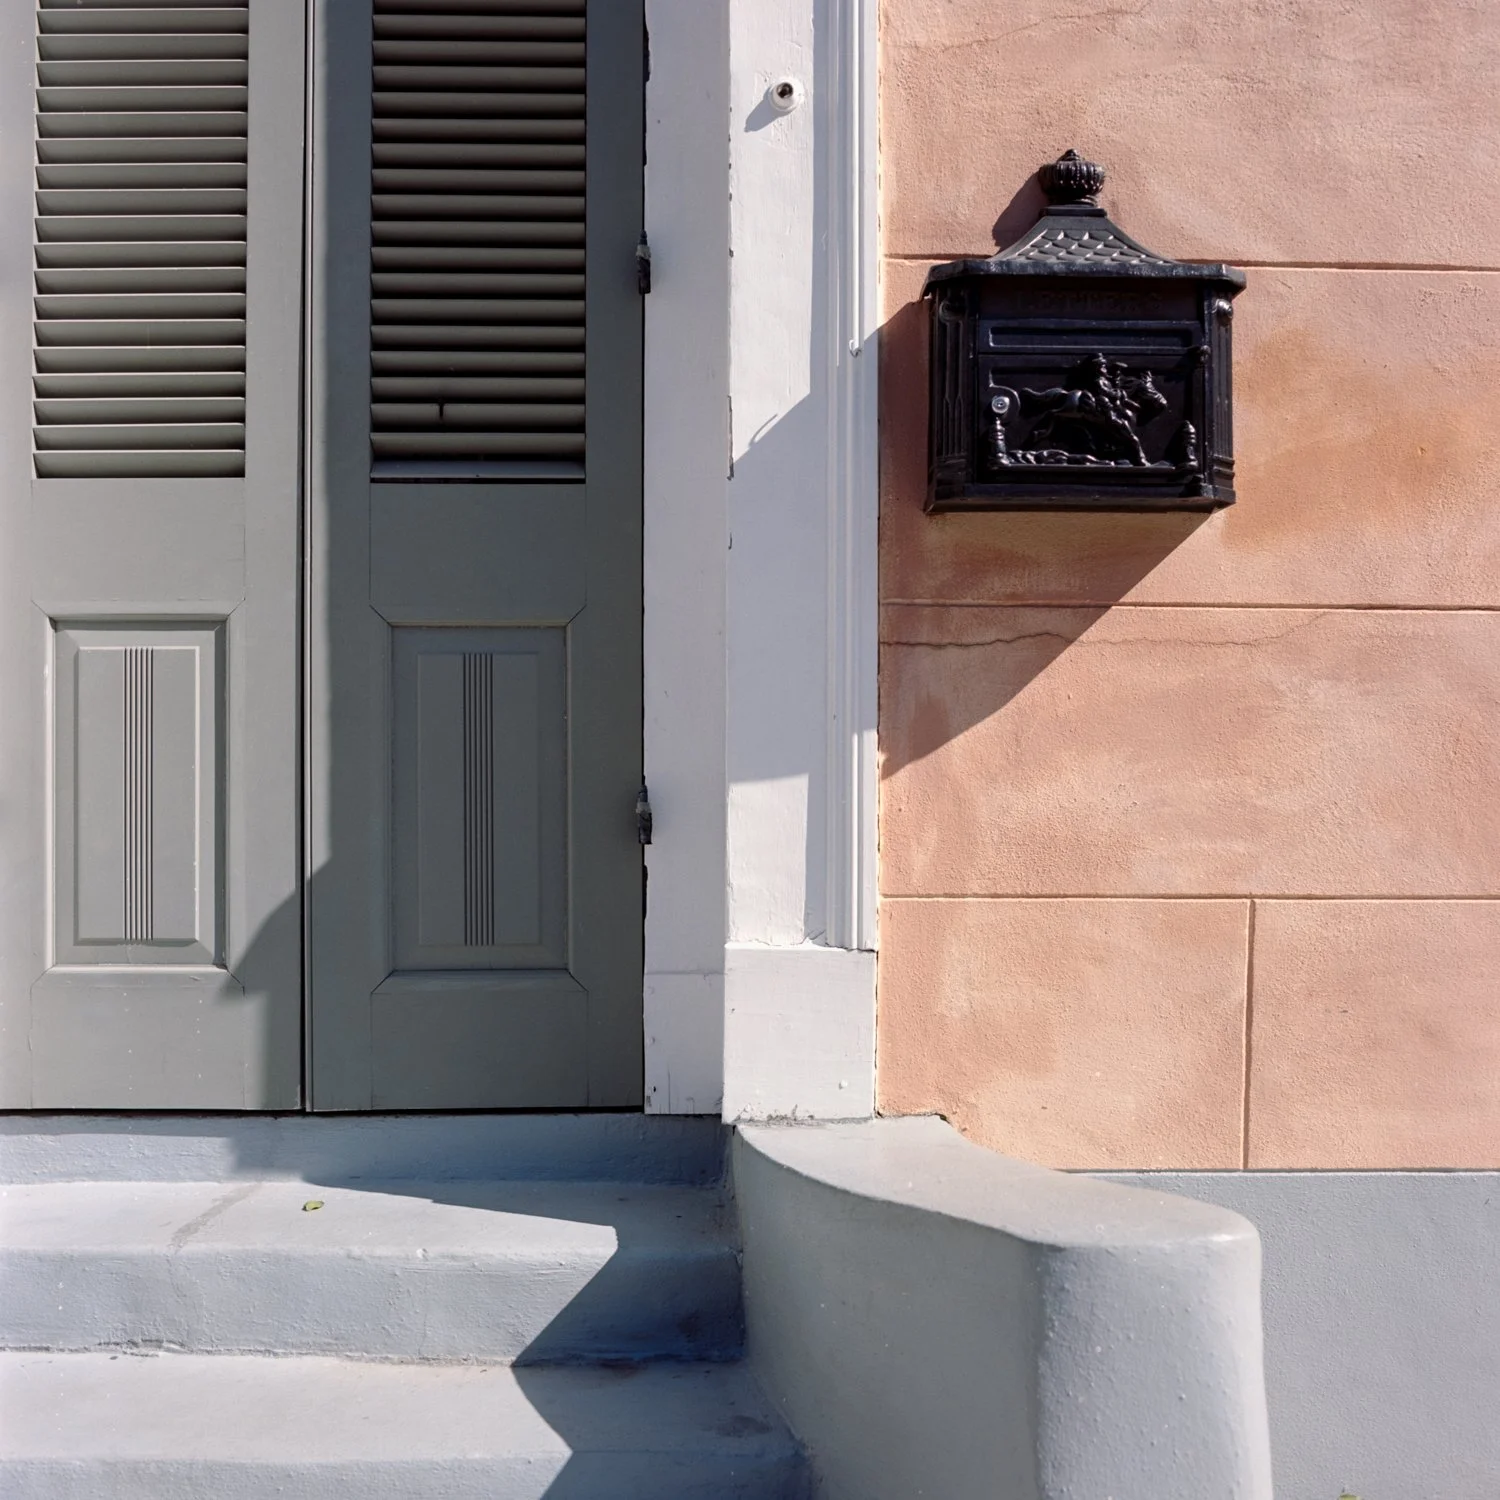
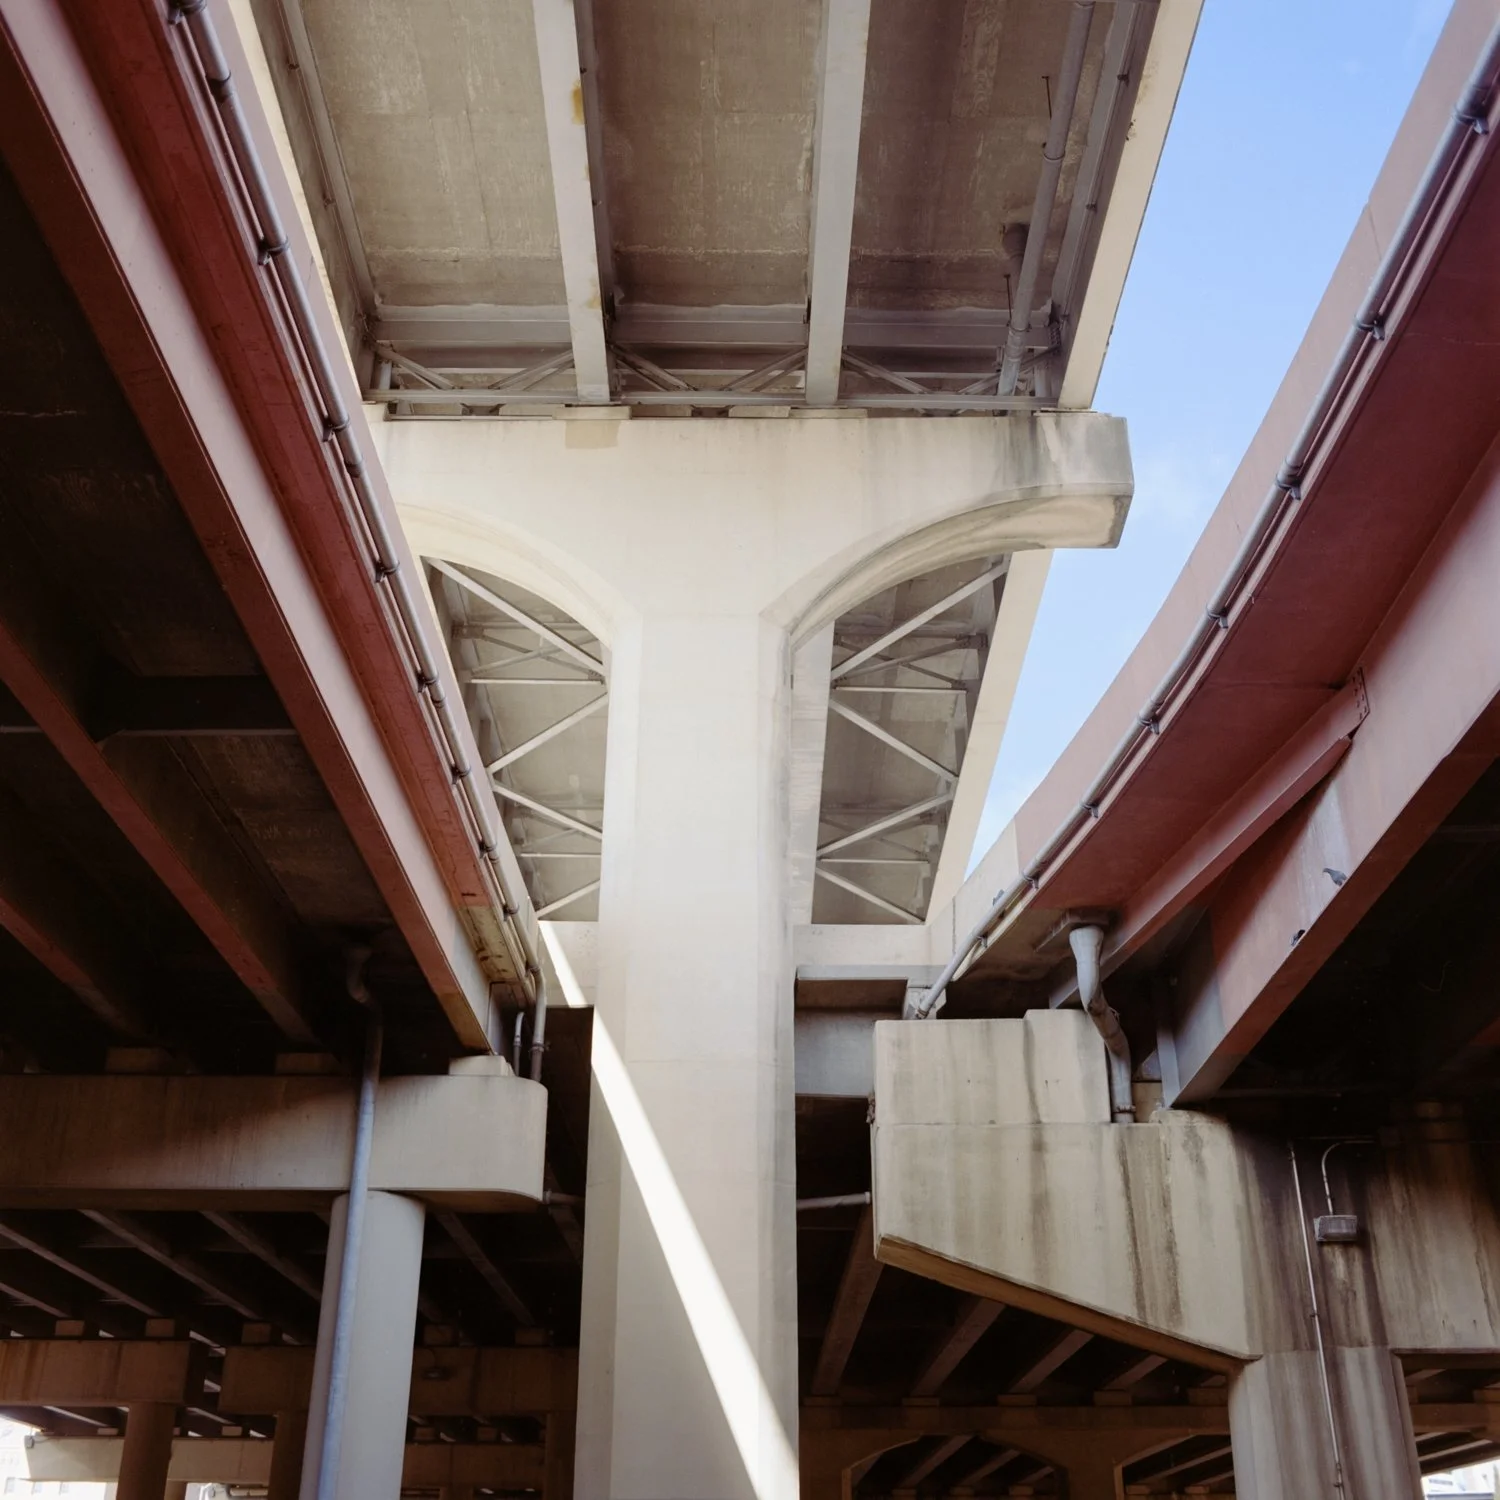
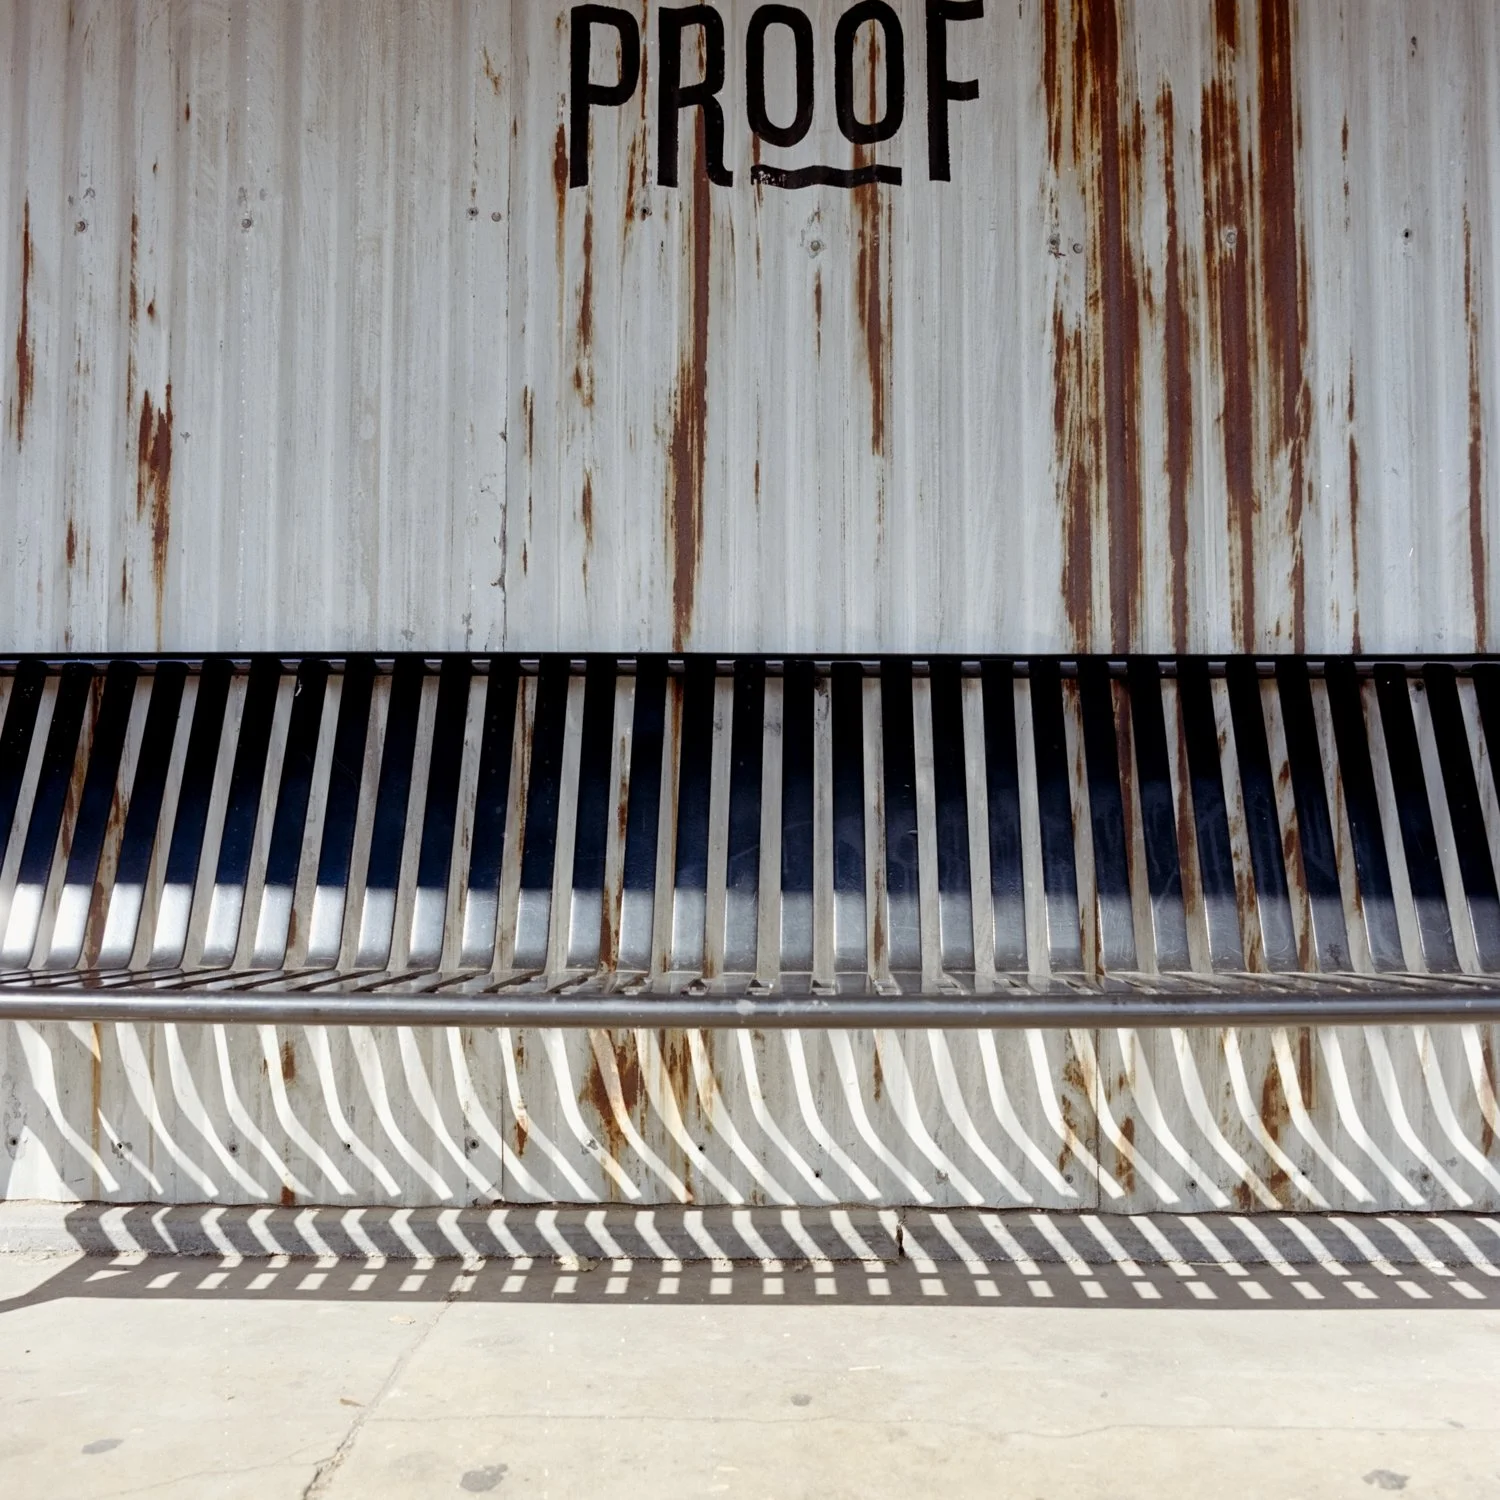
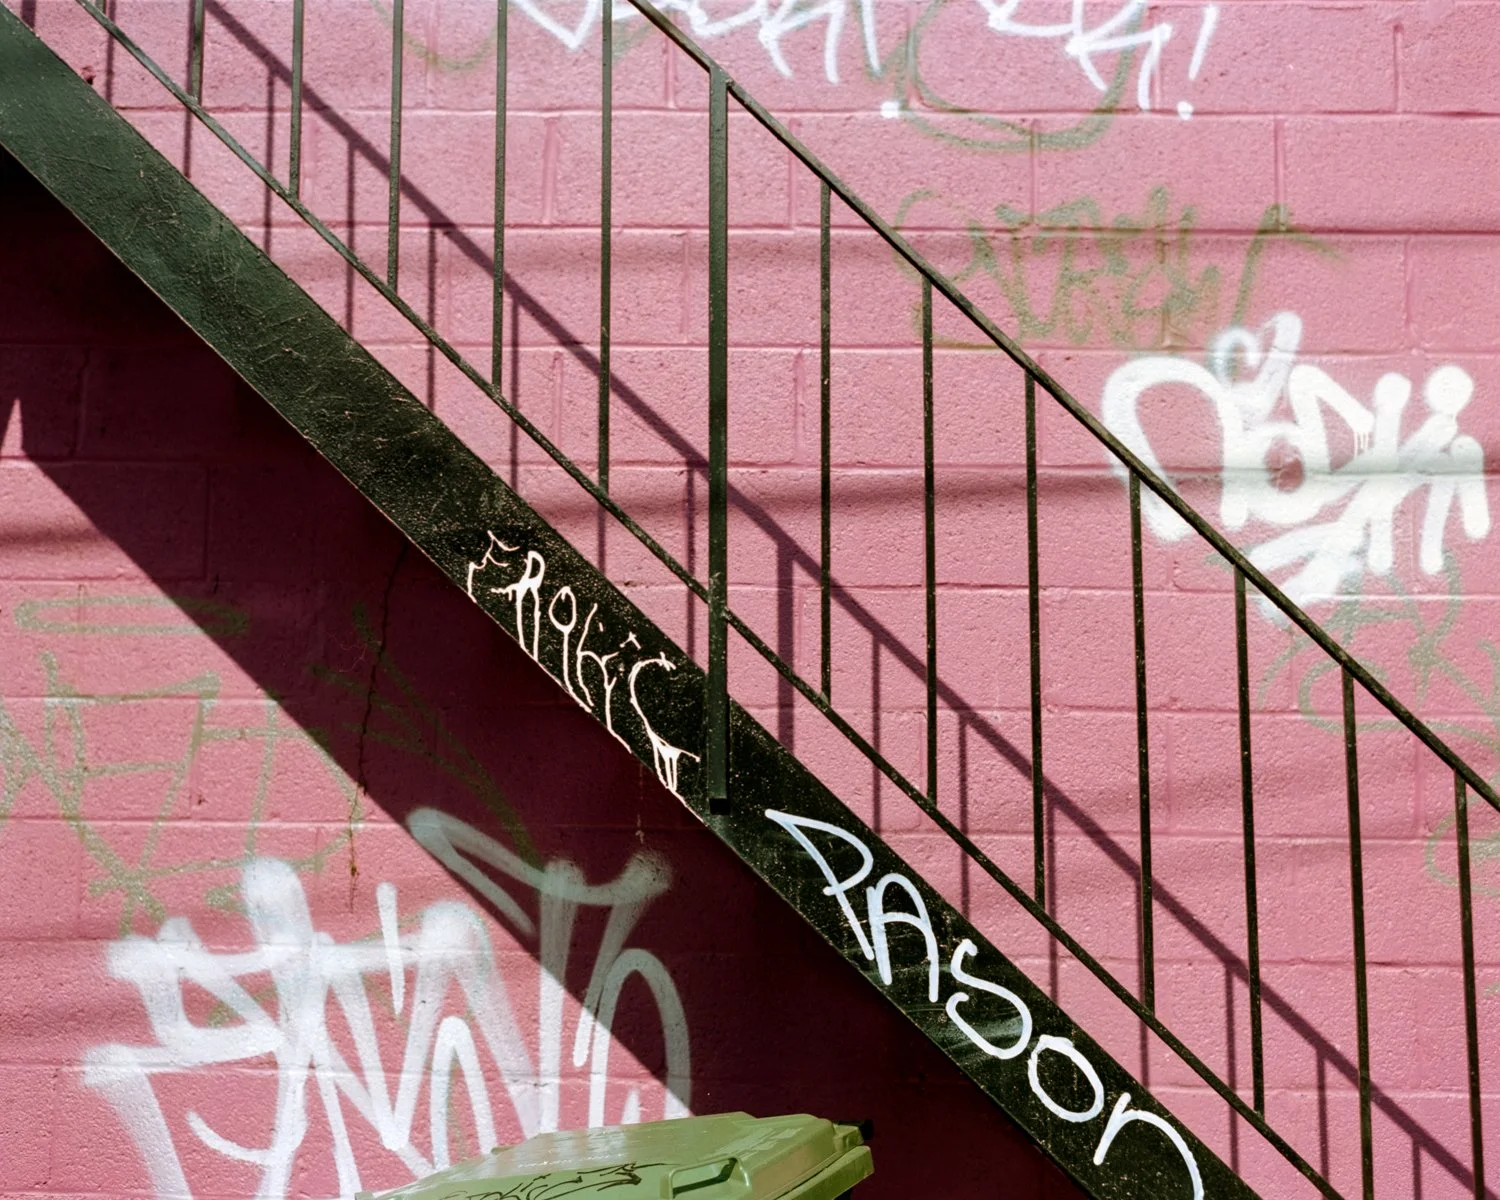
Pattern, Light & Shadow
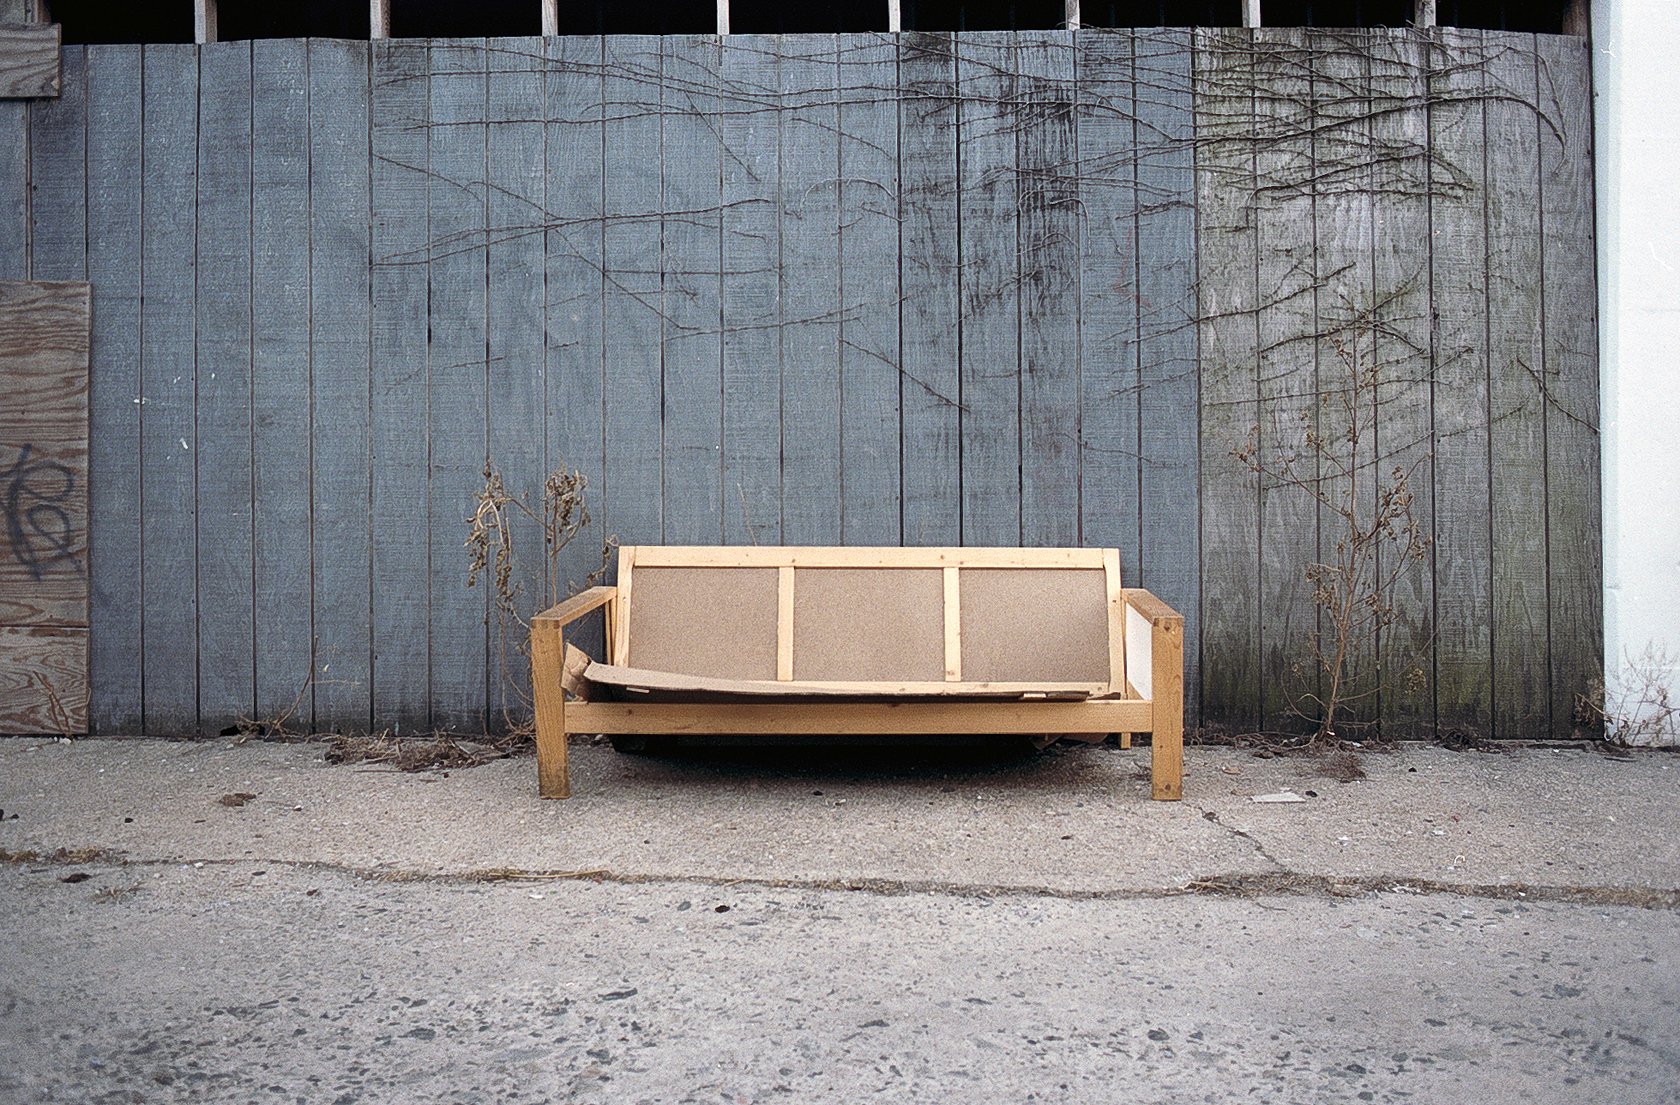
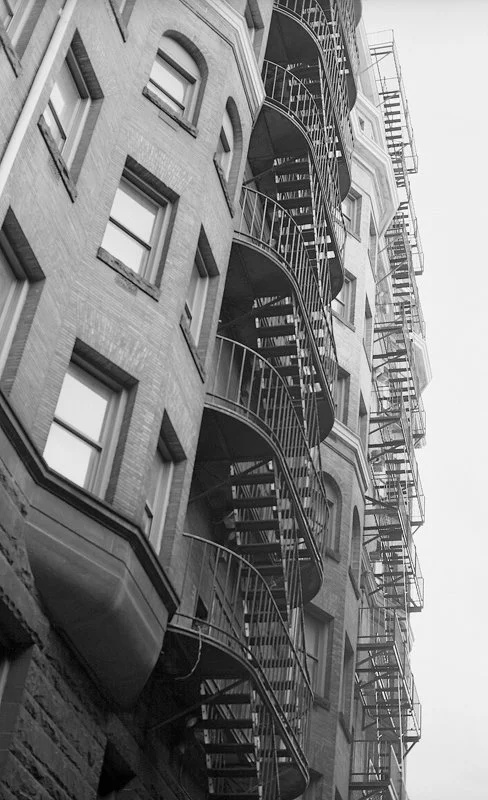
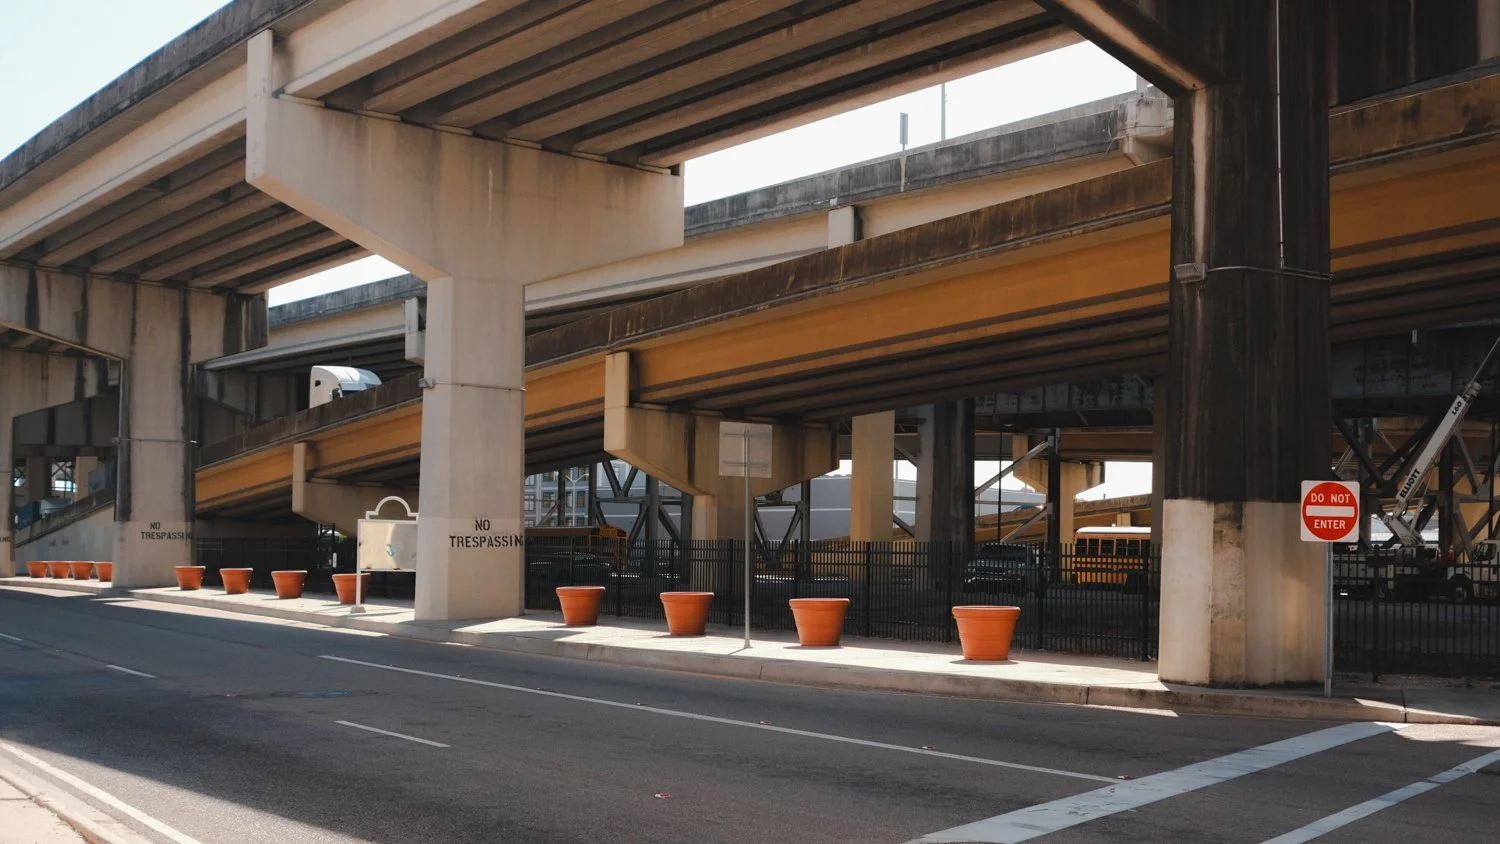
Maybe your photography deals more with shape and pattern like abstract works. Or maybe that is a style you want to try. Harsh light is a great way to build images full of shapes, patterns, textures, rhythm, repetition, etc. You can do this sort of thing just about anywhere, too. On the street, in your neighborhood, around your house; the actual physical structures you photograph don’t have to be inherently interesting. It is how you use and manipulate the light to make the compositions interesting and creative. And it is important to let the light do its thing and become part of the composition. This works well both in black & white, and color. It just comes down to how you visualize and conceptualize.
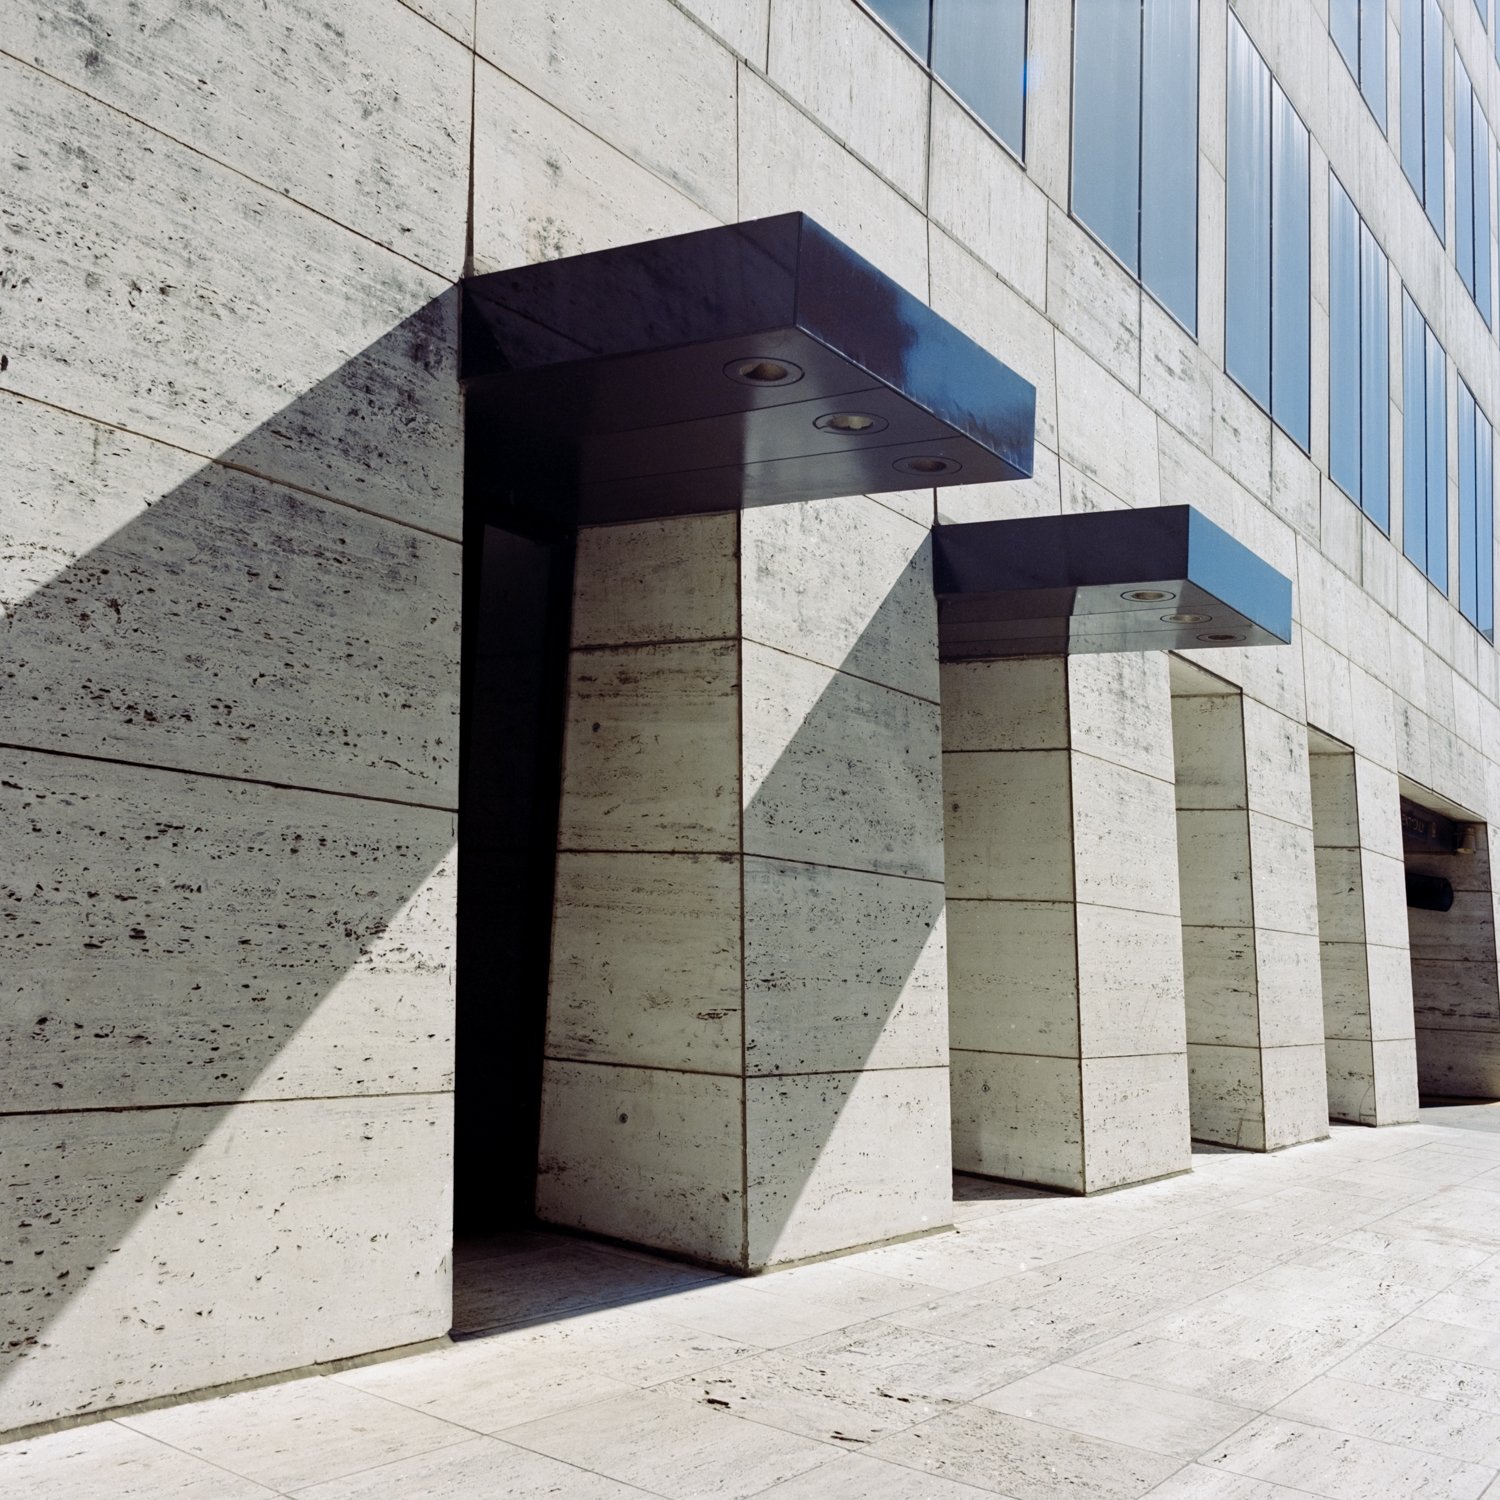
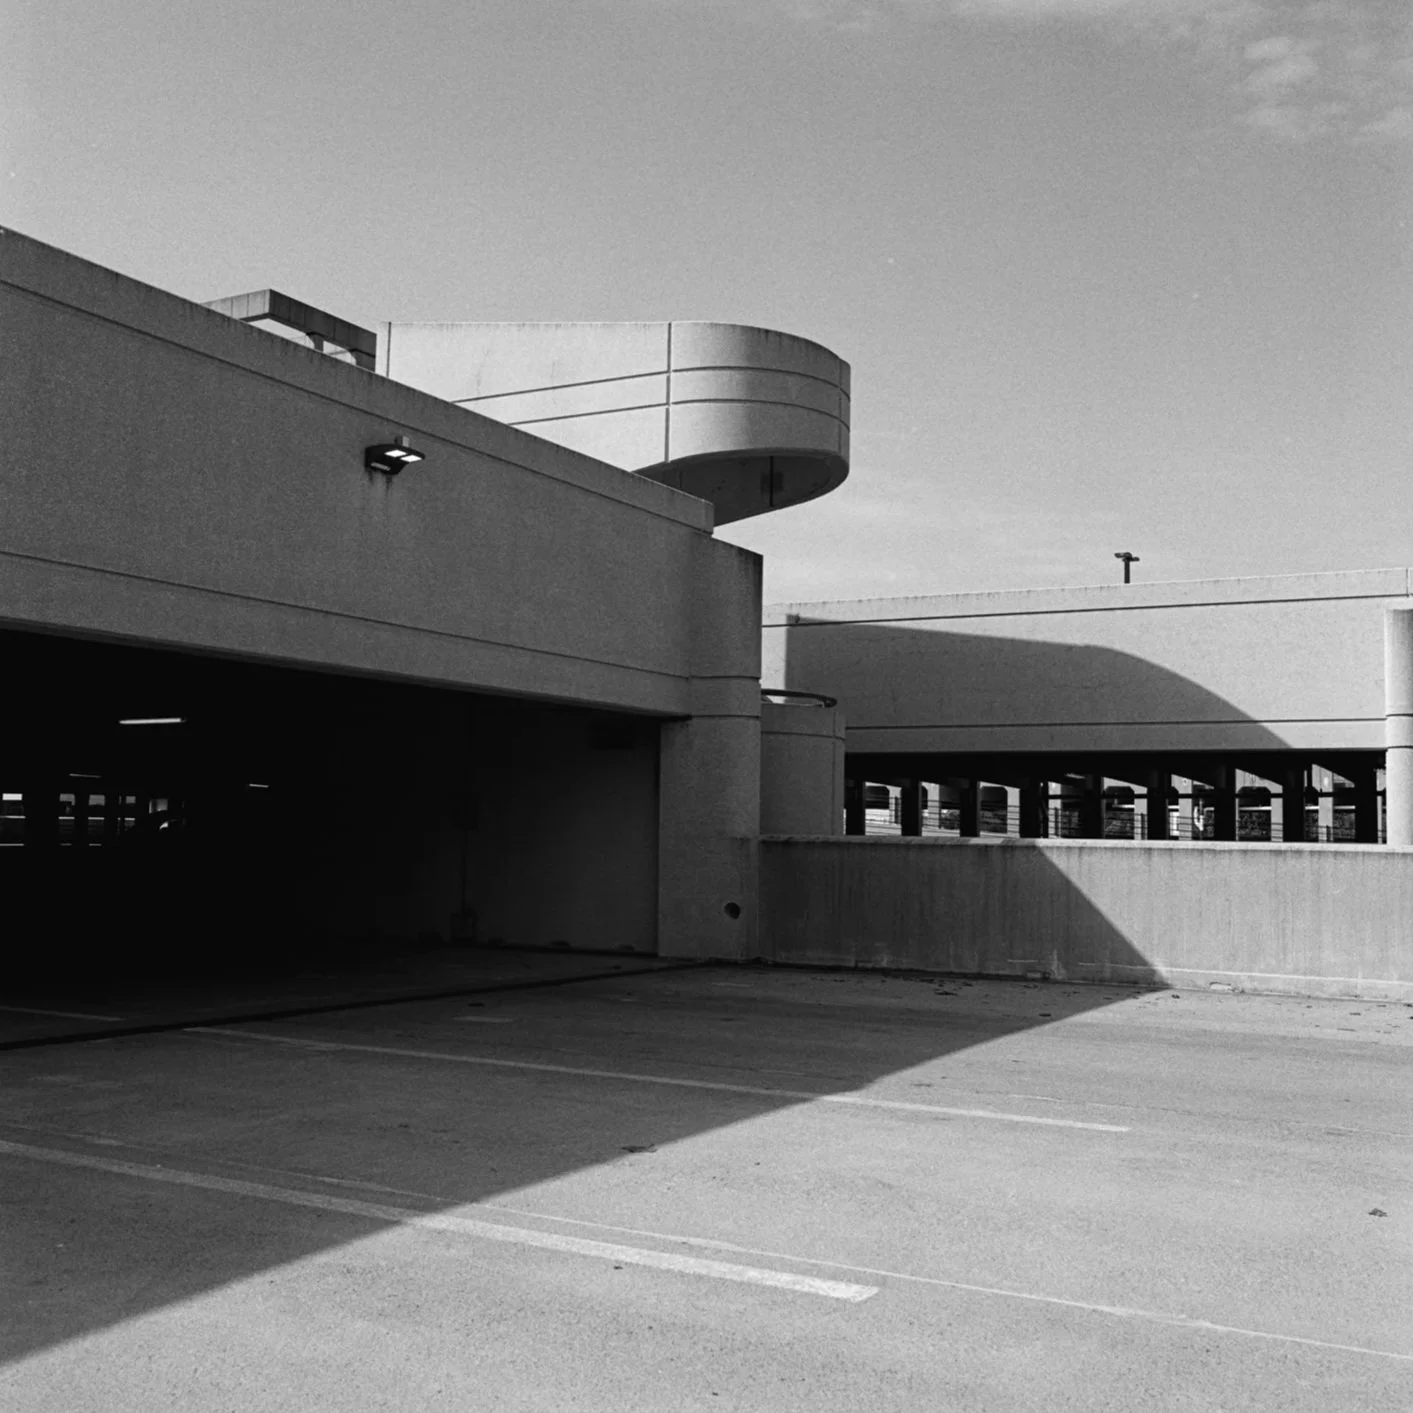
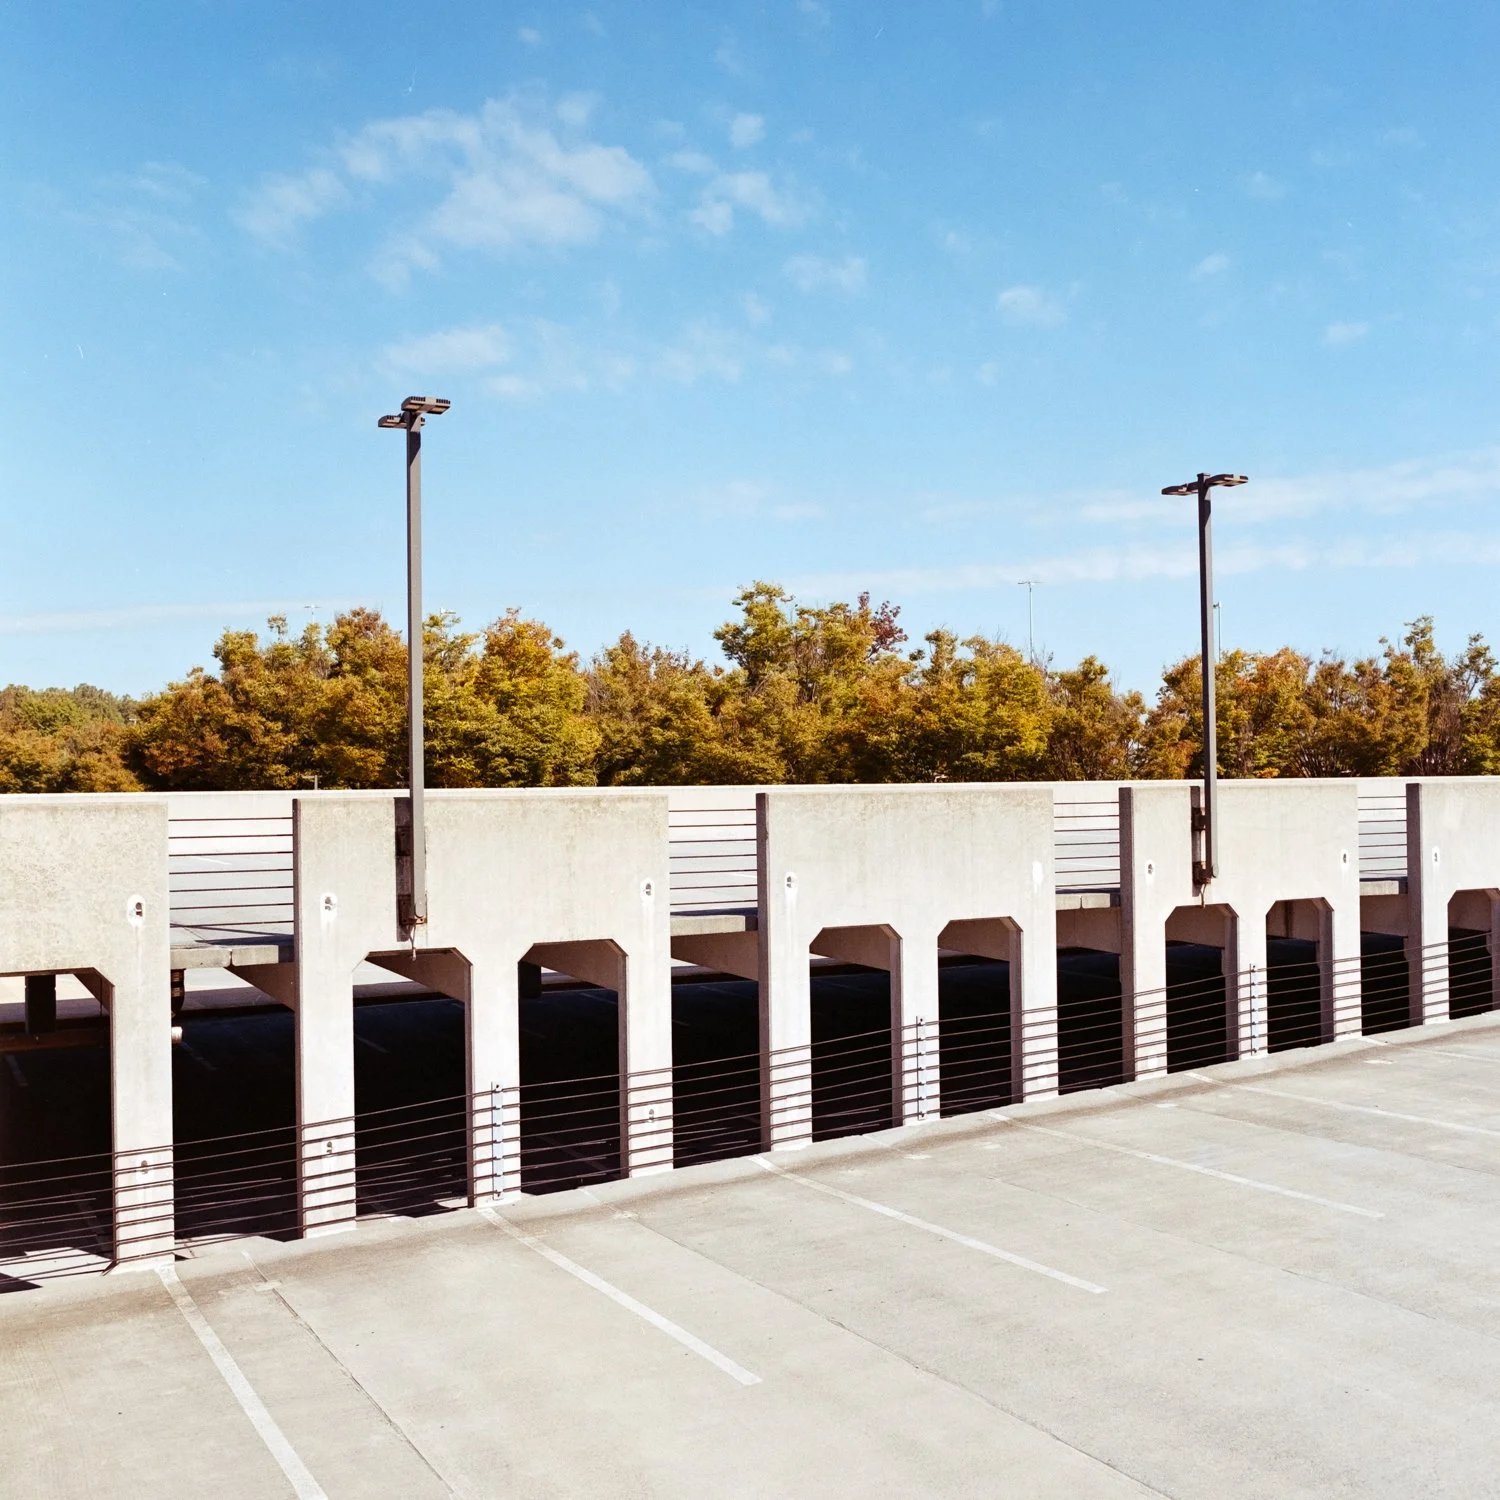
In the photoset above, I typically try to look for structures that are utilitarian, everyday things. I take a lot of photos from different points-of-view and angles, moving around the subject as much as I can and as much as the light allows. I don’t always shoot at eye level. I don’t shy away from shooting the subject straight on, but that isn’t always the best composition. It is really important to stay with the subject for a while and walk around it, checking your viewfinder to see how the composition looks and how the light is hitting.
Portraits
Say you love shooting portraits but you’ve been taught that harsh light creates bad shadows on the face. Sure, that’s true. But who’s to say that there isn’t a creative way to make it part of your style. Positioning your subject and using the environment around you becomes important to how you photograph your subject. Focusing on the whole photograph is a skill I think many photographers ignore or don’t think of. They can just use the remove tool or tilt and crop later, right? But, would it hurt to get it right in-camera, leaving you with less to edit later?
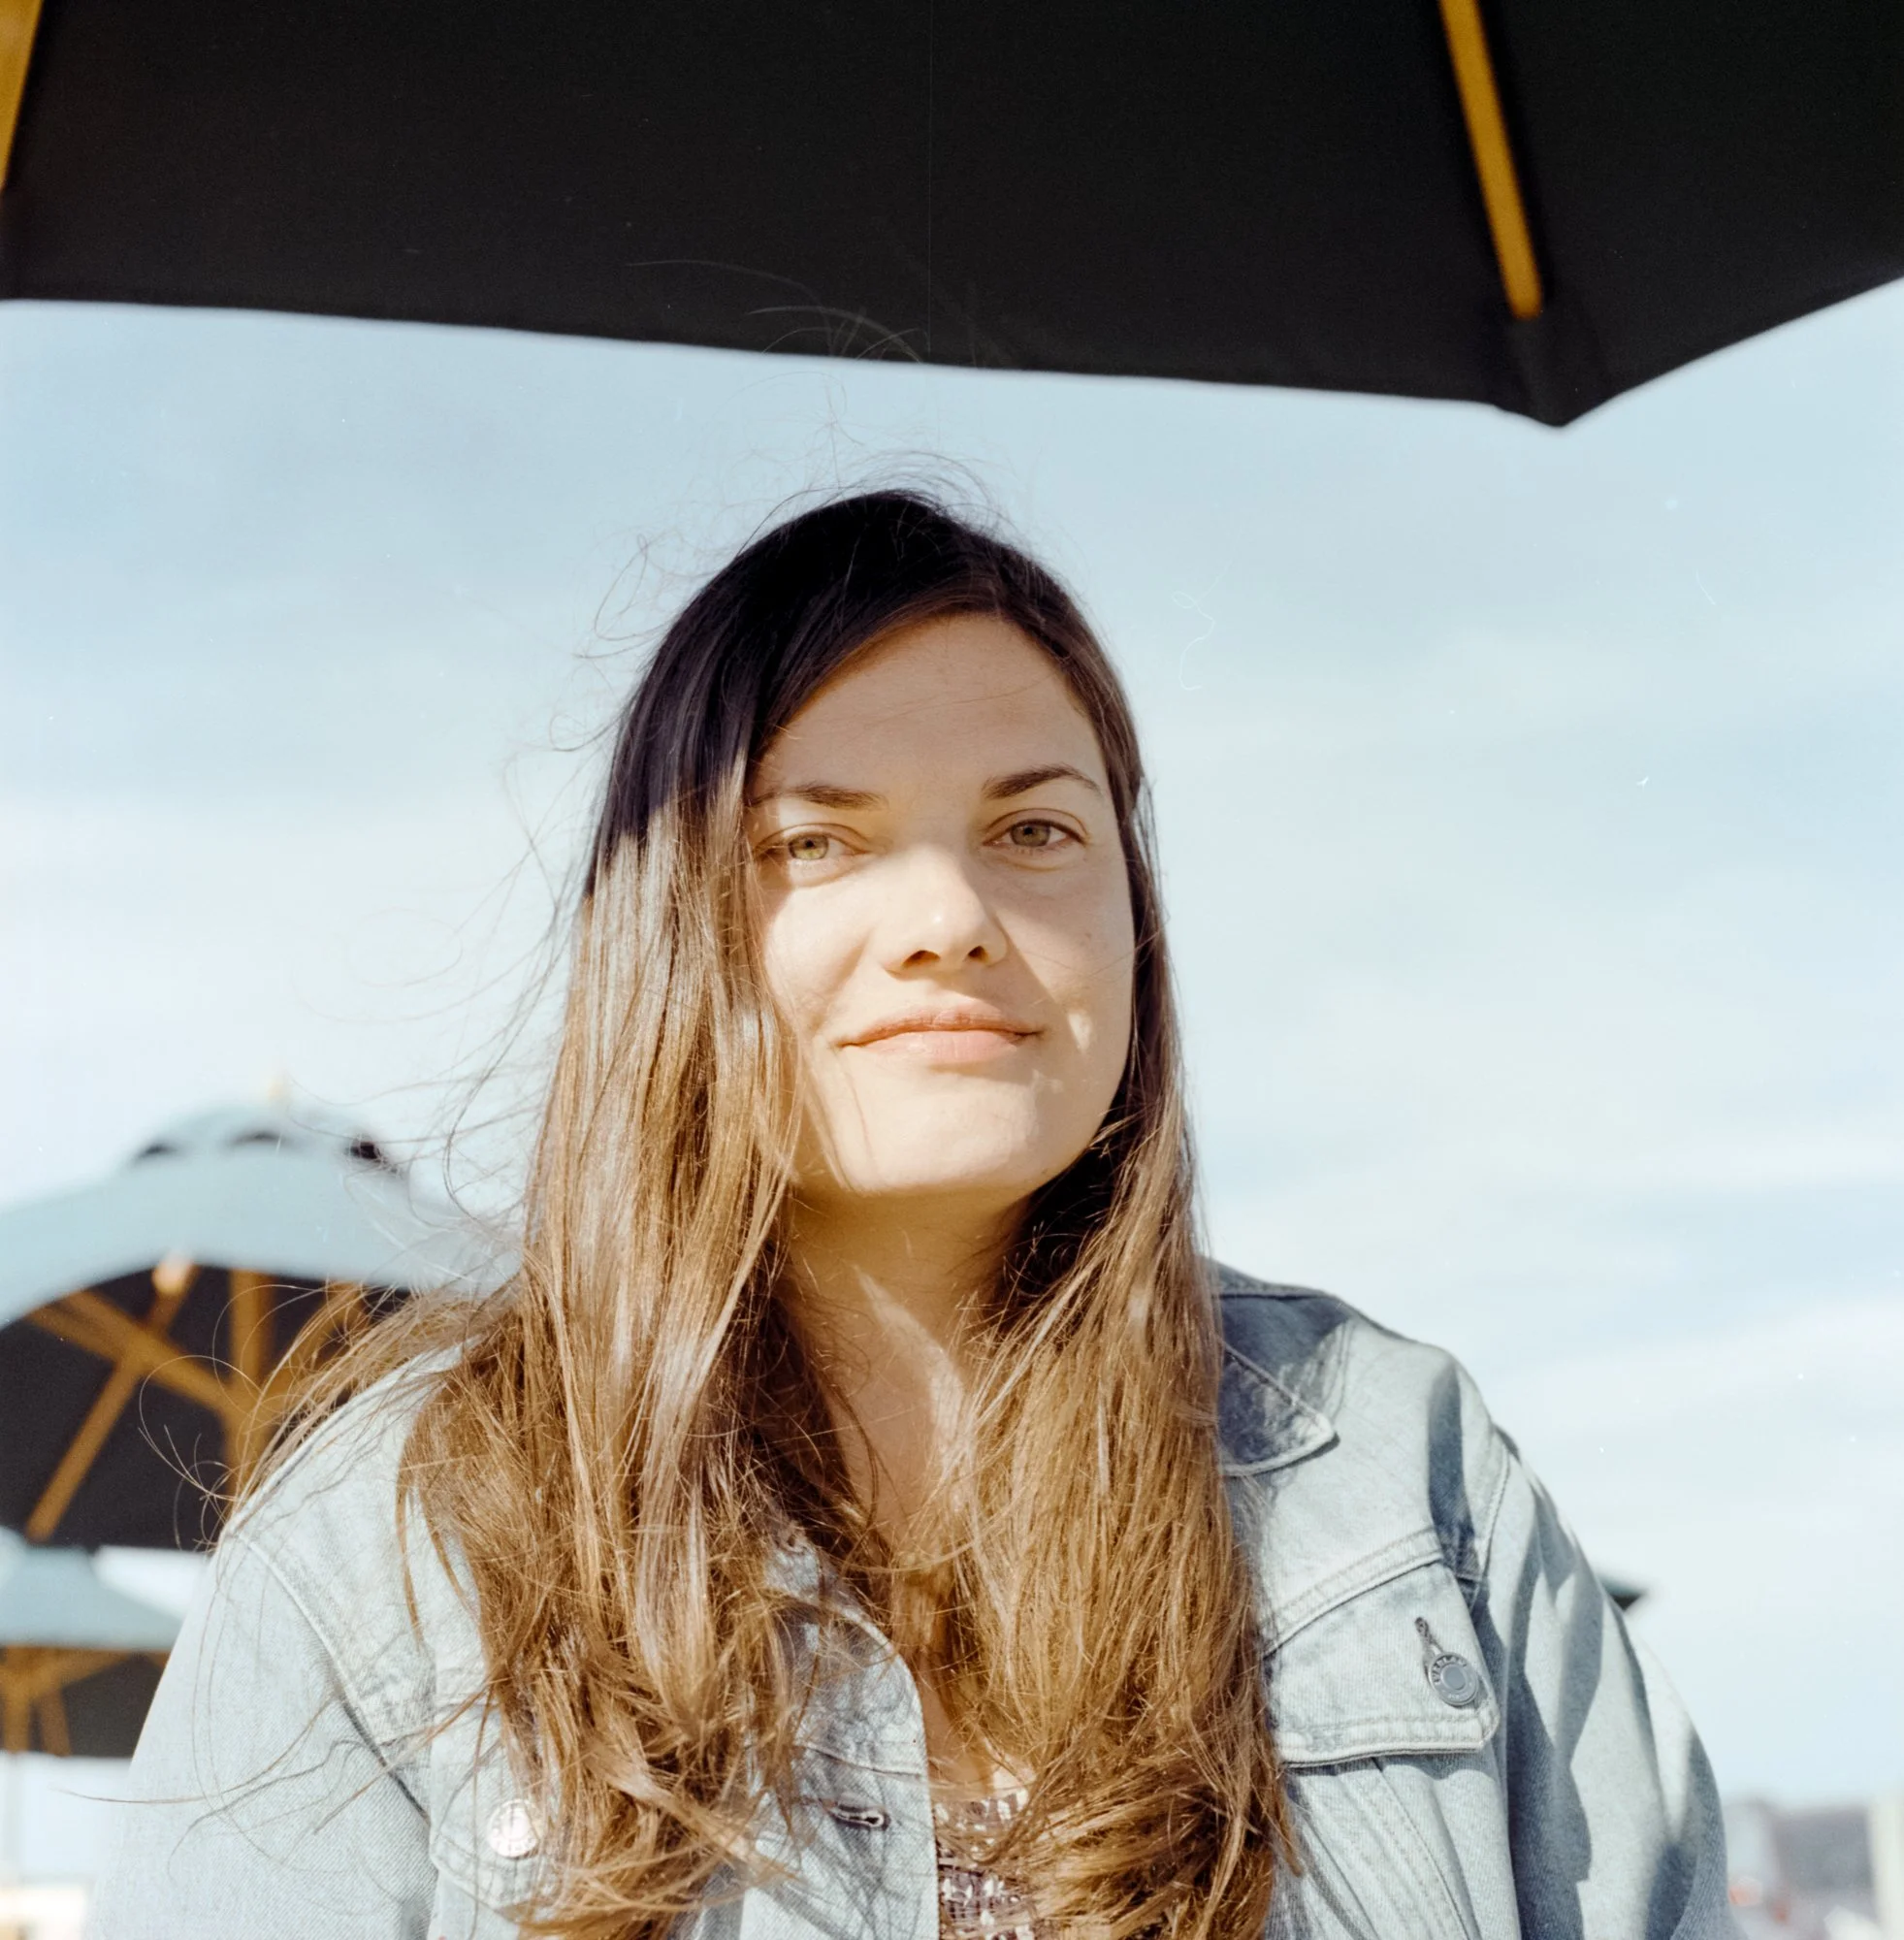
Hasselblad 500C/M, Kodak Gold 200
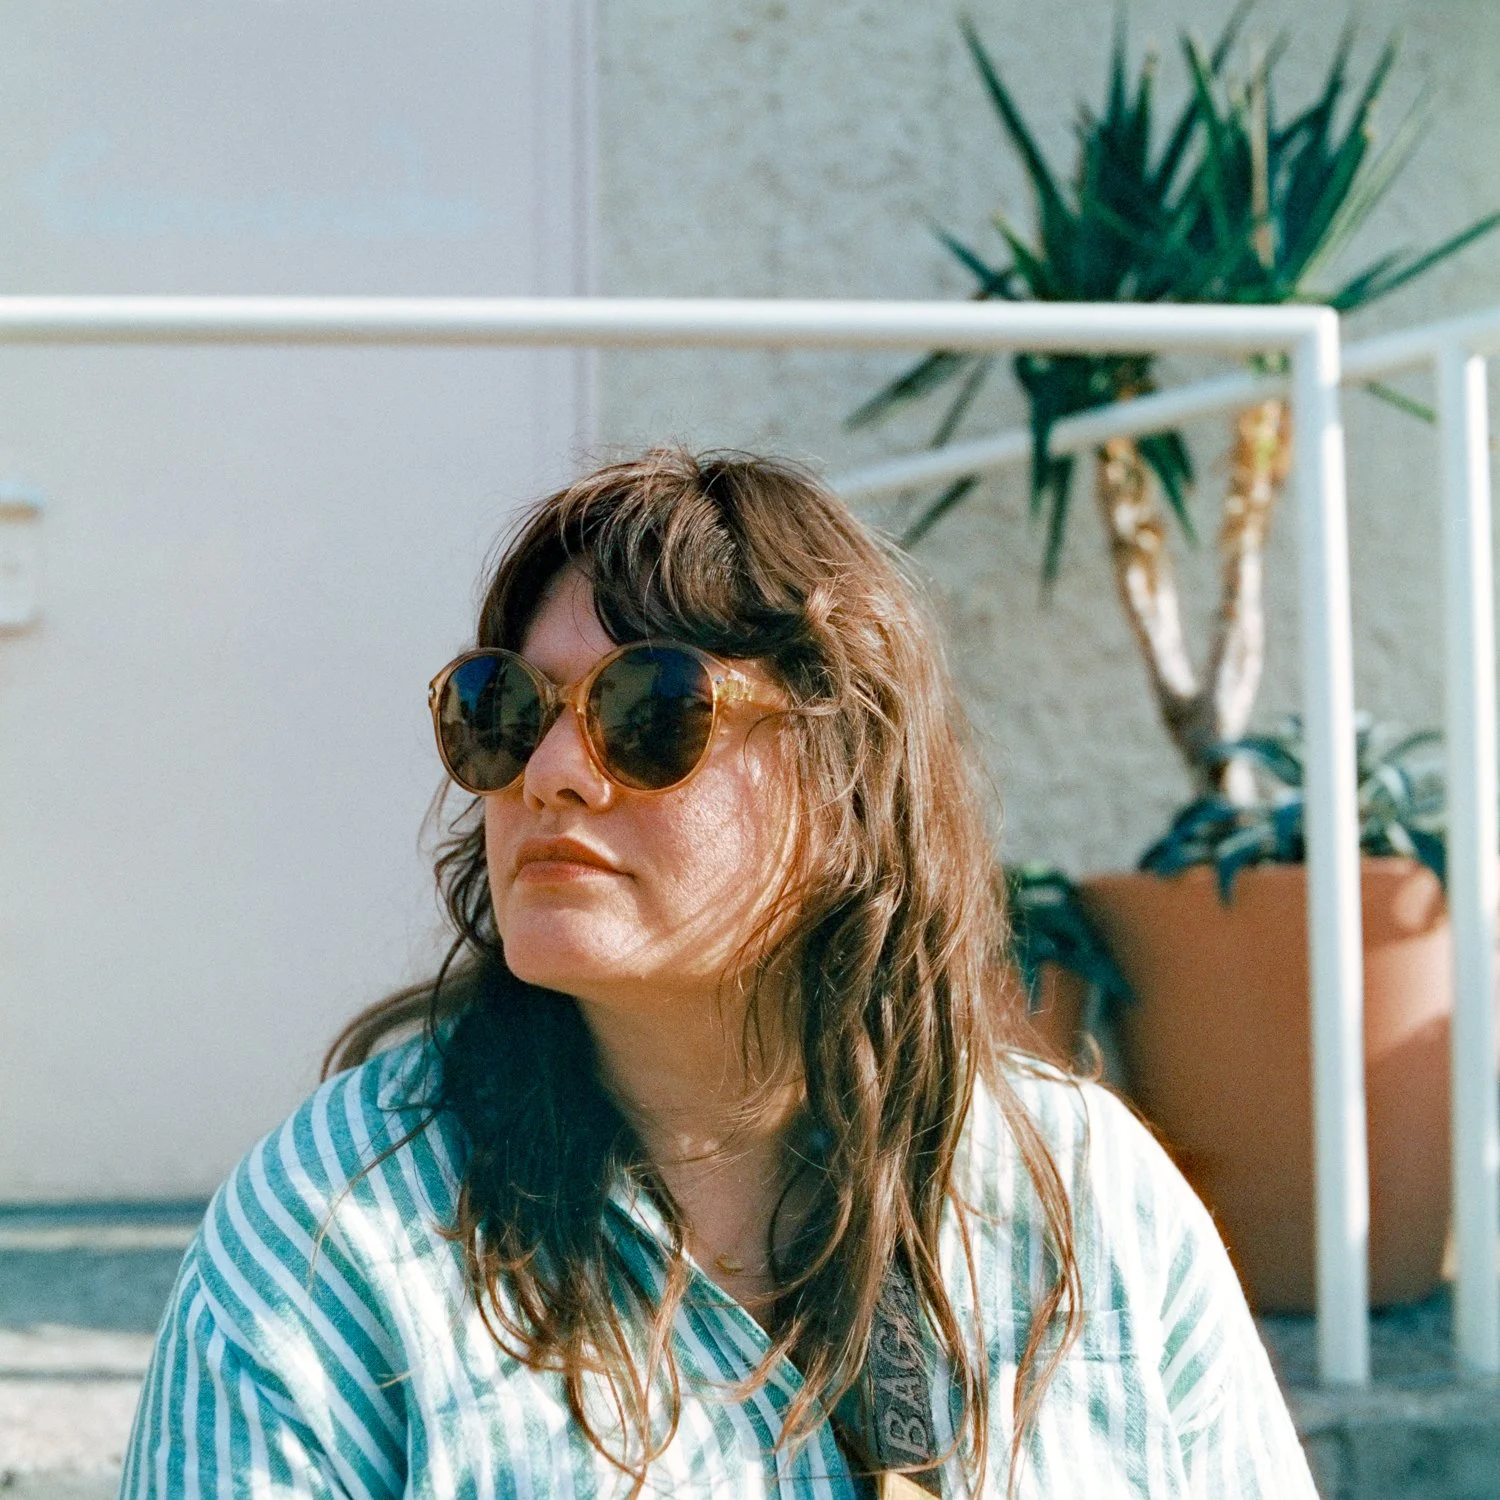
Hasselblad 500C/M, Harman Phoenix 200
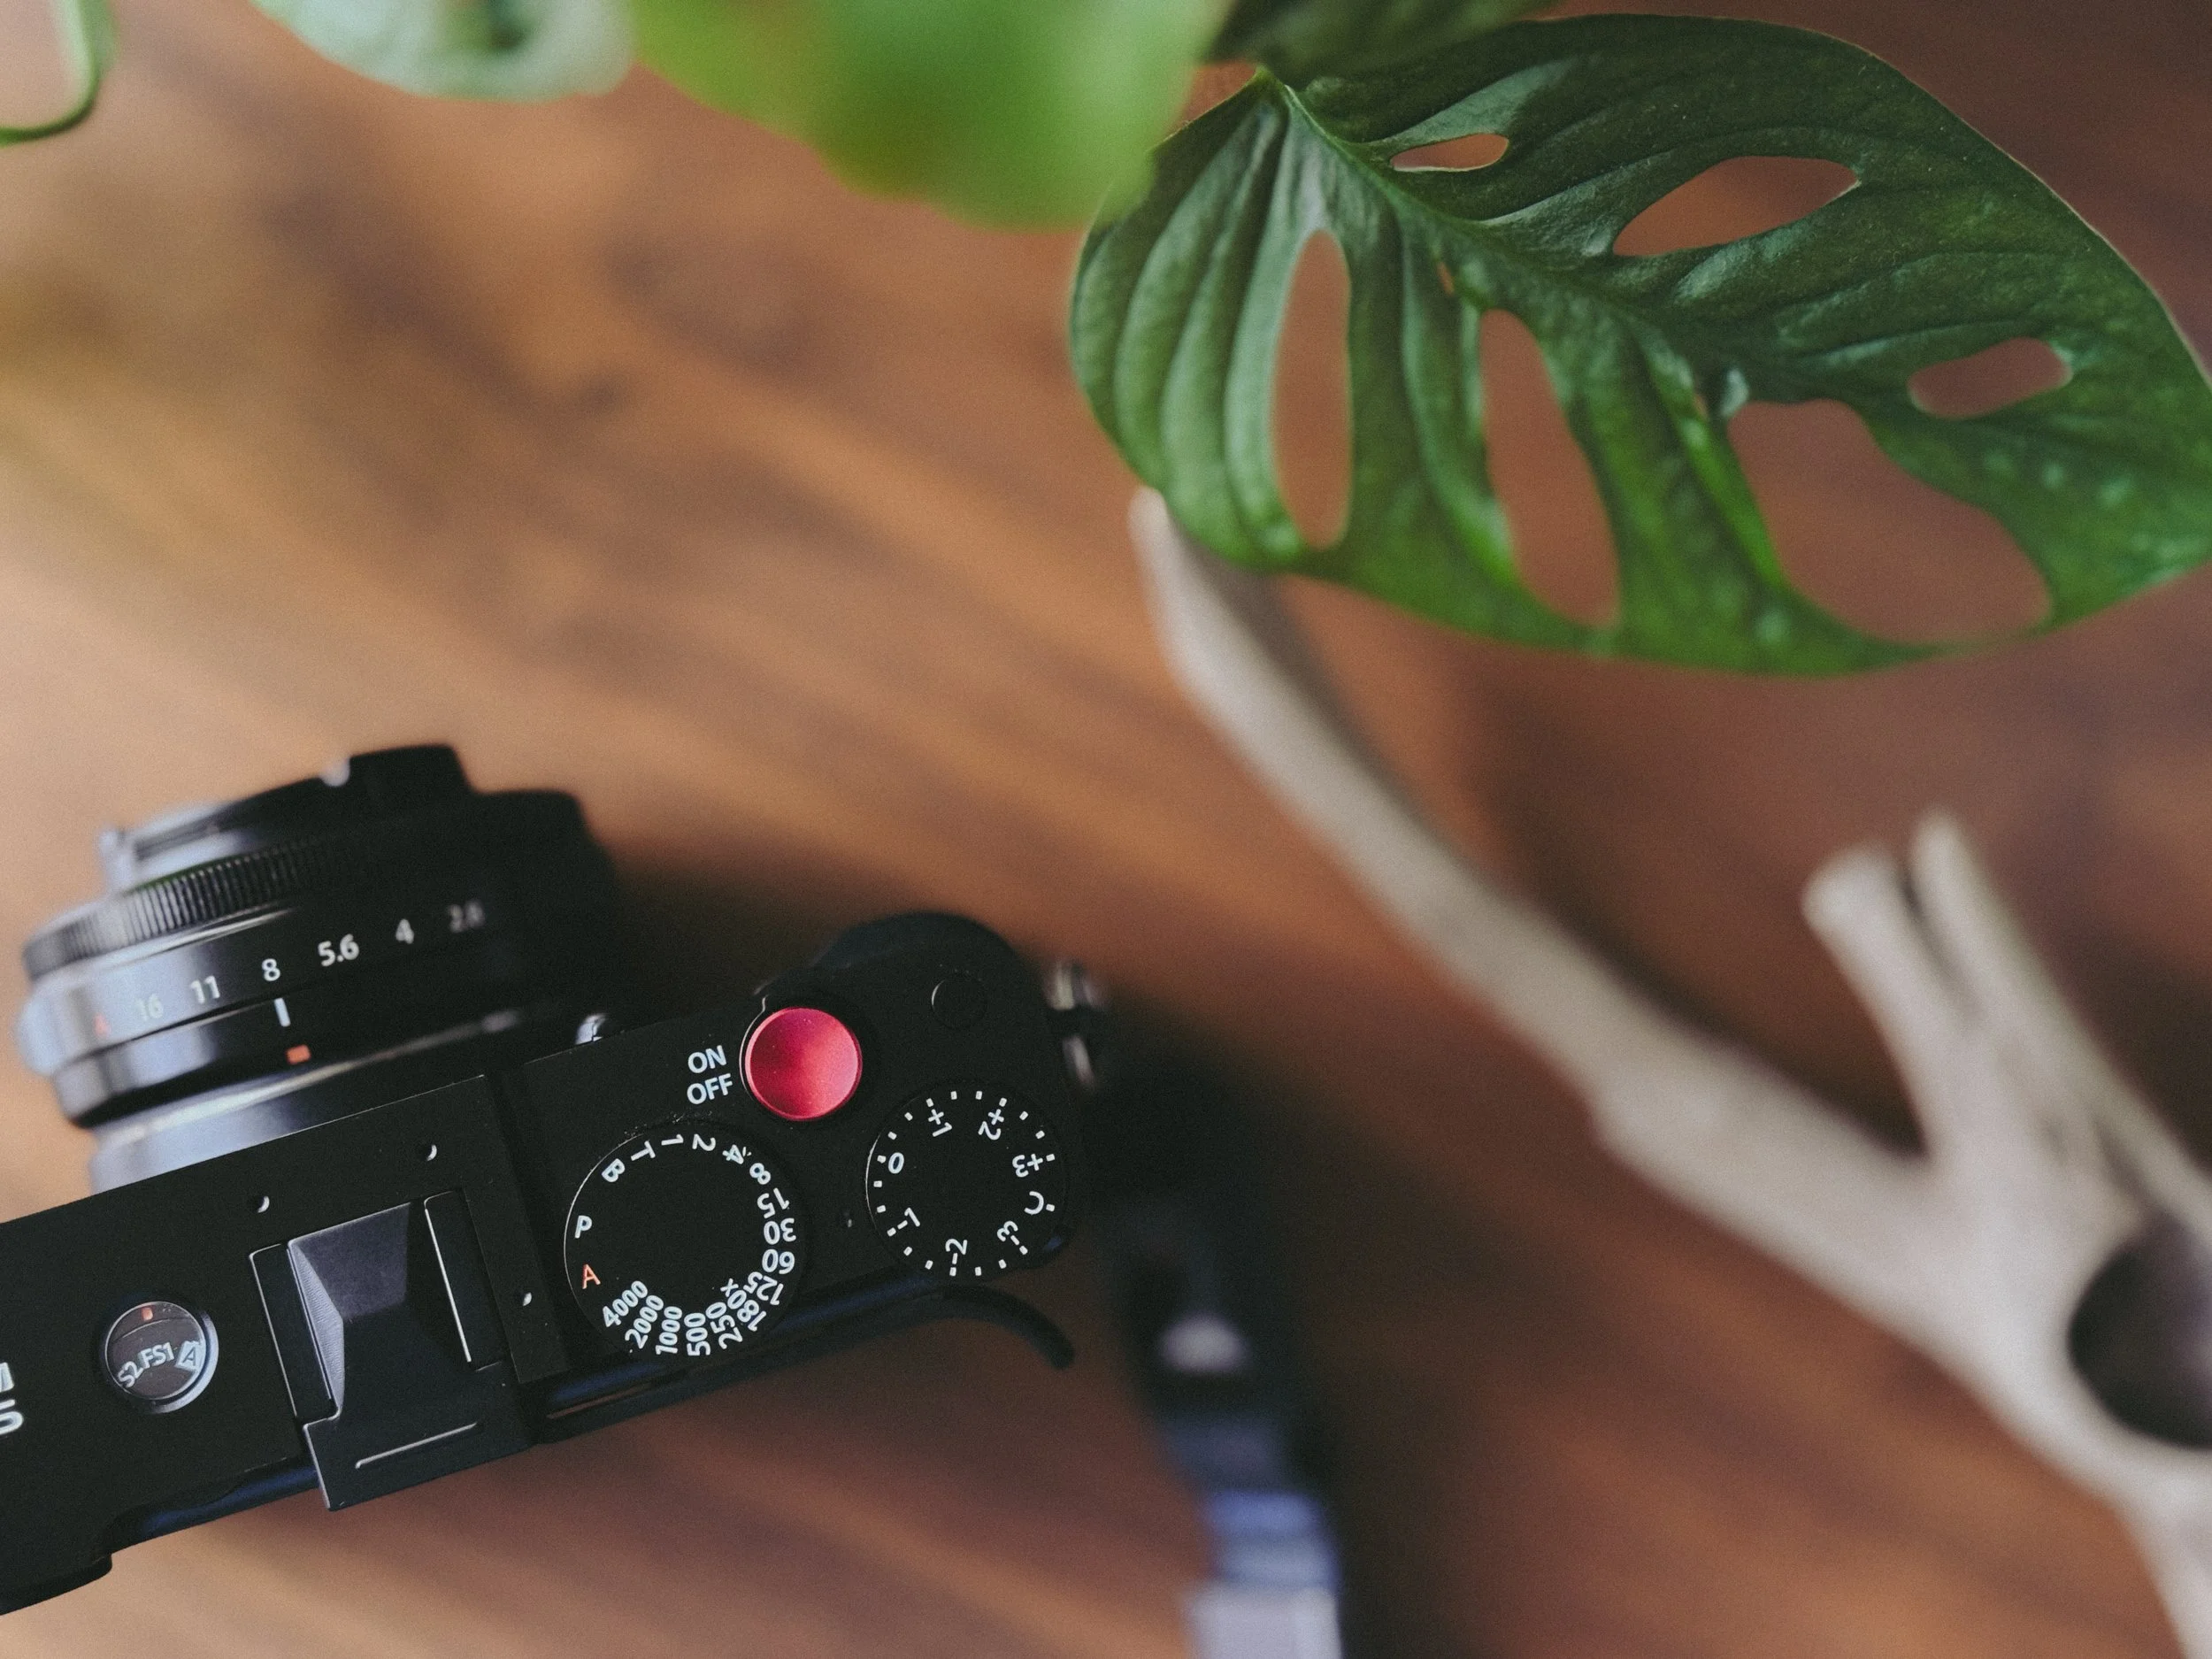
One last tip for shooting portraits in harsh light. It has to do with position of your subject. If the environment you are shooting provides a way to put your subject in diffused light, there you go. Harsh shadows dealt with; bright, airy backgrounds abound. You could also use the environment to diffuse. Maybe there are large plants around, or maybe there is an awning that light is getting through in places creating a dappled effect. Take in the whole space and every detail.
Exposing For The Highlights
Harsh lighting is also a great opportunity to experiment with exposure compensation, underexposure, or exposing for the highlights. Basically they are all the same thing but you lean into having dark shadows lacking any and all detail. This gives the attention to the highlights and brighter mid-tones. Those areas will be filled with detail. This can be a way to create an ethereal glow or incorporate shadows into interesting patterns or abstract motifs.
Fujifilm X-E5, XF 27mm f/2.8
Fujifilm X-T3, adapted Pentax SMC 50mm f/1.4
Ways of Metering for this type of photography:
Metering the highlights of your composition
Metering with a handheld light meter
Meter, then adjust aperture or shutter speed
Change ISO or film speed, then meter normally
Use the camera’s aperture priority and exposure compensation features
Metering the highlights of the whole composition: With a film camera, this is easily done by pointing the camera (if it has an internal light meter) at the brighter area of your composition, change your settings based on that meter reading, then reposition the camera to get the composition you want.
Metering with a handheld light meter: If you are using a handheld light meter that has the ability to switch from reflected to incident metering, you will be able to point your meter in the direction of the highlights and the shadows independently, and without walking over to the area. If you are unfamiliar with incident metering, meters like the Sekonic L-308 series has a sliding white dome (for reflective metering; where you hold the meter up in front of your subject with the dome pointing towards the camera. The dome is round to mimic a 3D subject.) and the lens of the meter is underneath it.
When you slide the reflected dome out of the way, you are now in incident metering and can point at the object, subject, or scene rather than back at your camera. The real benefit to a handheld meter is that you can easily take readings of several parts of your composition quickly and accurately. This allows you to average yourself, or lean towards over- or underexposure. It is also not a bad way to get better at learning how to read light with your eyes alone (in other words, no need for a meter, handheld or otherwise, but that is for a later blog).
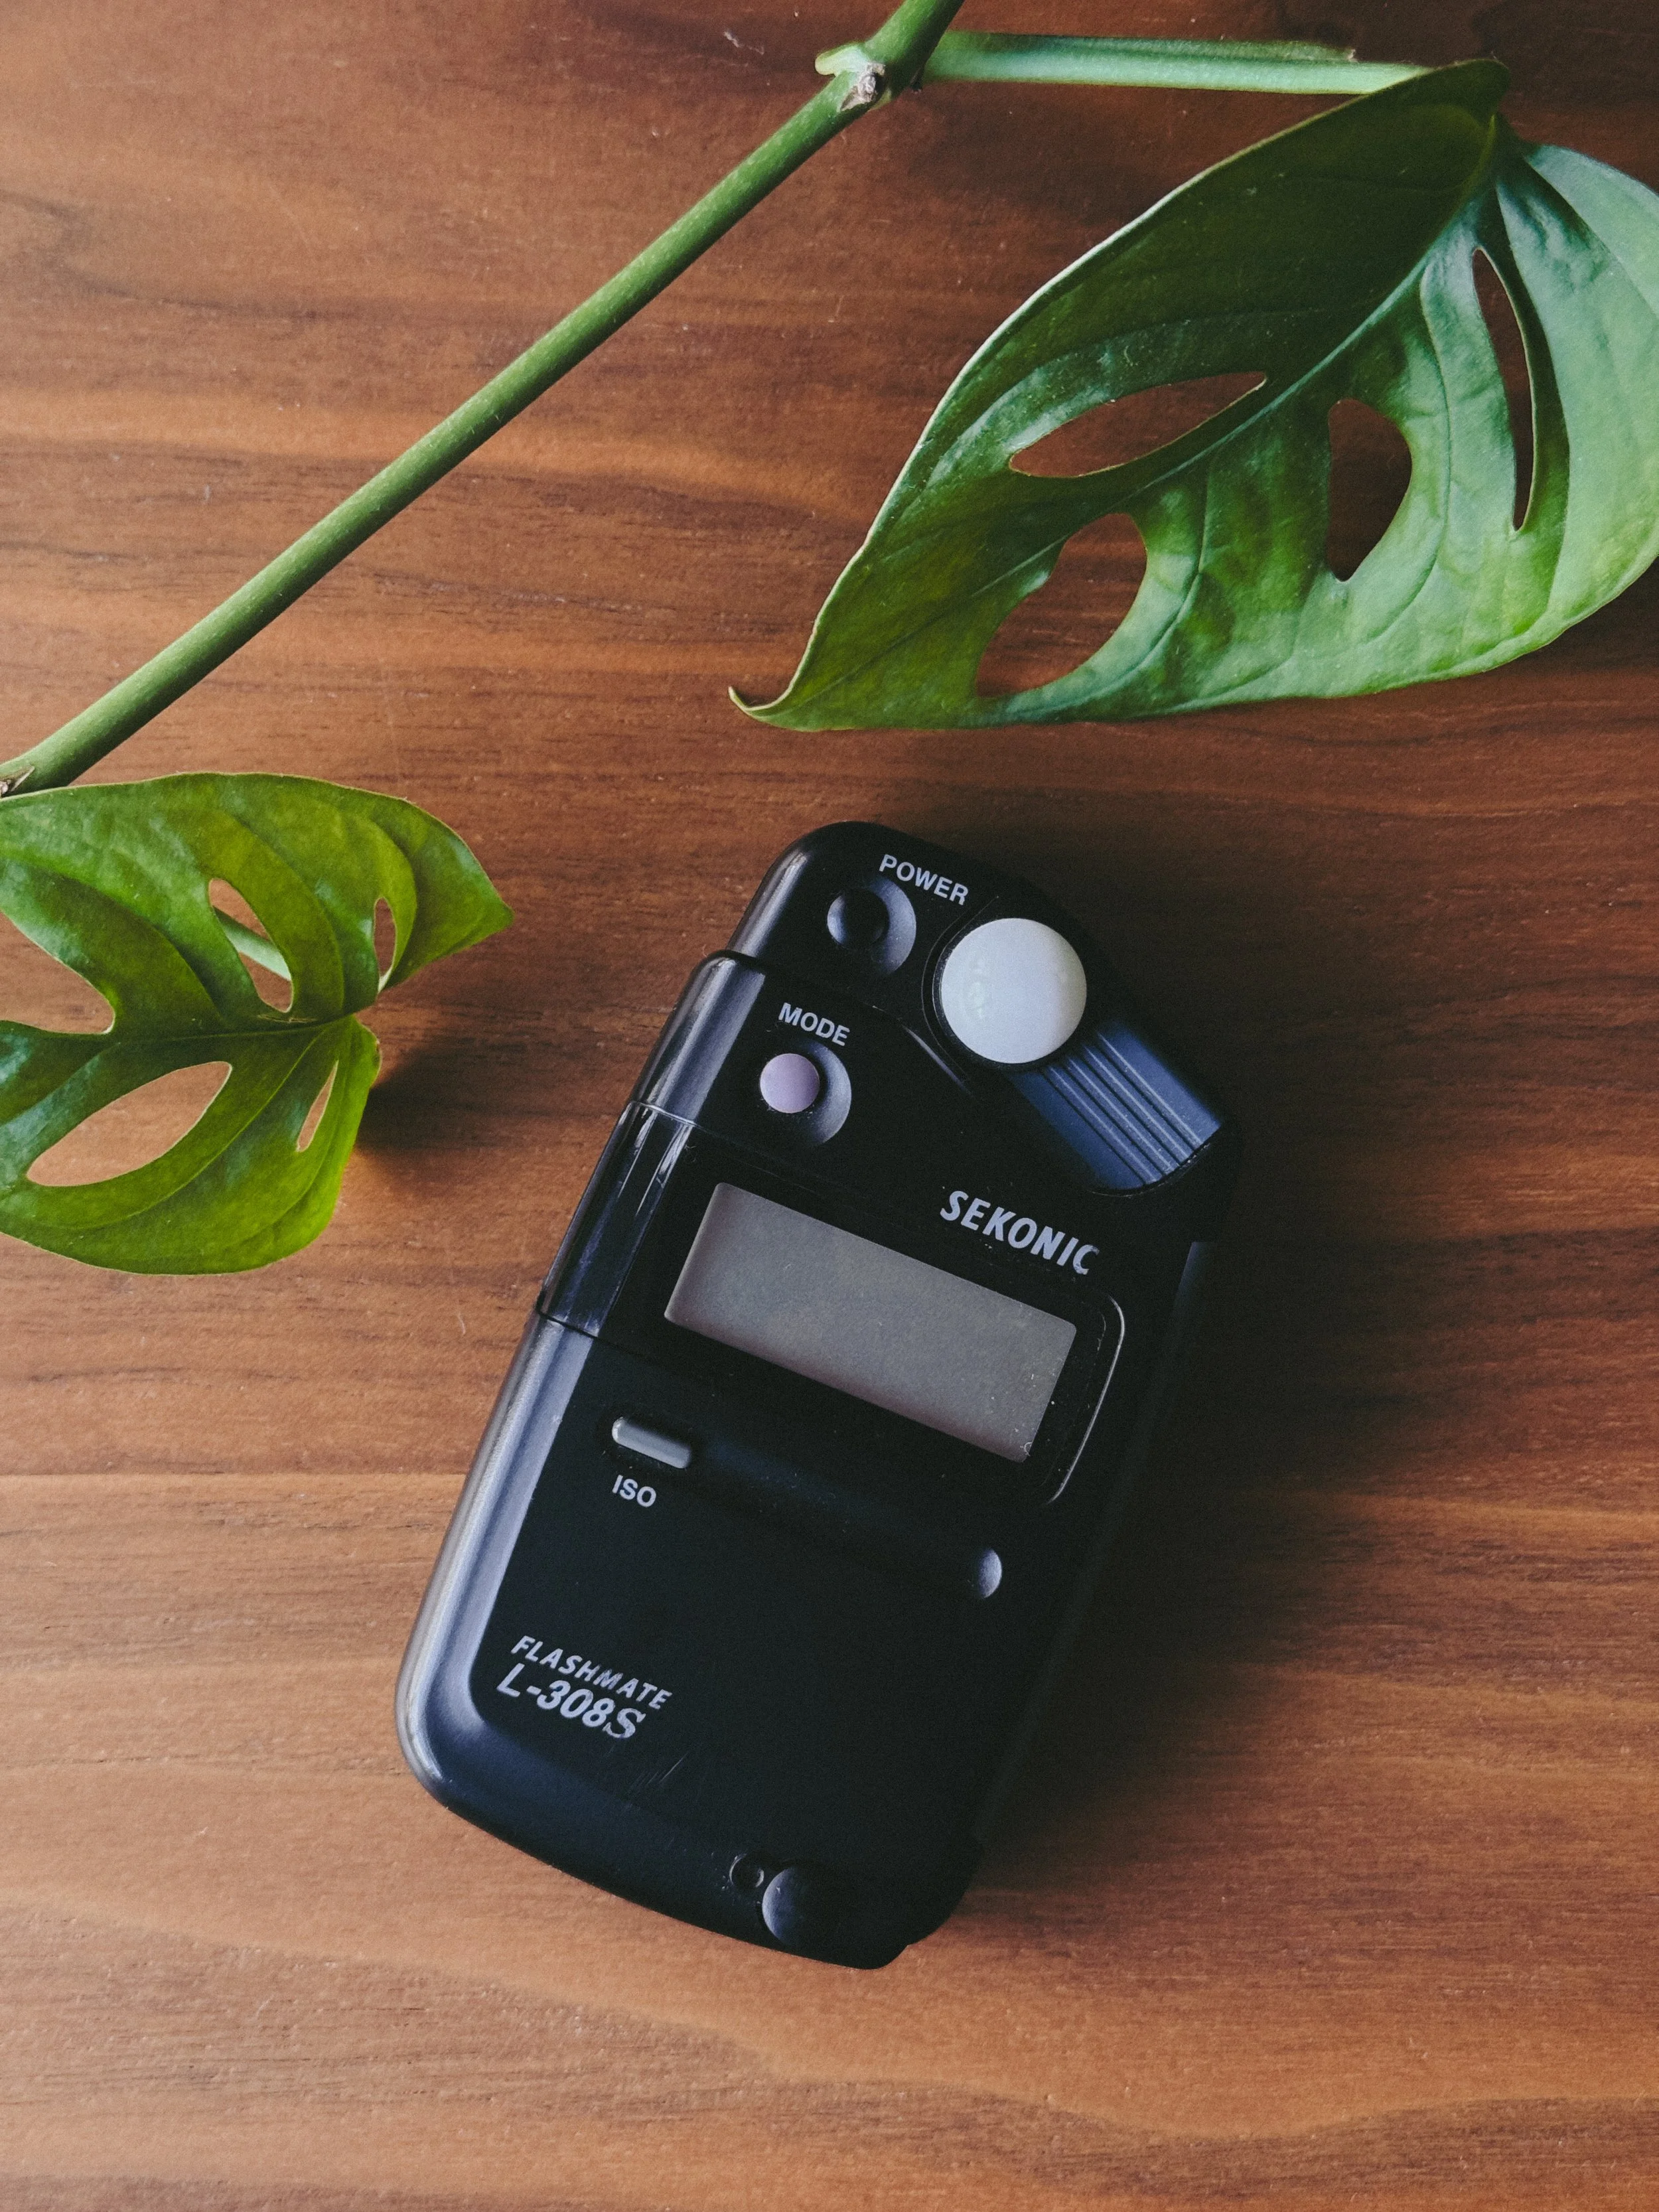
Reflective metering set
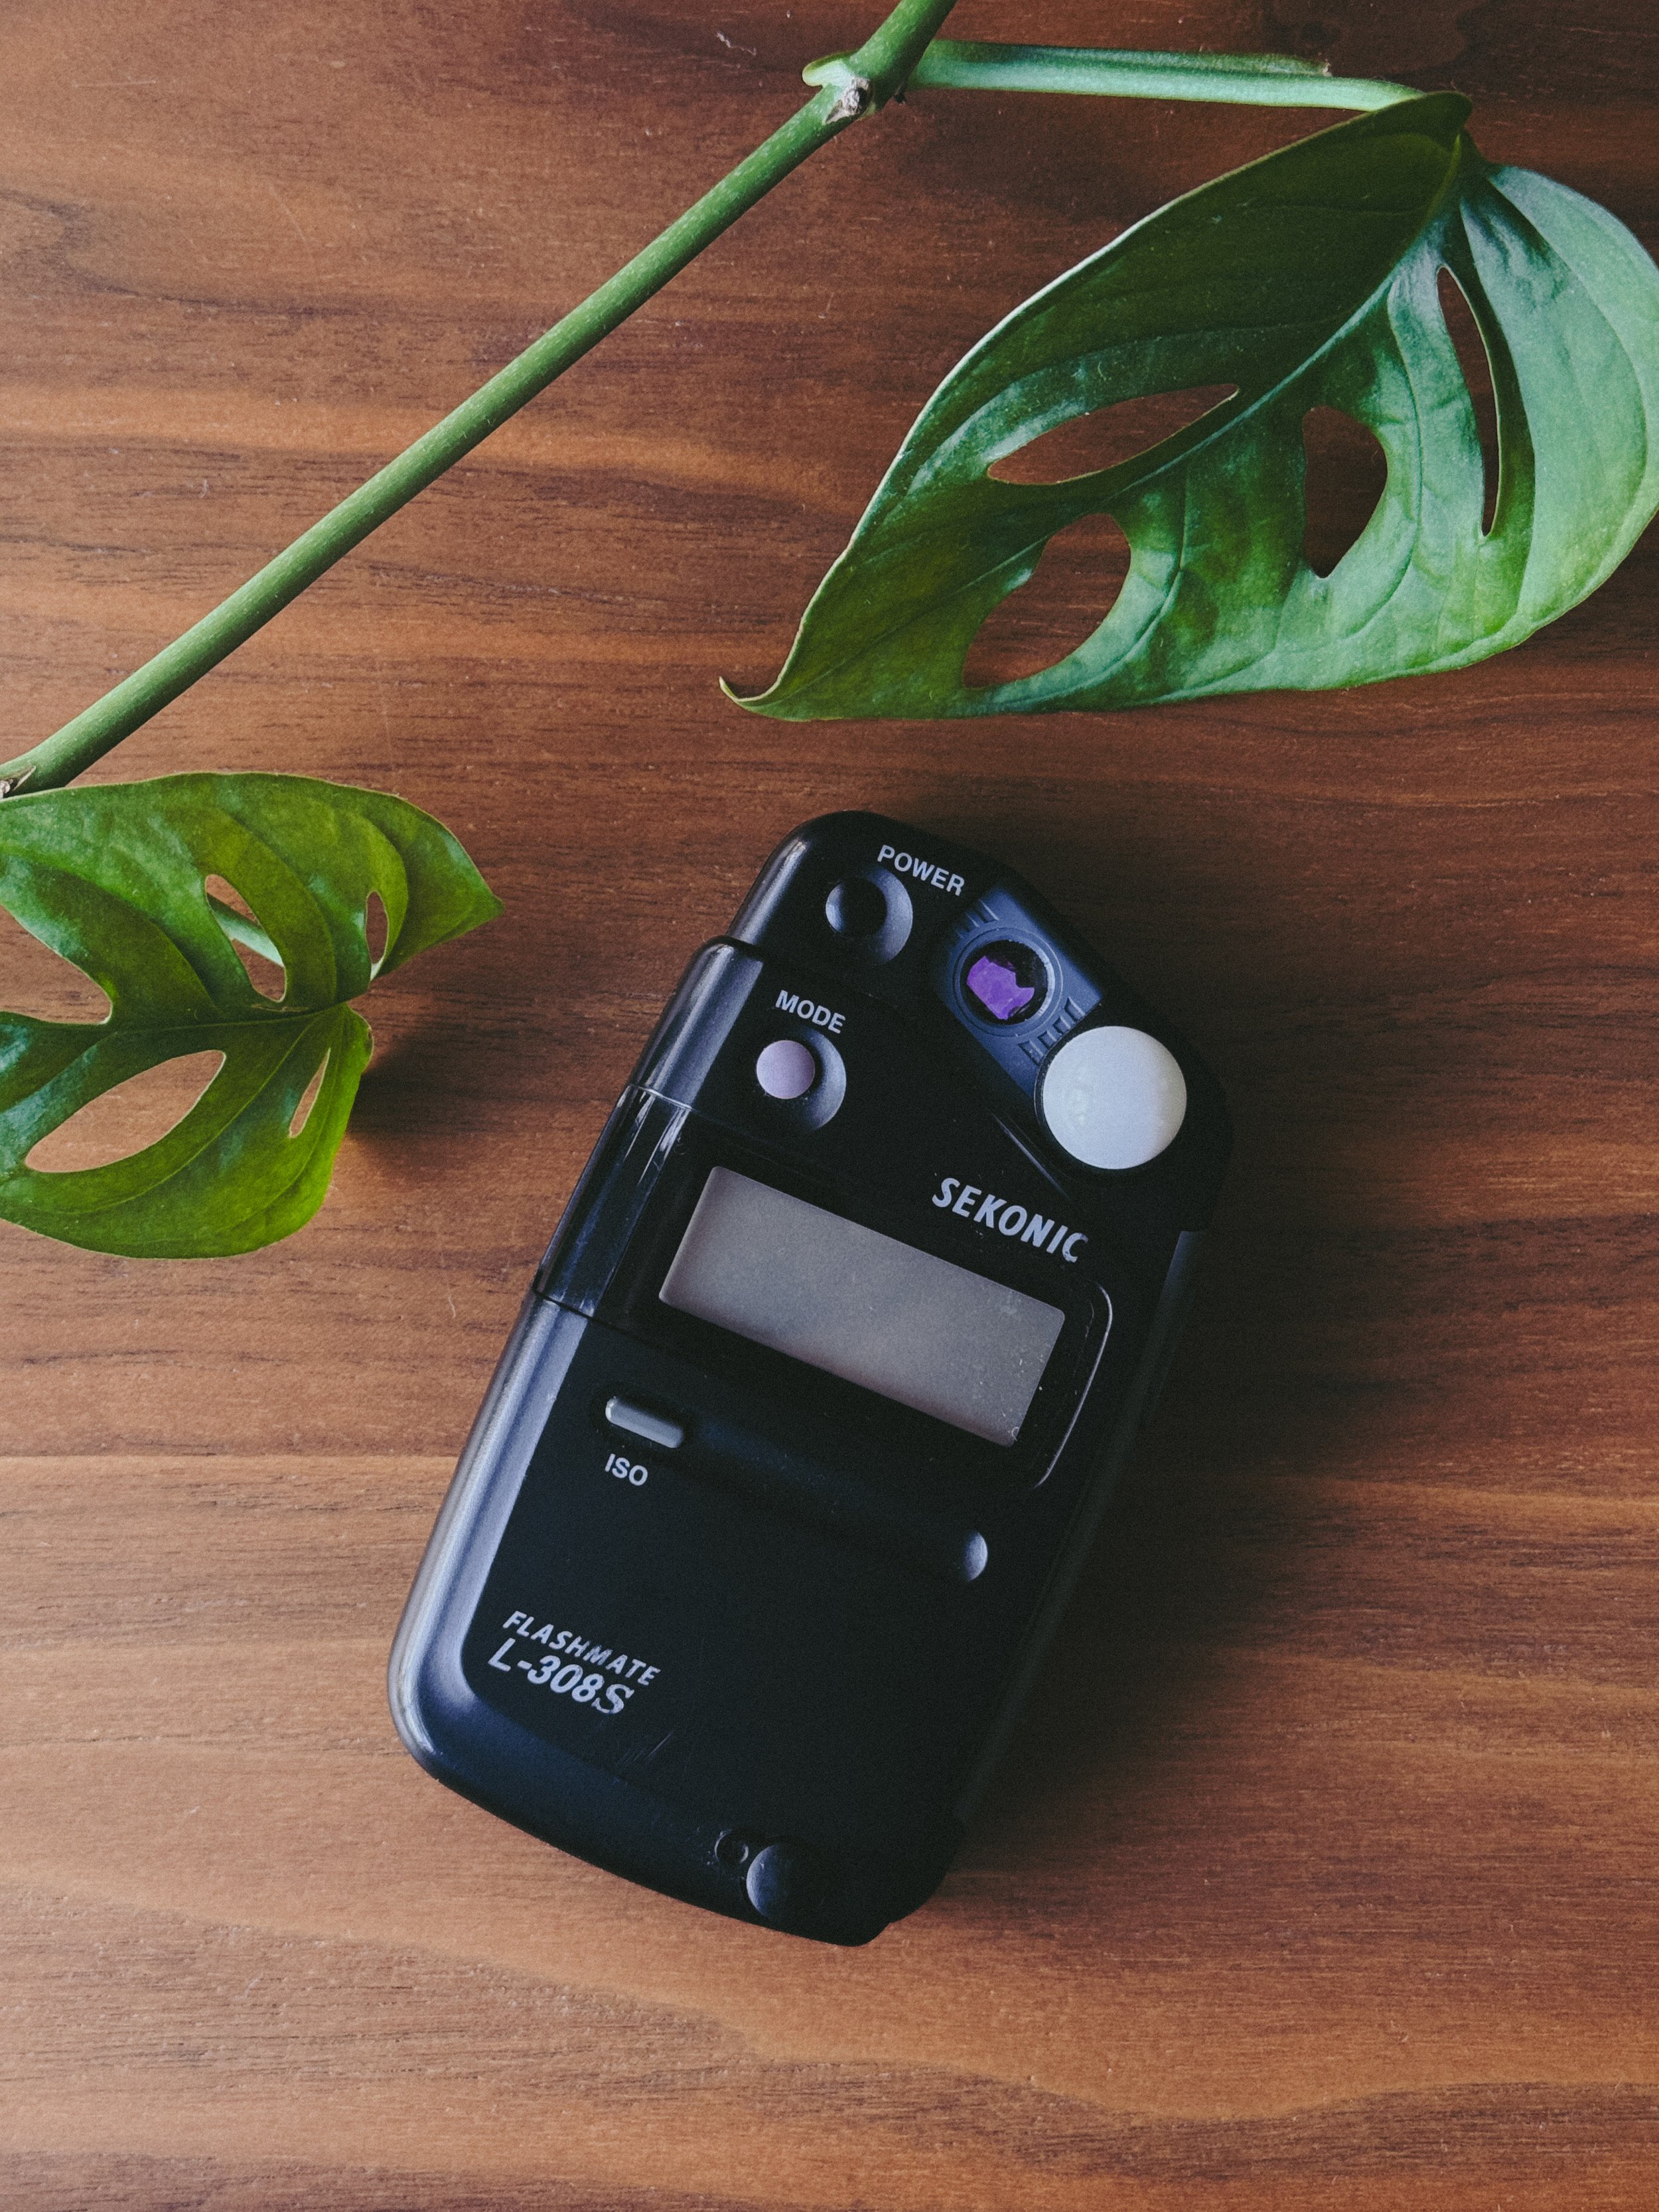
Incident metering set
Meter, then adjust aperture or shutter speed: You can simply take a meter reading of the whole scene, let’s say you get f/8 at 1/500th. Now either close down your aperture a stop, to f/11, or raise your shutter speed to 1/1000th. Don’t do both or you’ll get a similar exposure to what the meter already told you! Just one of those will underexpose your photo by a stop. If your lens or shutter speed dials allow for half stops, you could bracket your shots by shooting at the intended meter reading, then a half stop under, then a full stop under. If your camera only has half stop f/stops, then using the earlier example of f/8 at 1/500th would look like: first frame - f/8 at 1/500th (meter reading), second frame - f/9 at 1/500th (1/2 stop underexposed), and the third frame - f/11 at 1/500th (full stop underexposed). Obviously, if you’re trying this method on a digital camera, you may already know that your camera may have a bracketing setting that can do this, or you will have the ability to do both f/stops and shutter speeds at 1/3 stops.
Change ISO or film speed, then meter normally: Change the ISO to within a full stop to underexpose your photos while still using the meter as normal. For example, if you are shooting Portra 800, change the ISO (ASA, film speed) to either 1000 (-1/3 stop), 1250 (-2/3 stop), or 1600 (-1, full stop). This will tell your camera to adjust the meter readings for that film speed or ISO rather than the box speed. This technique can work for both film and digital, but is best for digital. Film does not like underexposure very much. In some cases, more than a stop of underexposure can ruin the shadows, which will look extra grainy and noisy with little to no detail. Digital is much more forgiving in underexposure and you can typically bring back the shadows in editing by a good margin.
Use the camera’s aperture priority and exposure compensation features: If your film camera has aperture priority, or you are shooting with a digital camera, then your camera will most likely have an exposure compensation dial. It may even be something you’ve wondered about for a while. It typically has numbers ranging from -3 to 0 to +3 with increments between each whole number. Those increments are usually 1/3 stops. So you would get 0, 1/3, 2/3, 1, and so on.
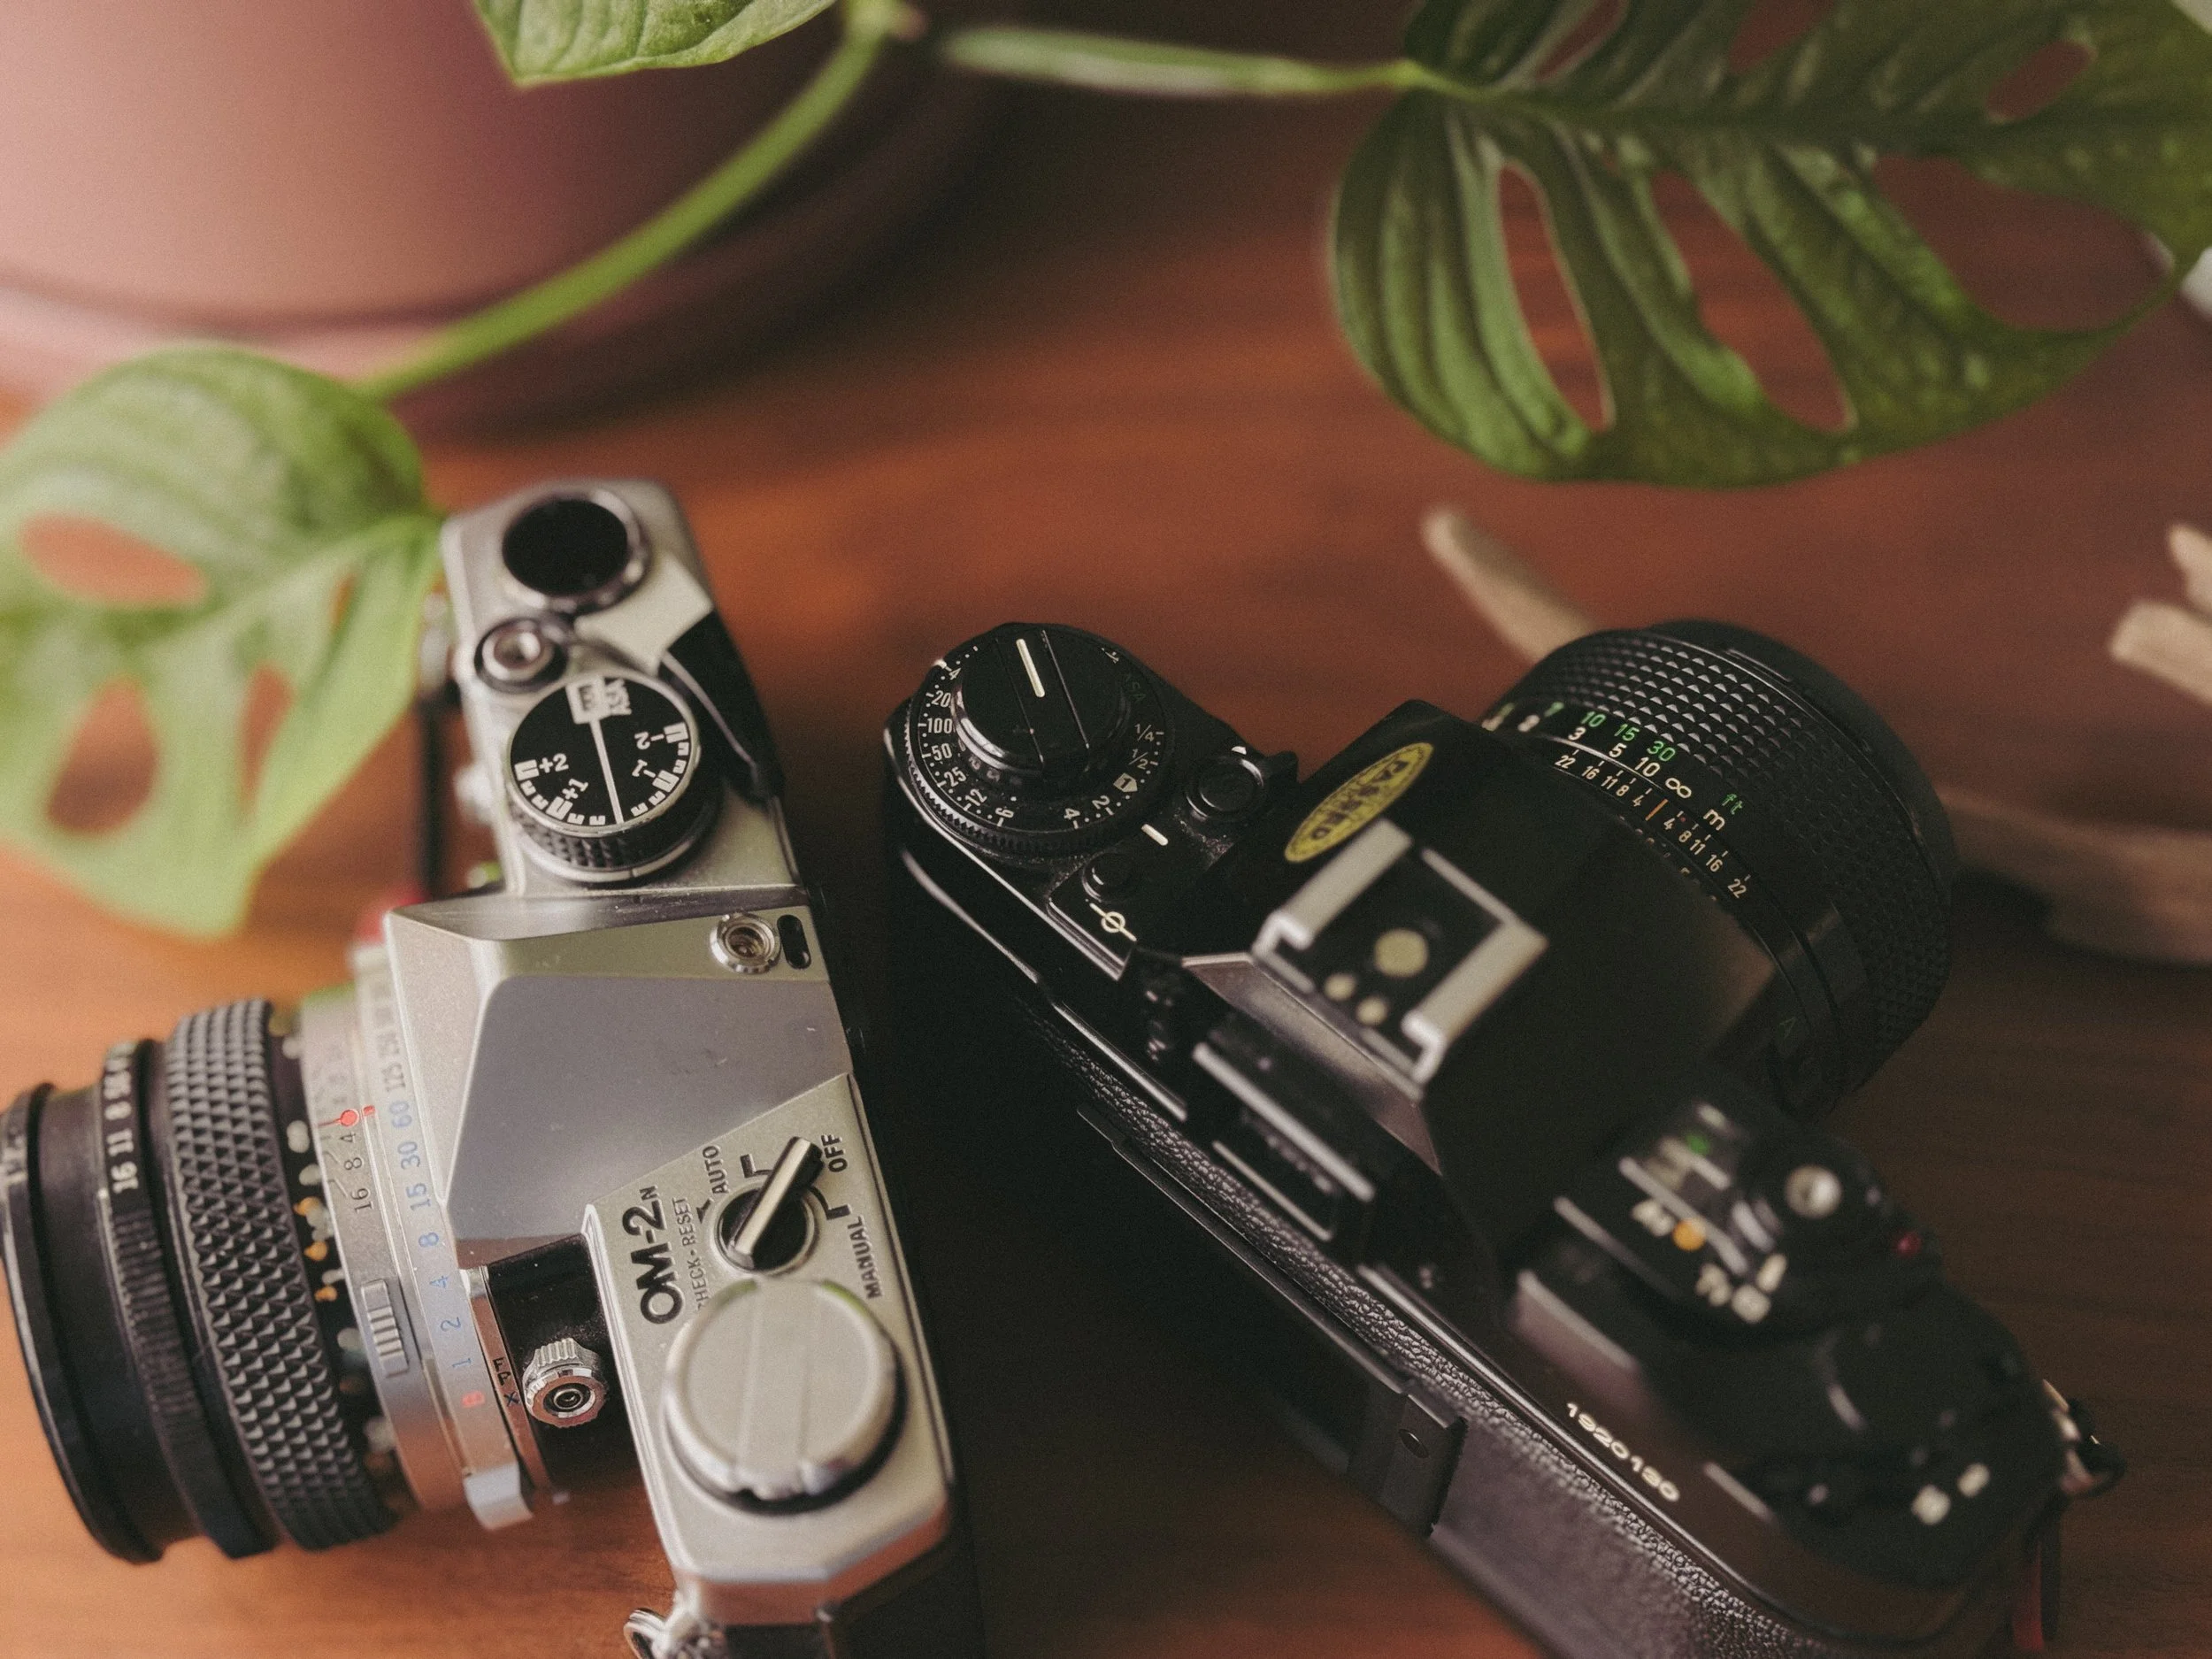
Olympus OM-2n and Canon A-1 exposure compensation dials
Fujifilm X-E5 exposure compensation dial
In the photo on the left, you’ll see two different film cameras with exposure compensation dials. The OM-2n on the left has the dial between the prism and the film advance lever and ranges from -2 - +2. The Canon A-1 on the right has the exposure compensation dial on the left of the body (when holding it) connected to the ISO dial and under the rewind knob. It ranges from -1/4 - +4.
In the photo on the right, you’ll see the exposure compensation dial on the right of the Fuji X-E5 body, behind the shutter release button. It ranges from -3 - +3.
For these settings to work, you need to have your camera in semi-automatic mode. On something like the OM-2n, that would be aperture priority. If using something like the Canon A-1 or the Fuji X-E5, I could set it in either shutter or aperture priority mode, or even automatic (no thank you). This applies really to any modern camera. If you are using a mirrorless DSLR with the viewfinder set to show over- and underexposure, then you’ll see what the exposure compensation dial does in real time.
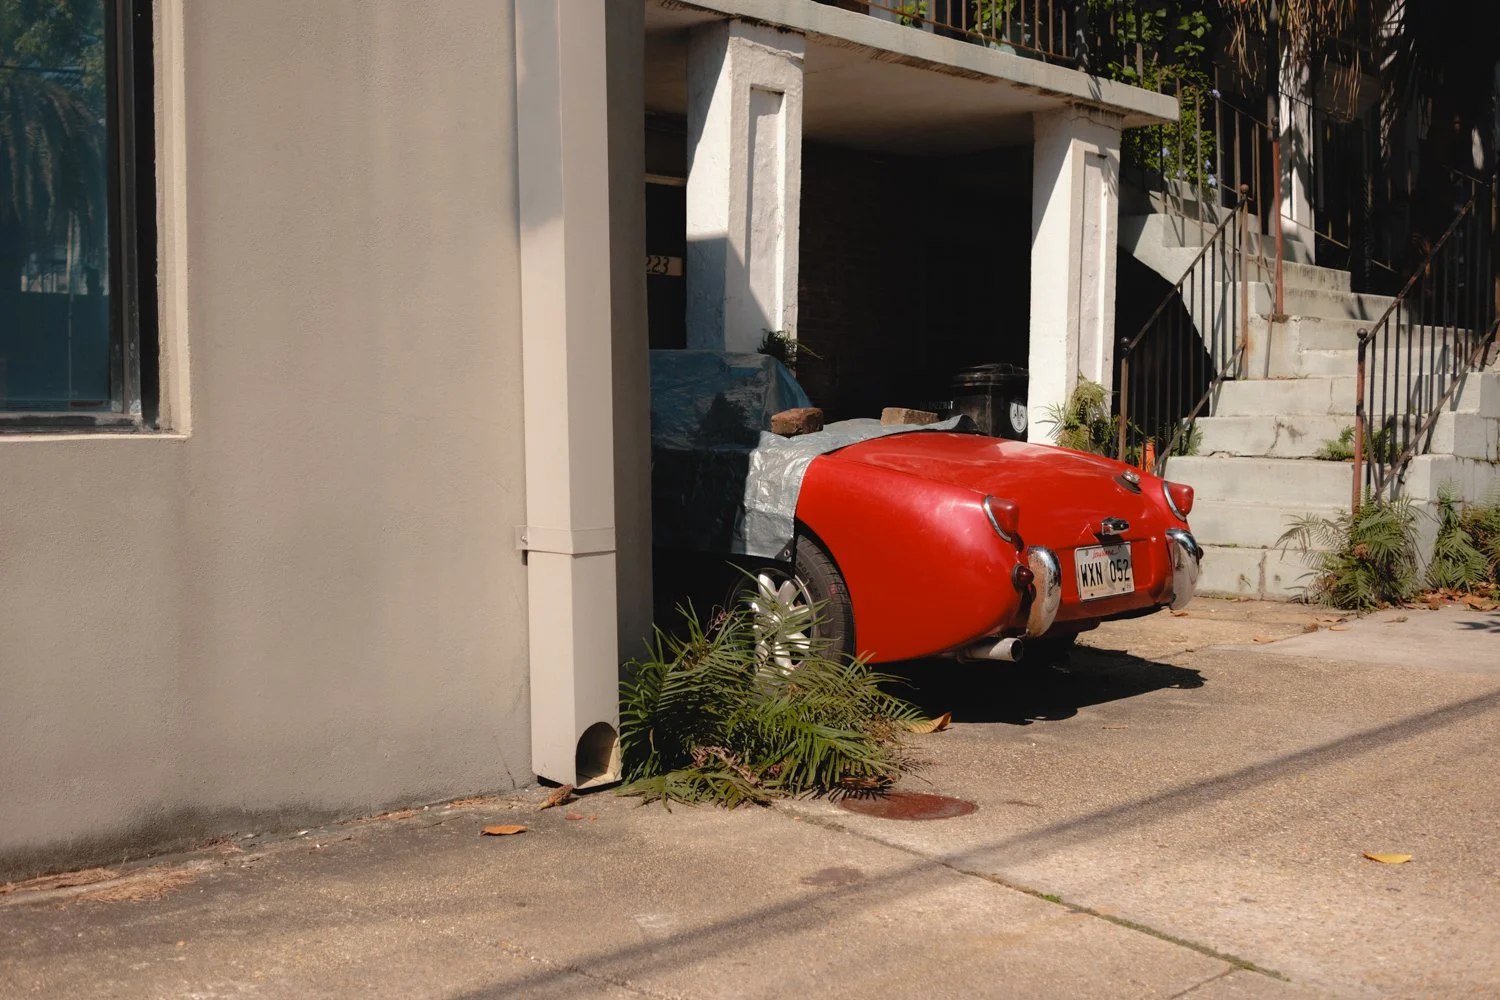
Overcast & Cloudy
Shooting when there isn’t a lot of bright light can actually be better for things like products, cars, and portraits. Overcast or cloudy skies acts as a natural diffuser. The light is flat, even, and soft. If shooting in color, this can be a way to get color to pop when the rest of the scene is bland. If shooting in black in white, it gives the photograph more atmosphere and you a lot of room to build contrast in the darkroom or when editing.

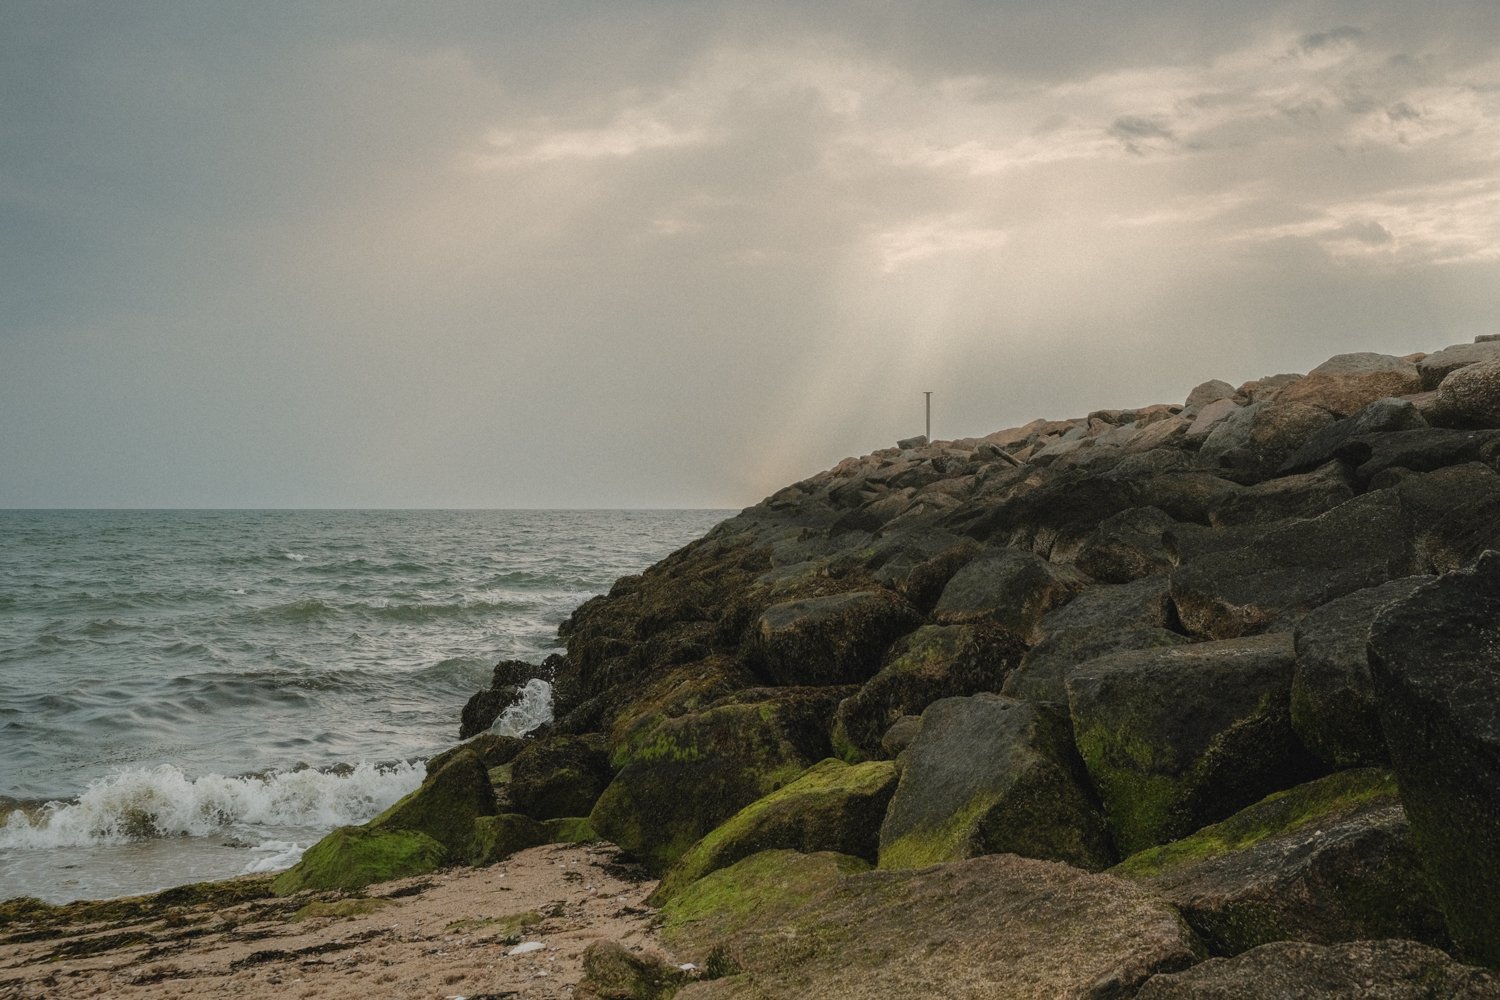
If it happened to rain recently, that can be a creative way to add interest, layering, or complexity to your photograph. When things are wet, they become more reflective or have beads of water that will bounce and refract light. There may be puddles that can reflect the environment or a subject like a mirror. You can play with the viewer’s sense of perspective by rotating the photo when editing or printing. Take a step further and try shooting at night in the rain. Play with light reflecting off of surfaces, windows, and puddles.
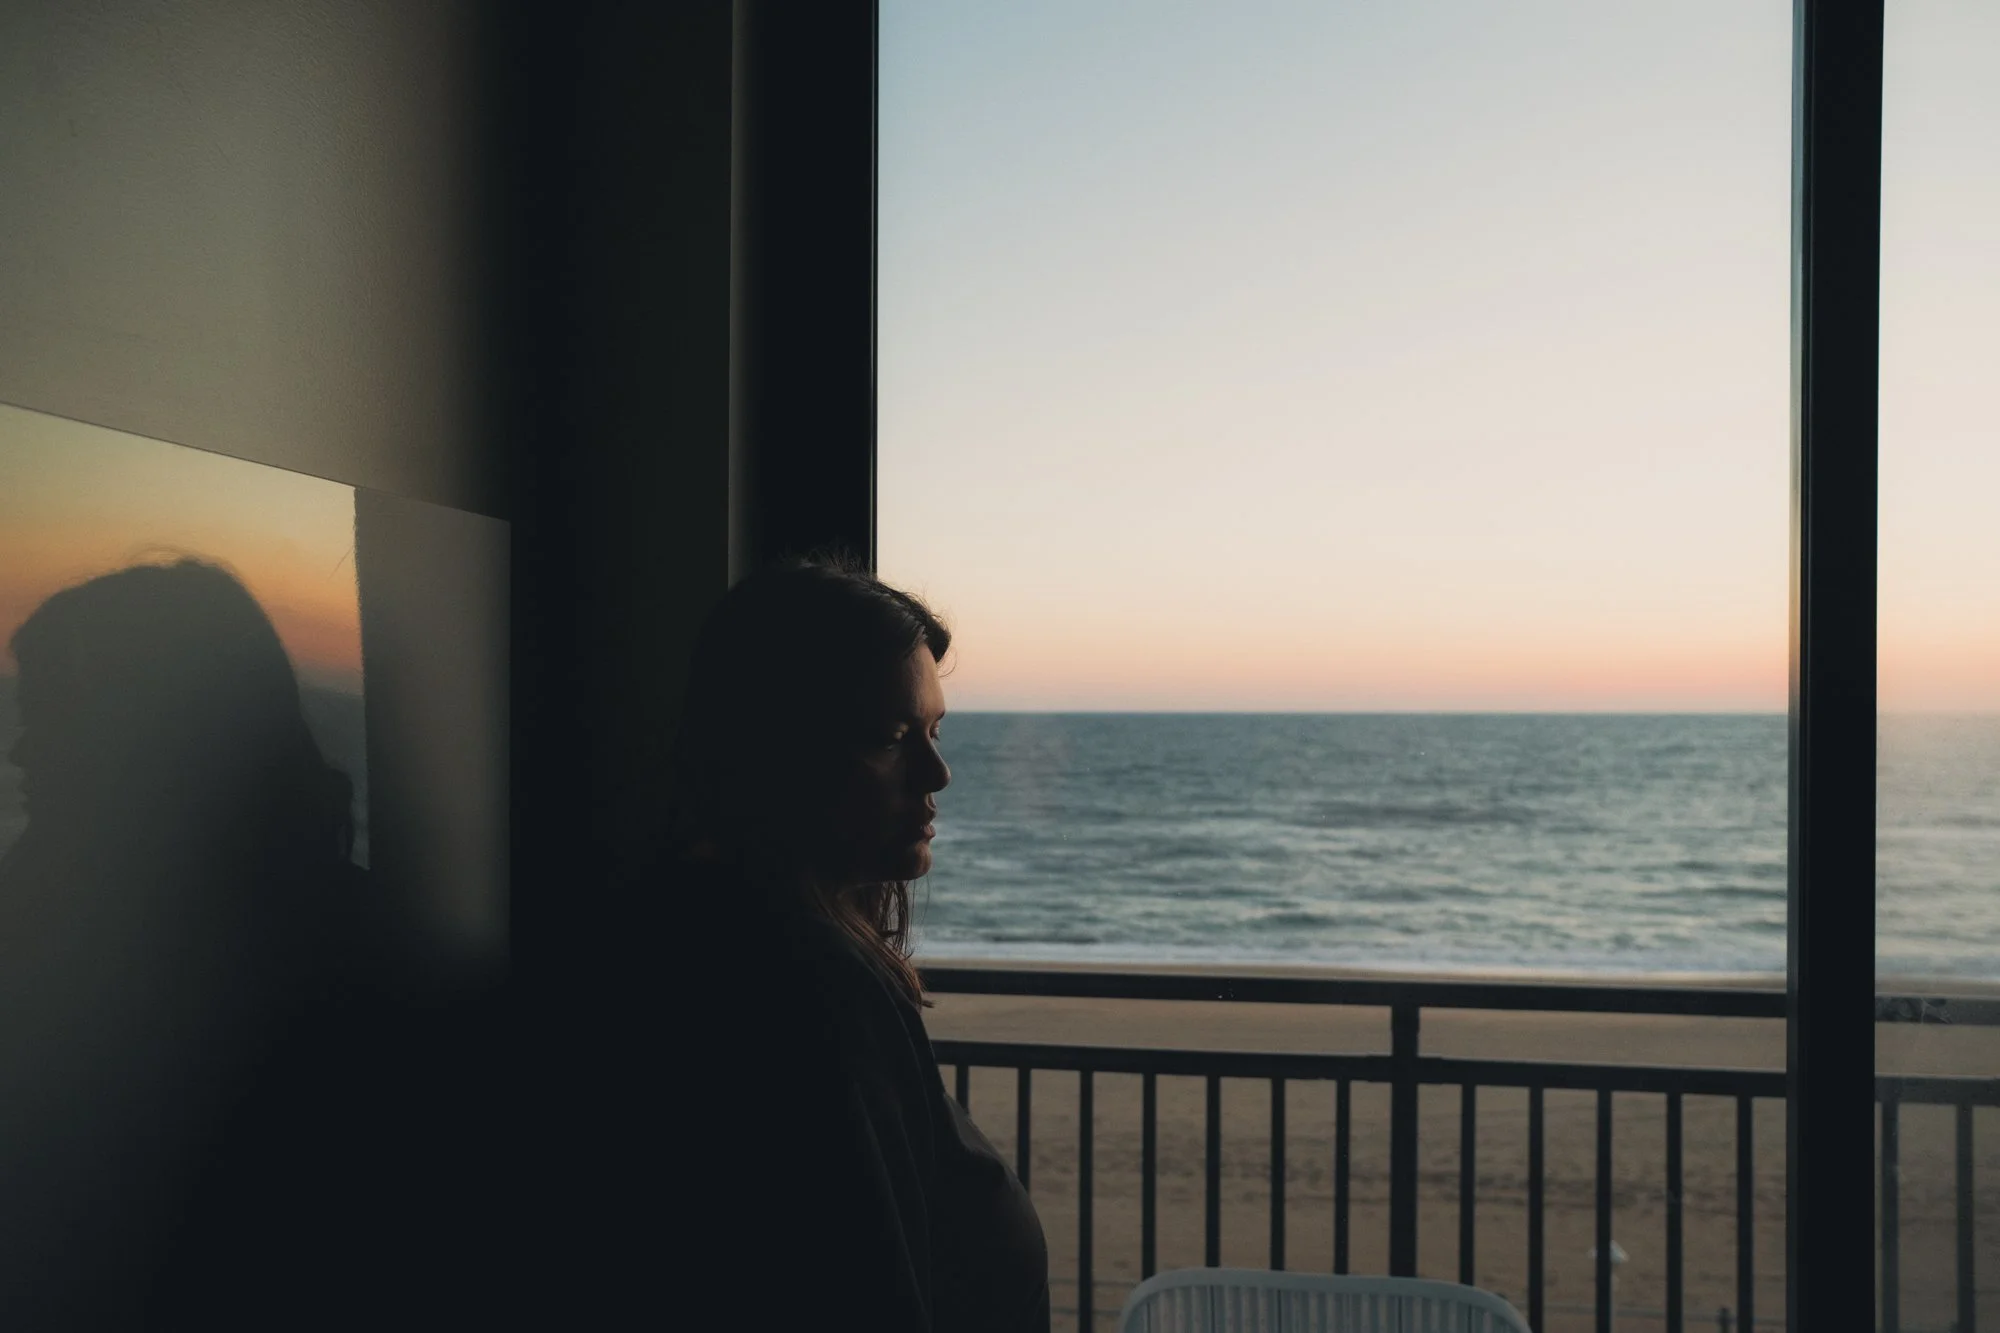
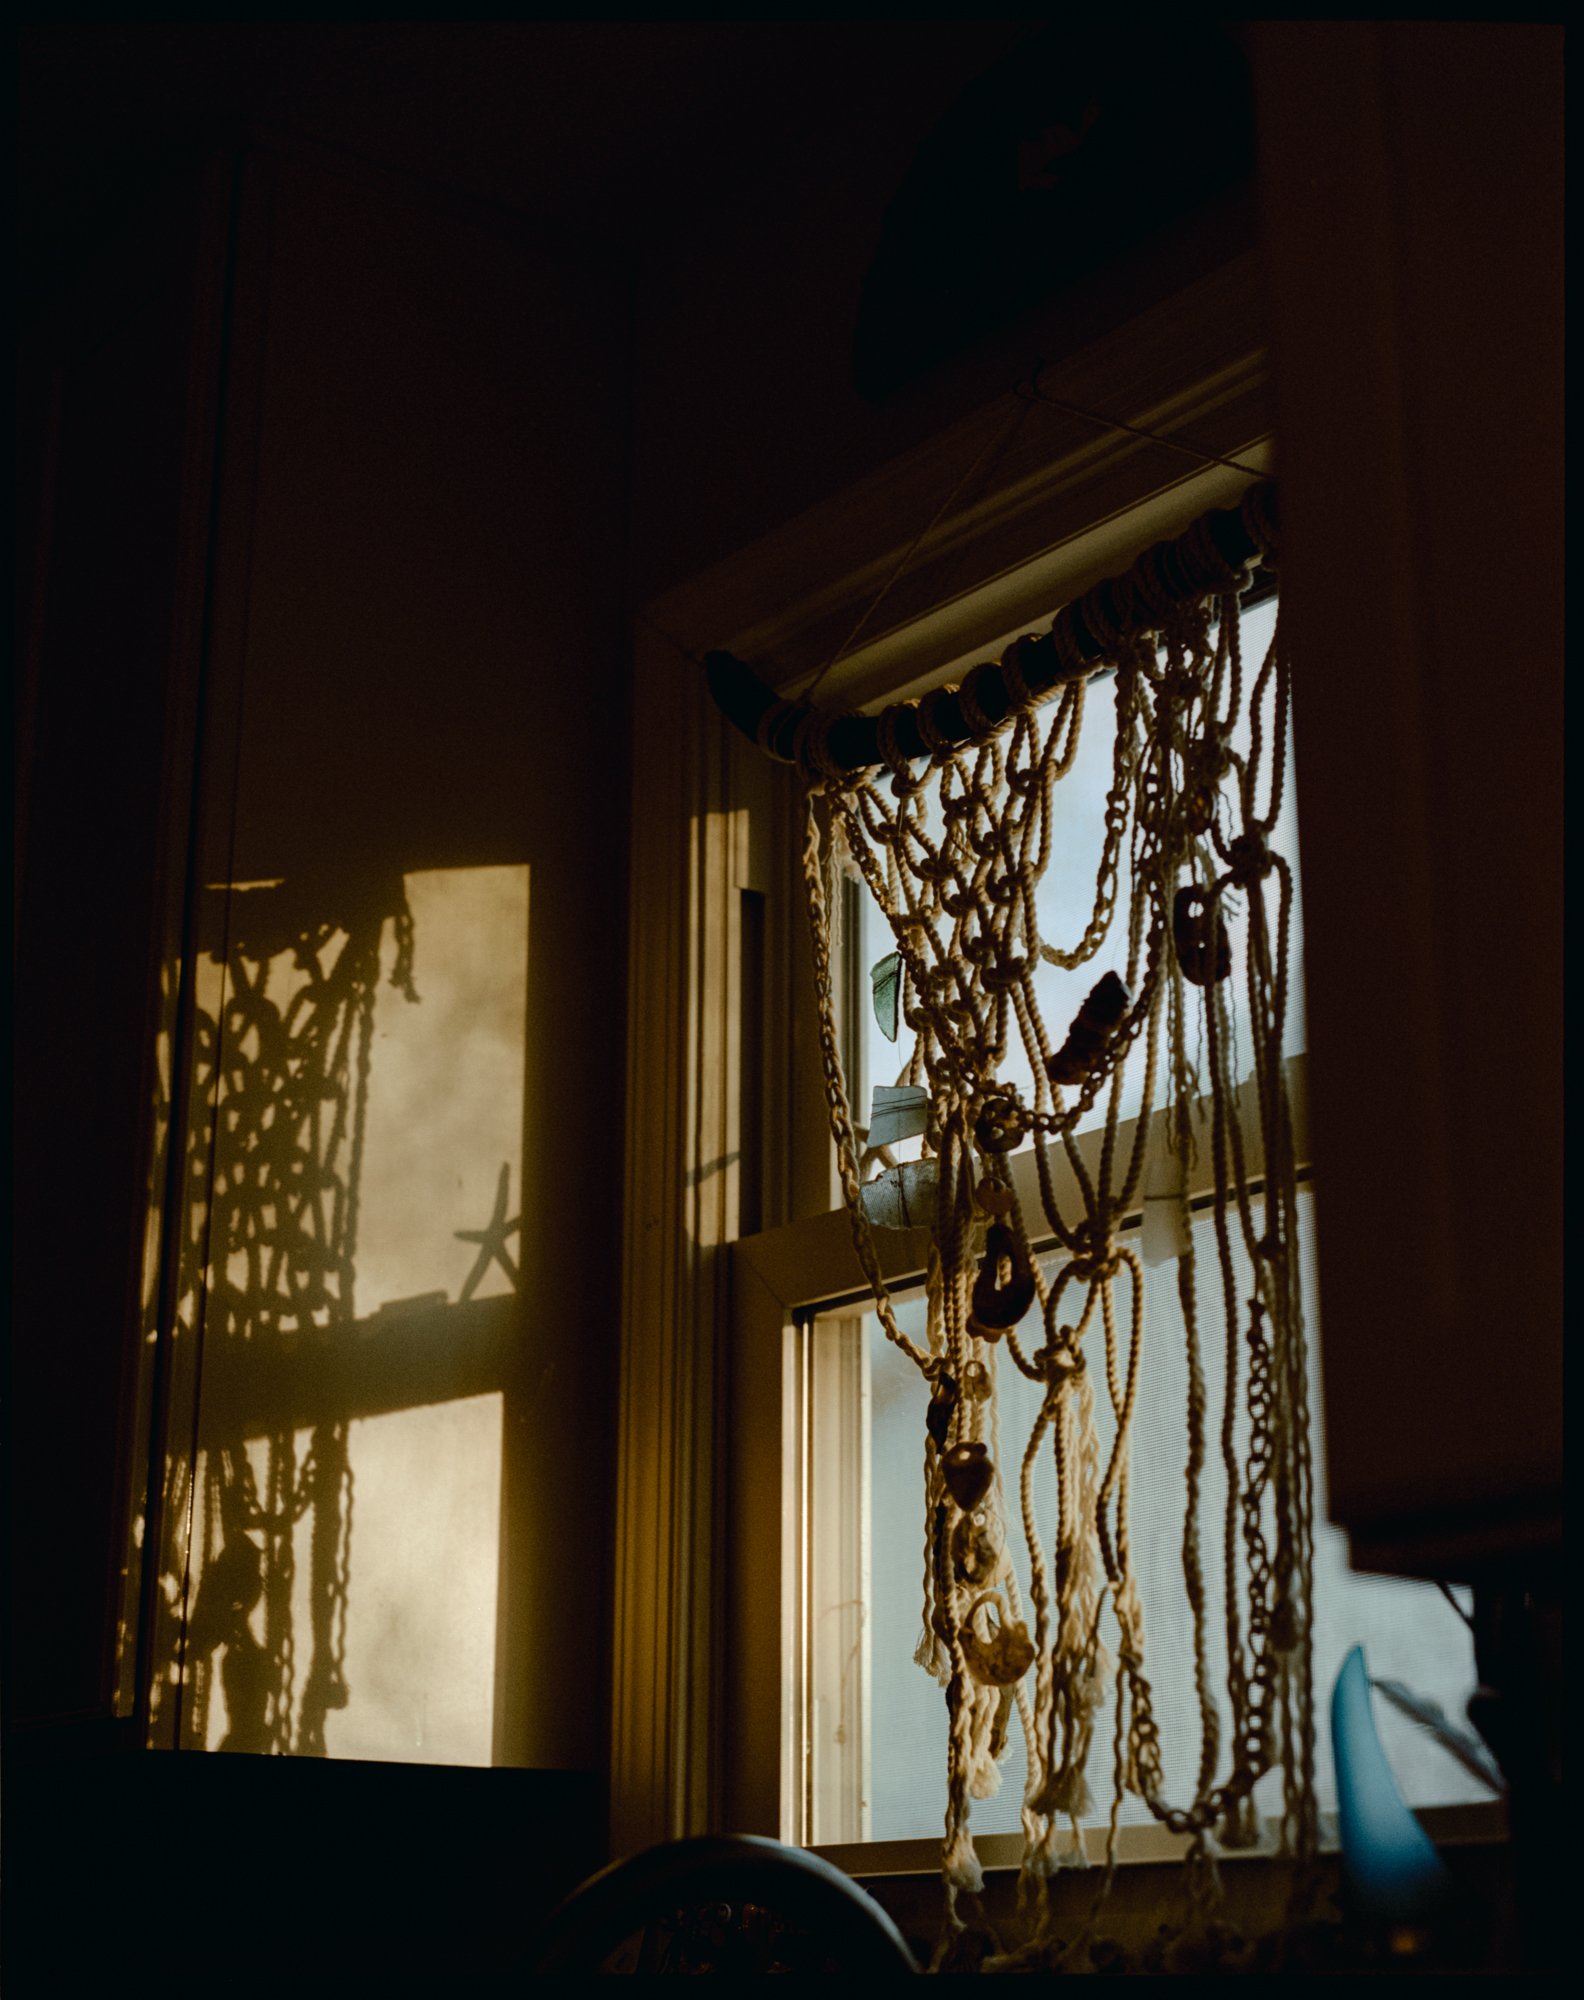
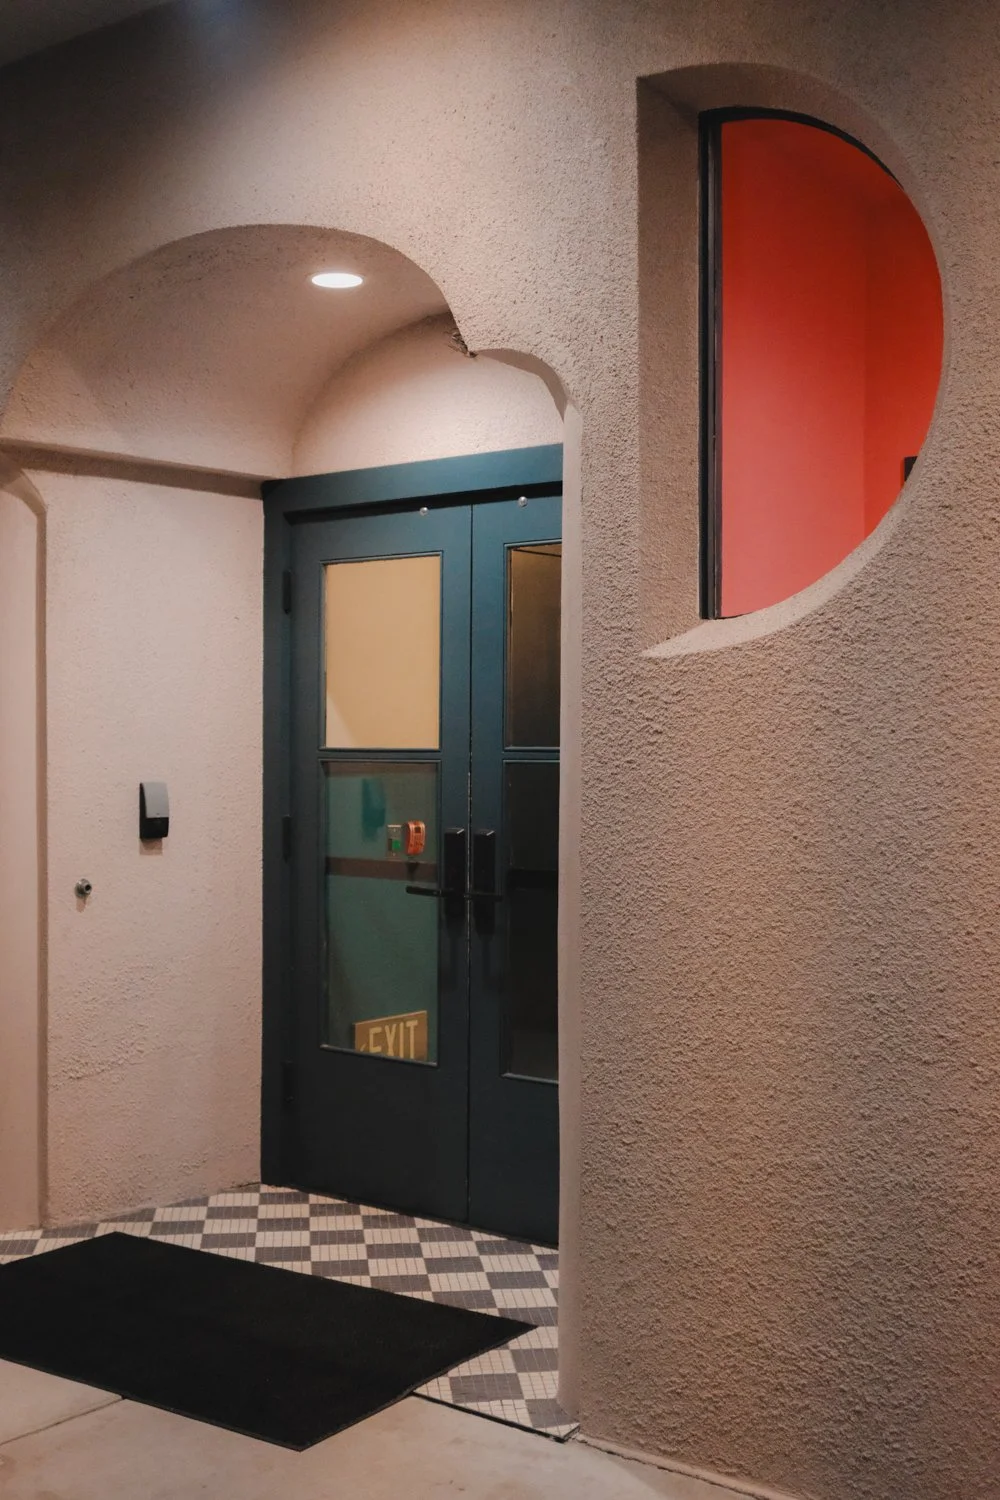
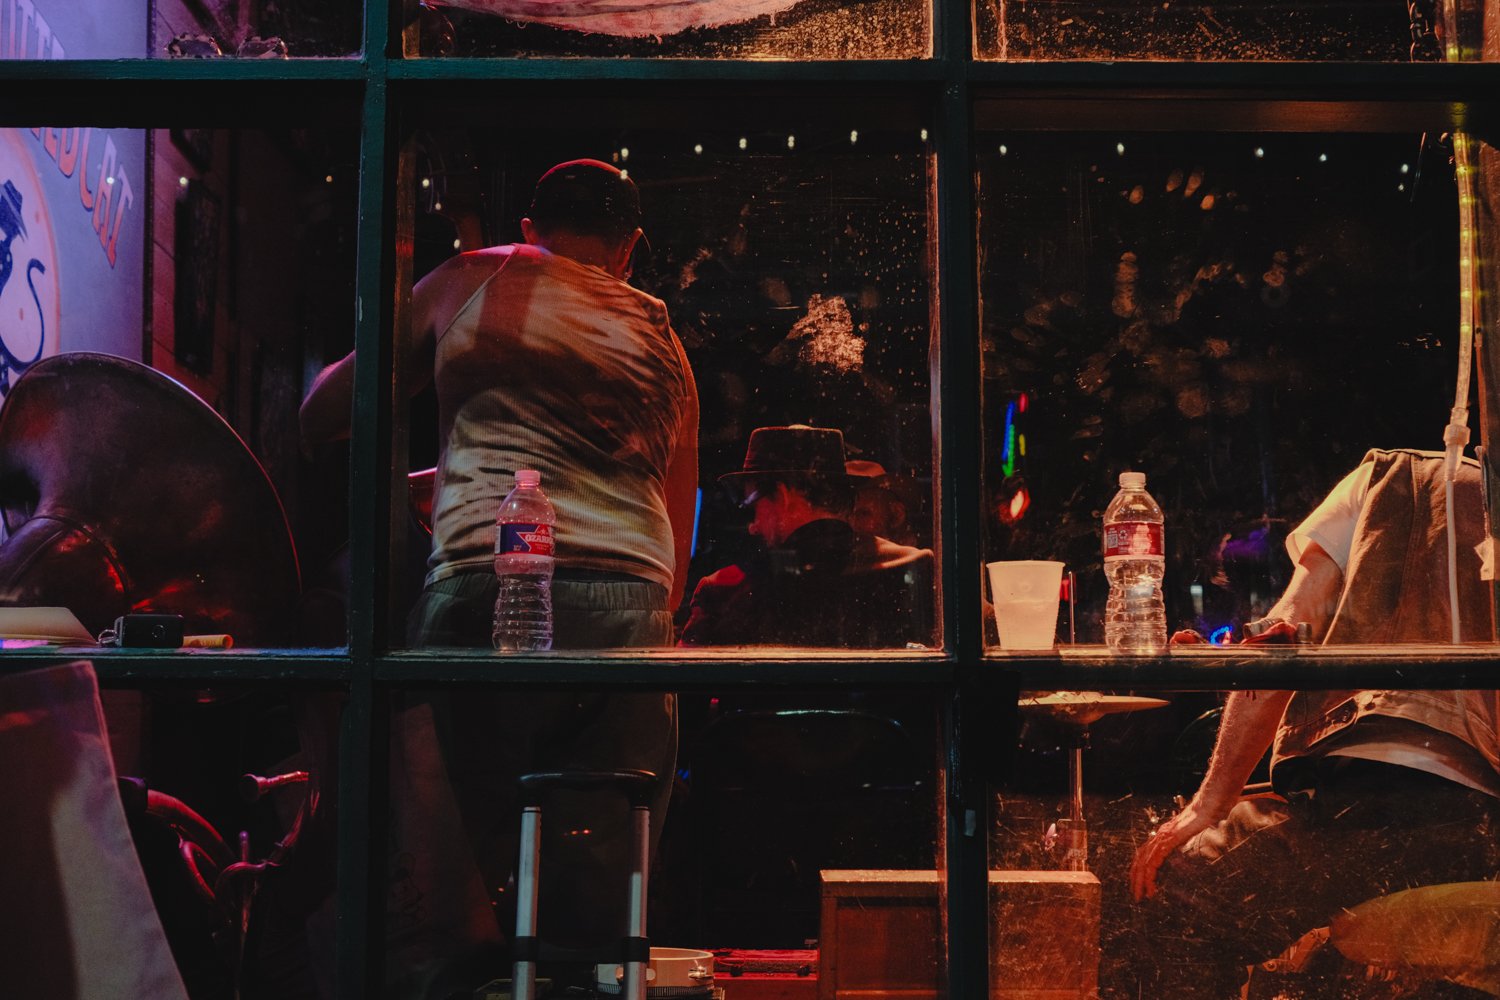
Multiple Light Sources & Temperatures
Multiple light sources? Sure! Play with color contrast and balance. You’ve probably heard of color grading; this is a great way to naturally color grade your work before even getting to the editing process. Combining natural light with artificial light, such as warm artificial light indoors near a window with cool natural light. Or try combining warm and cool artificial light.
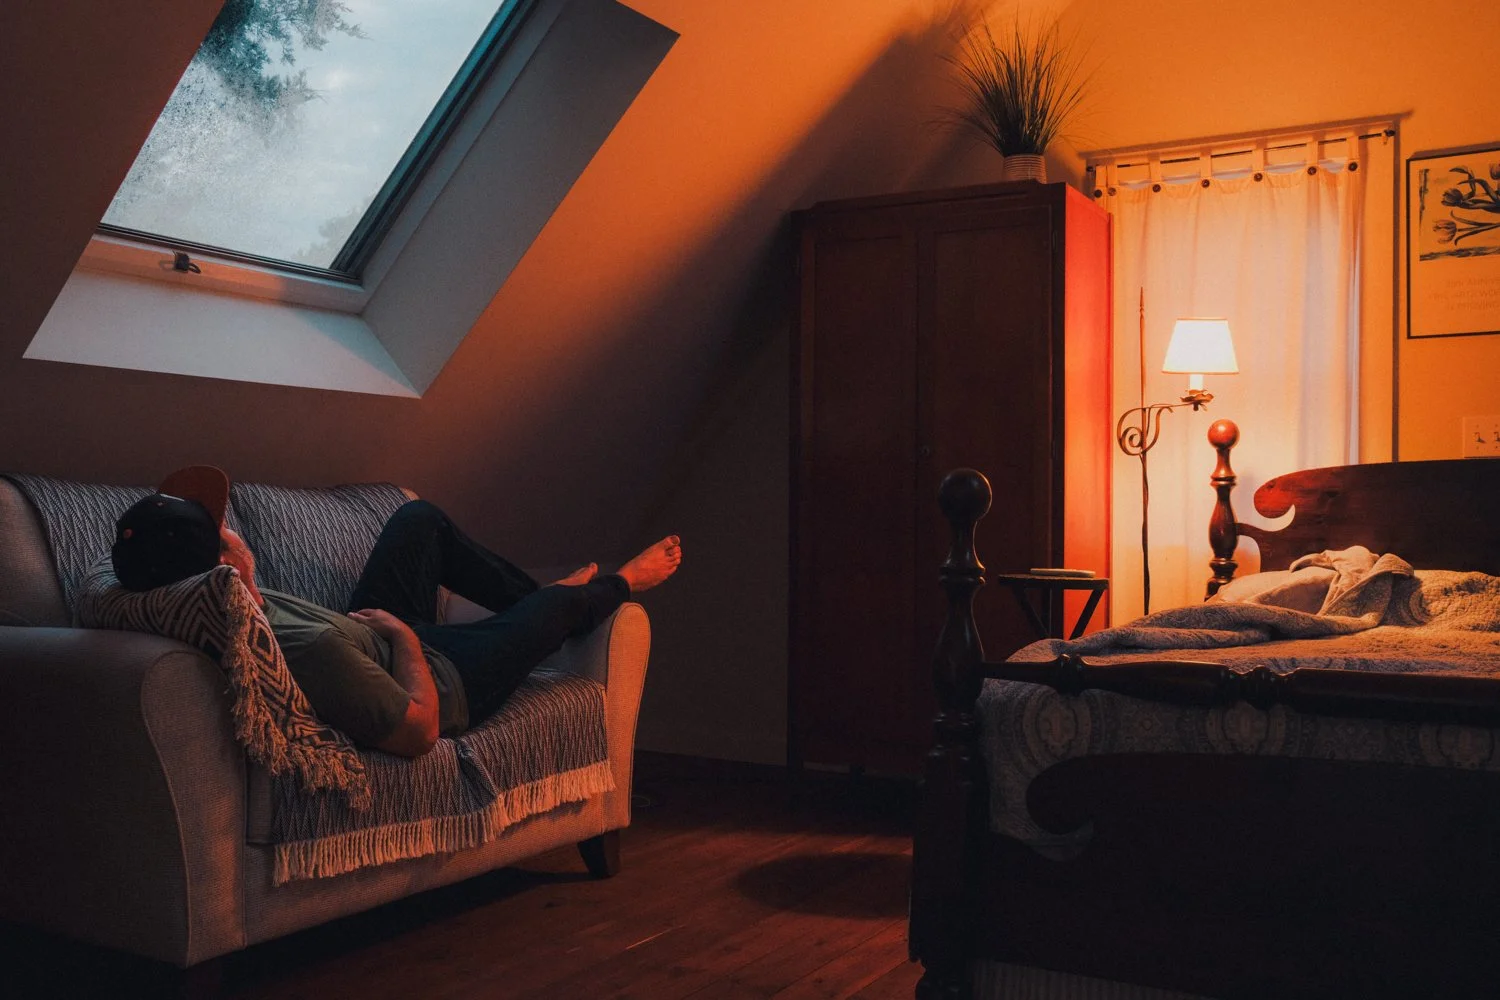
Fujifilm X-T3, XF 23mm f/2
Graflex Graphic View, Fuji Velvia 50
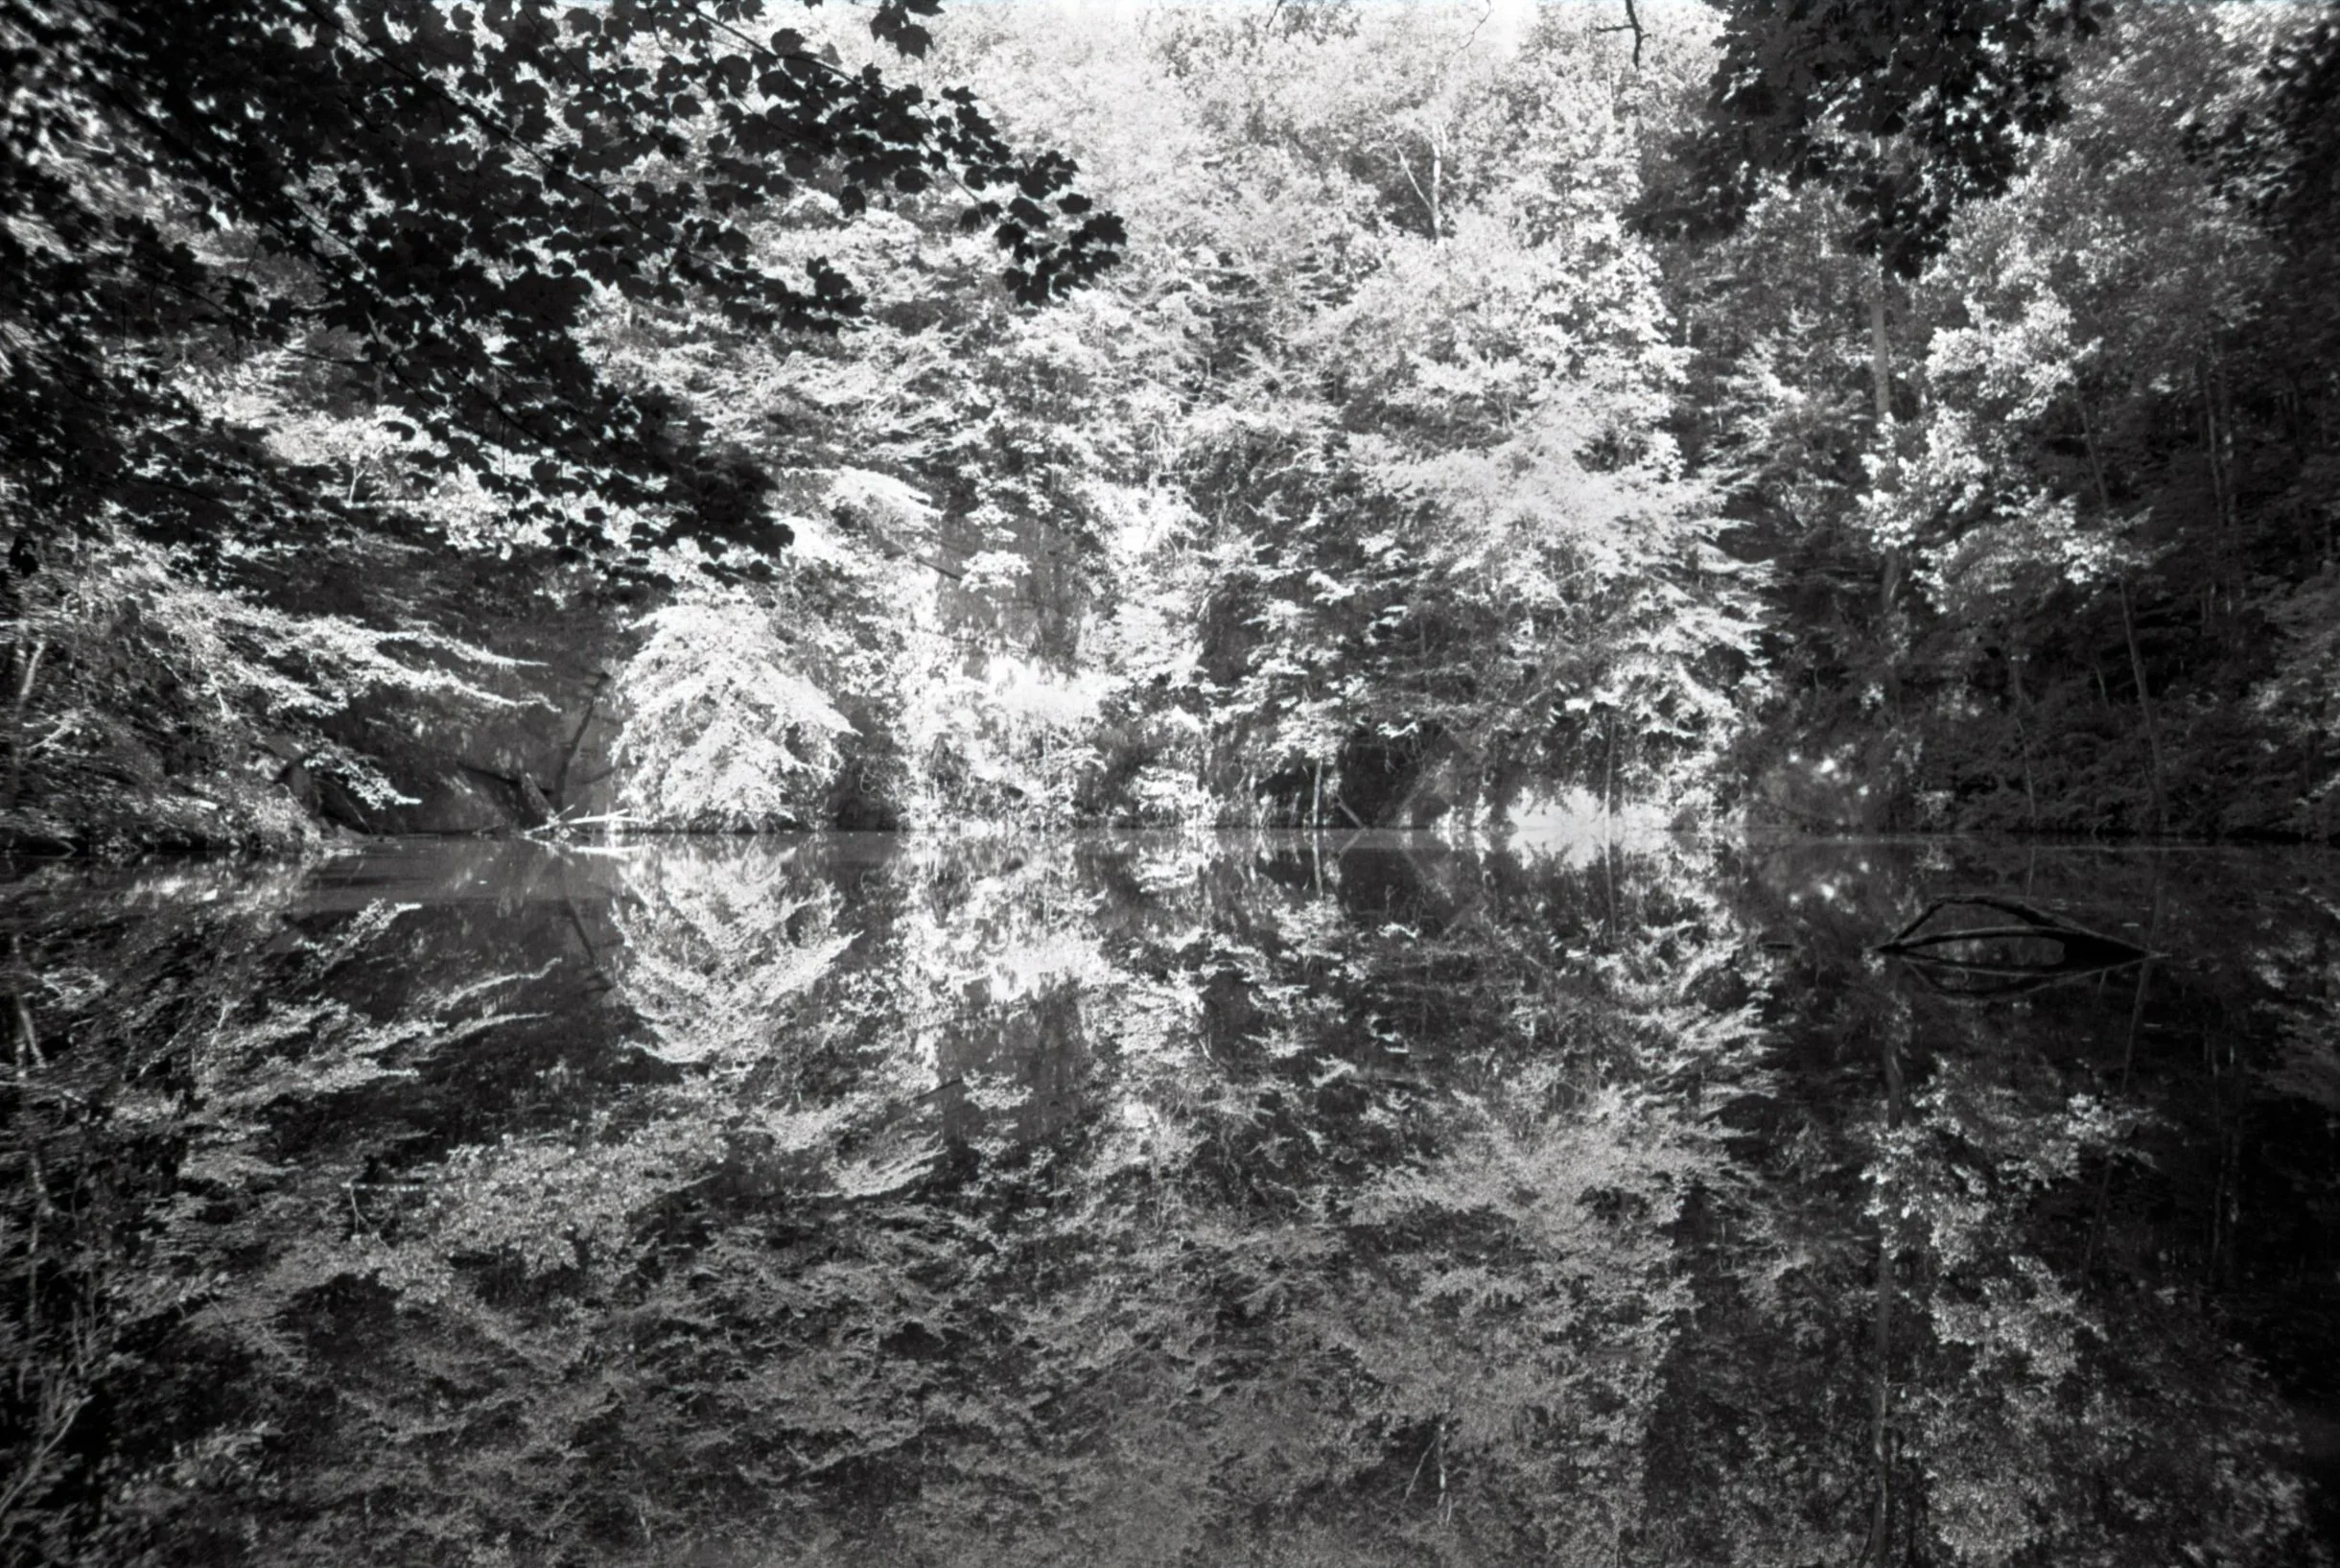
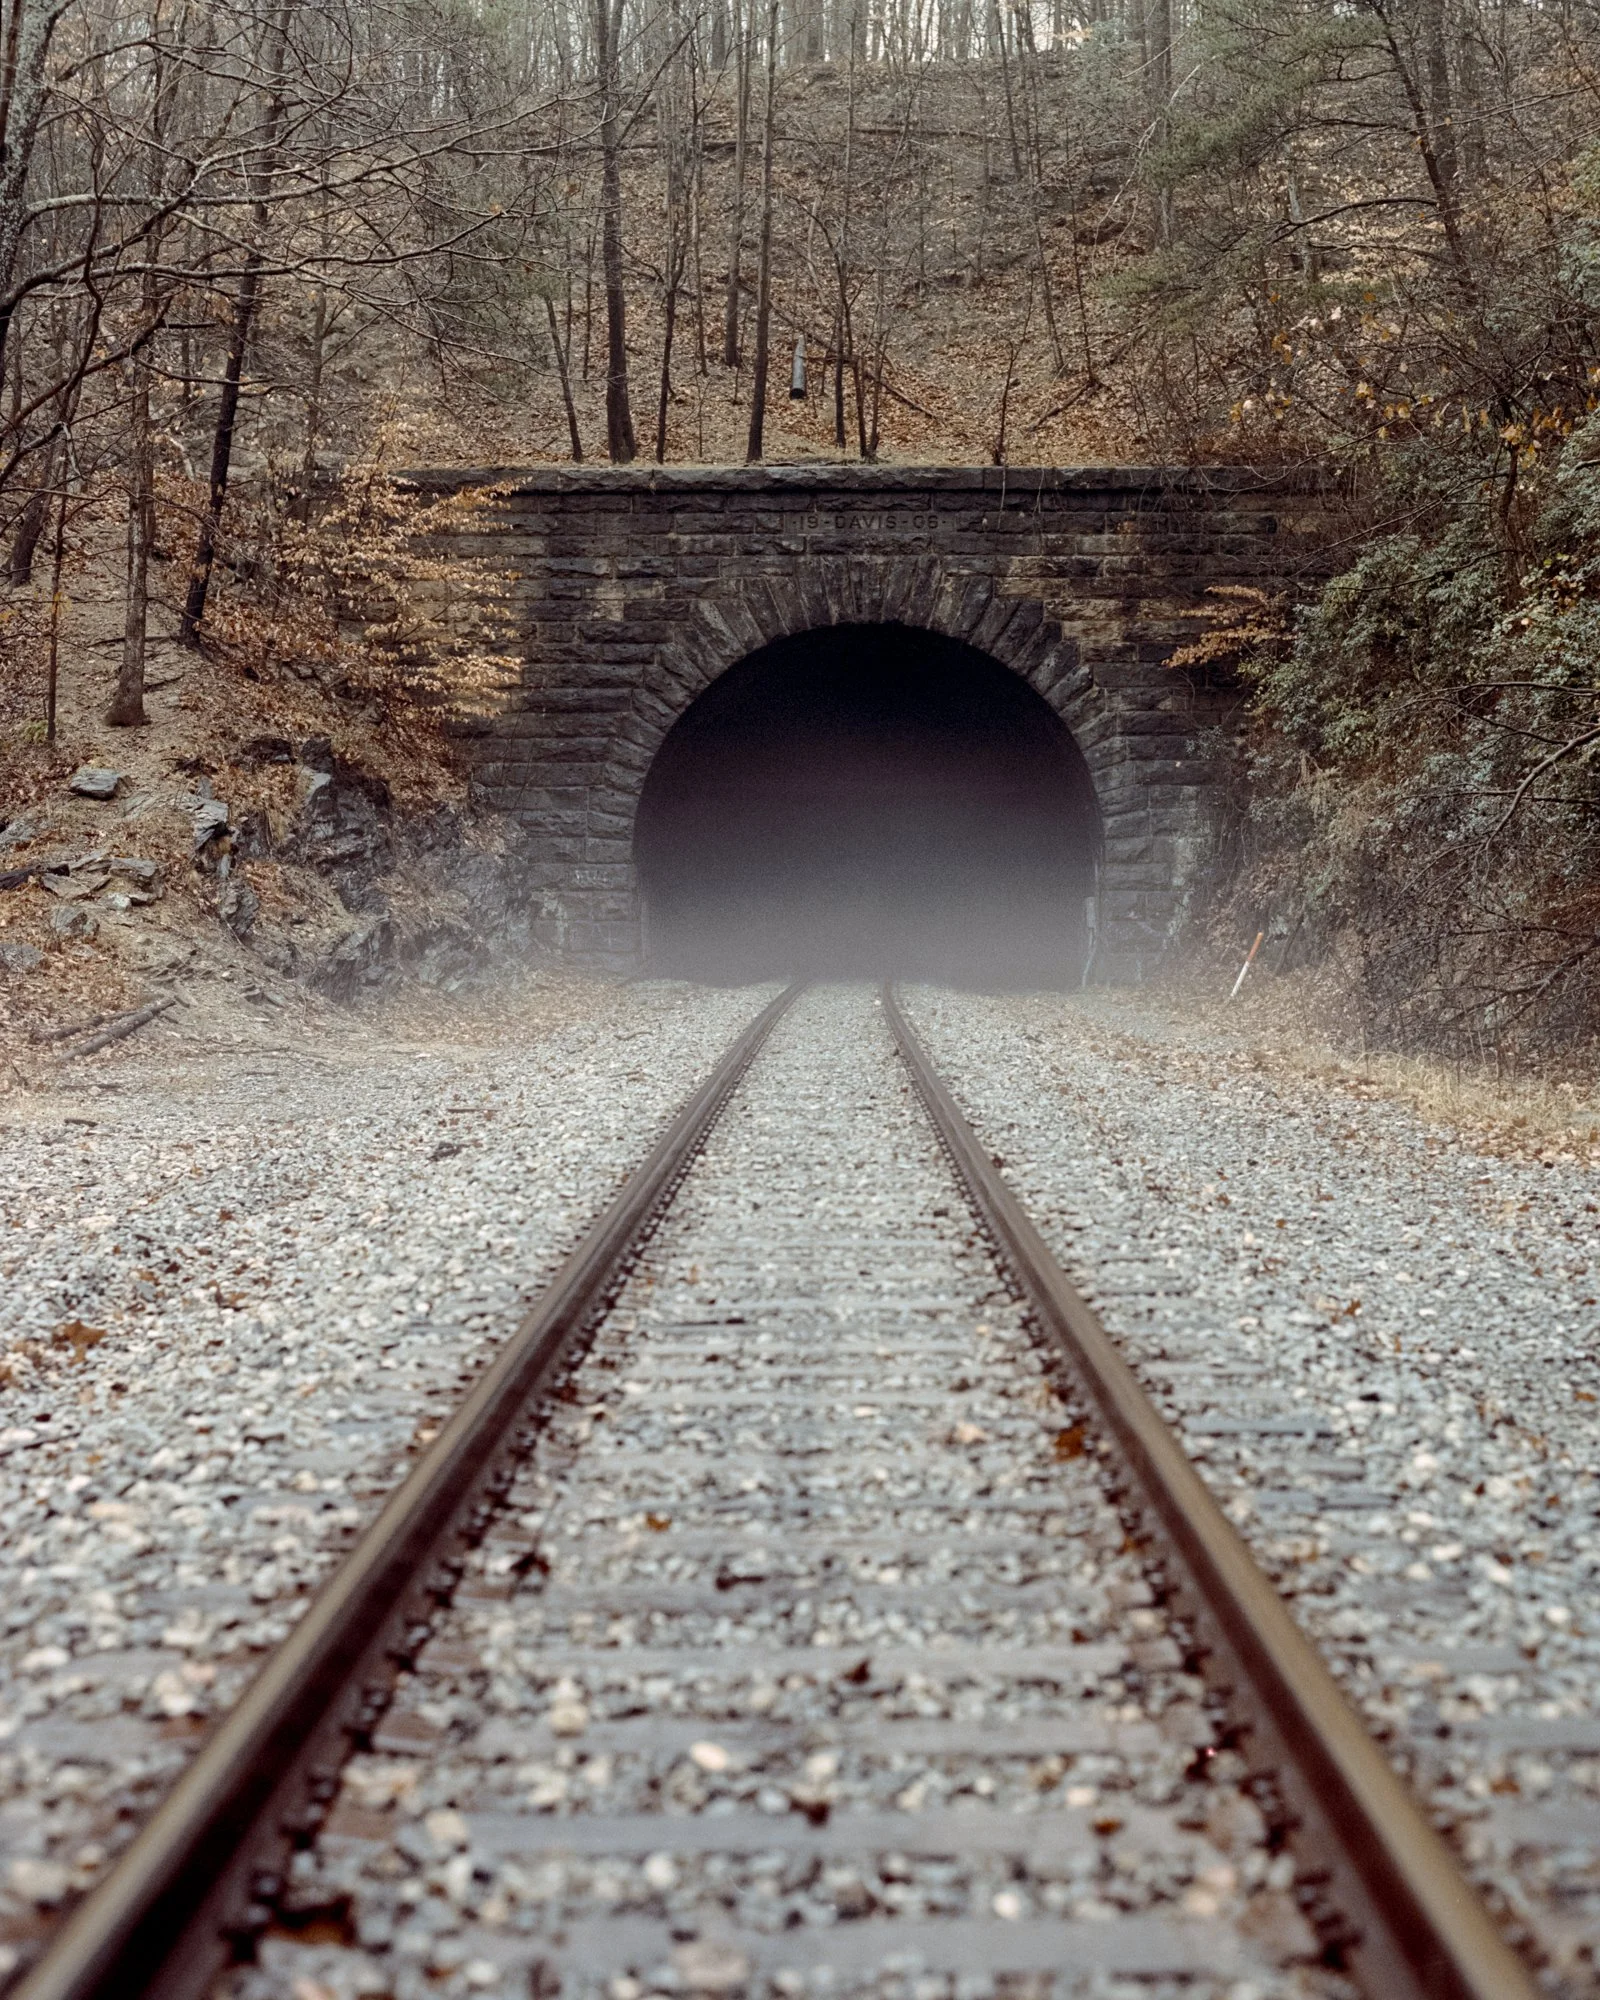
Fog
This might be one of my favorite times to shoot, though I almost never get to. If you like to imbue some mood into your work, this is going to be your jam. Throw in some rain or snow and you’ve got yourself a healthy set of variables to experiment with. Fog isn’t just for landscapes either. Portraits, products, cars, etc. will look amazing with a foggy backdrop. The colors will pop. Contrast will be low, leaving room to play in editing.
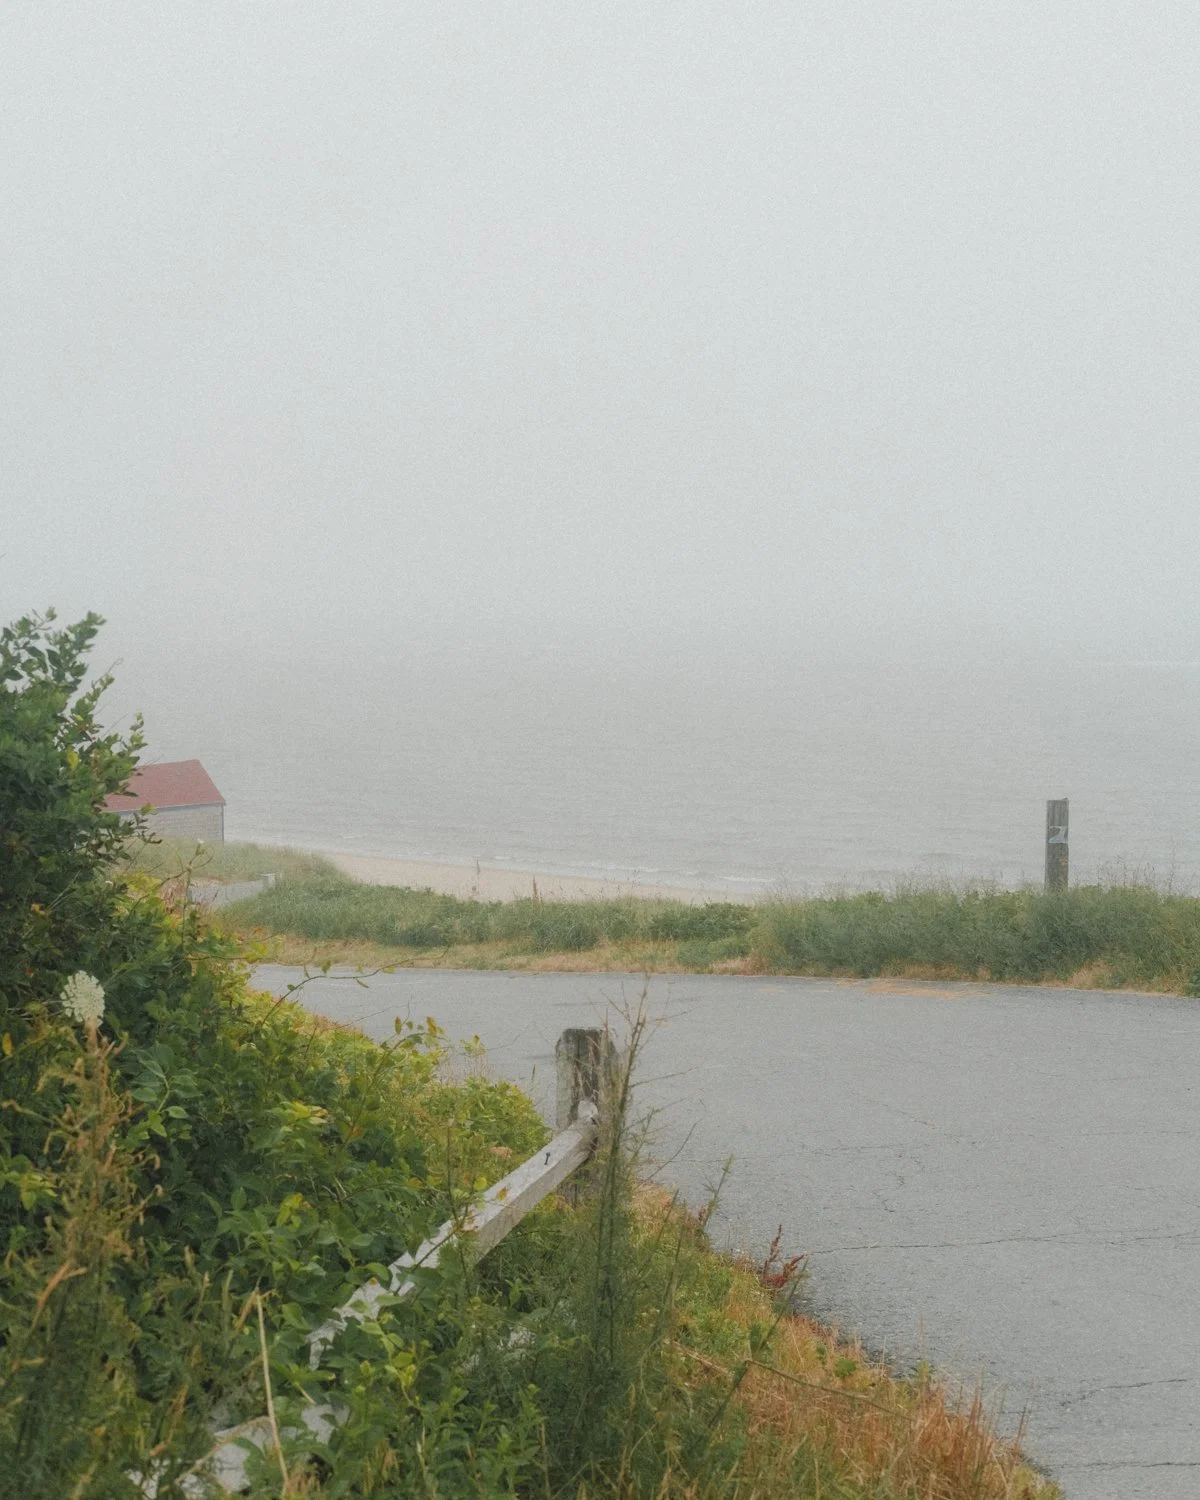
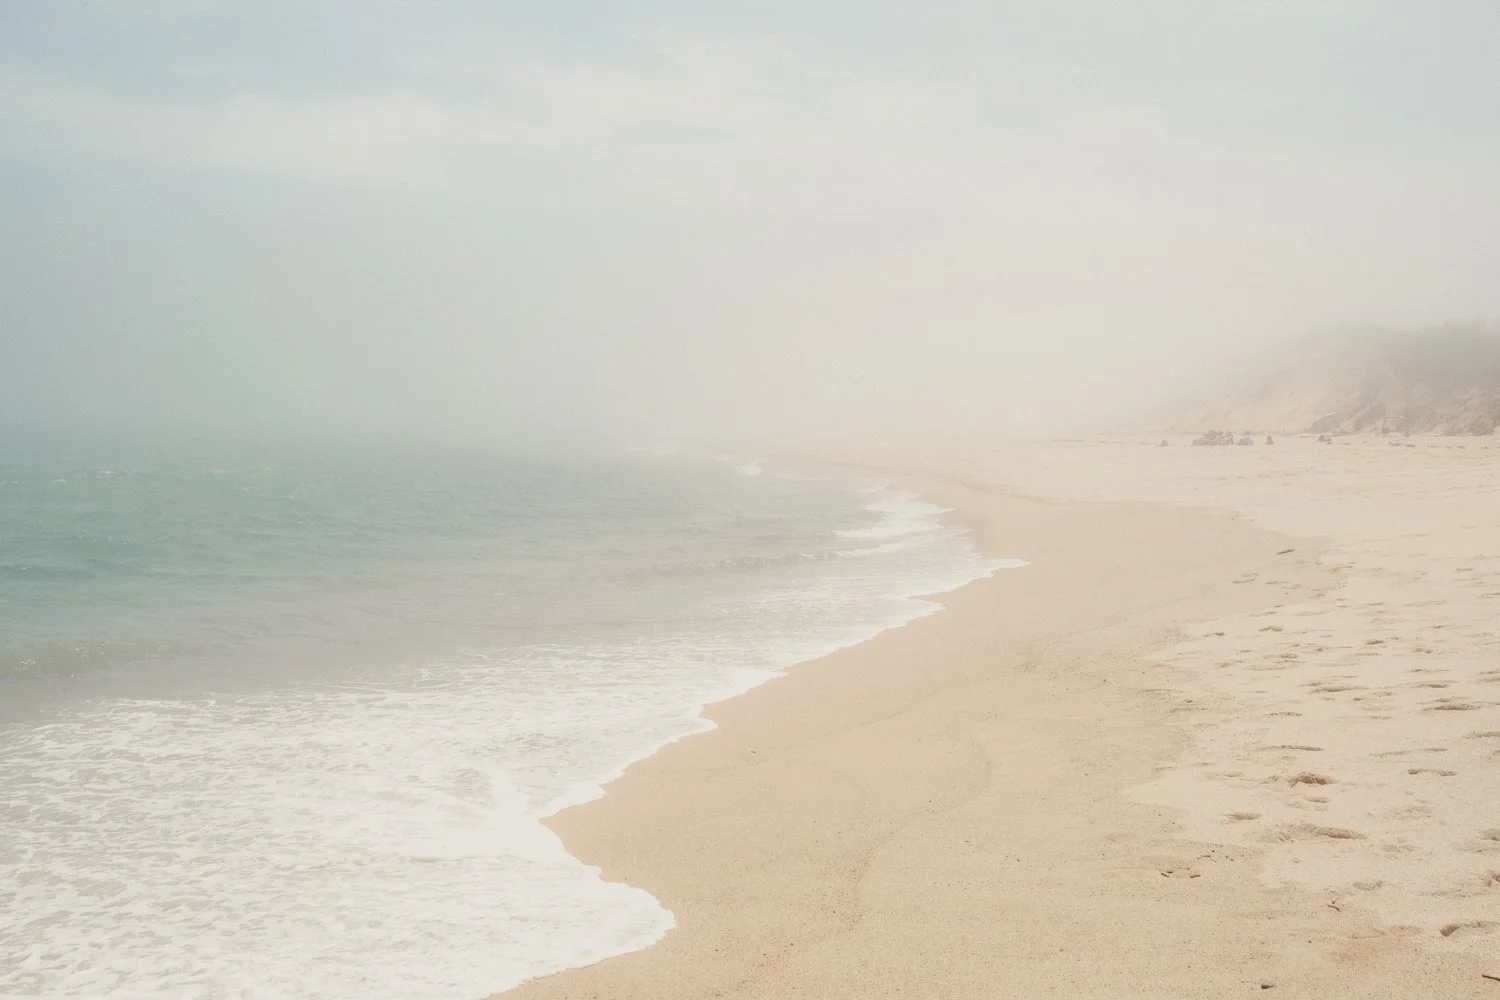
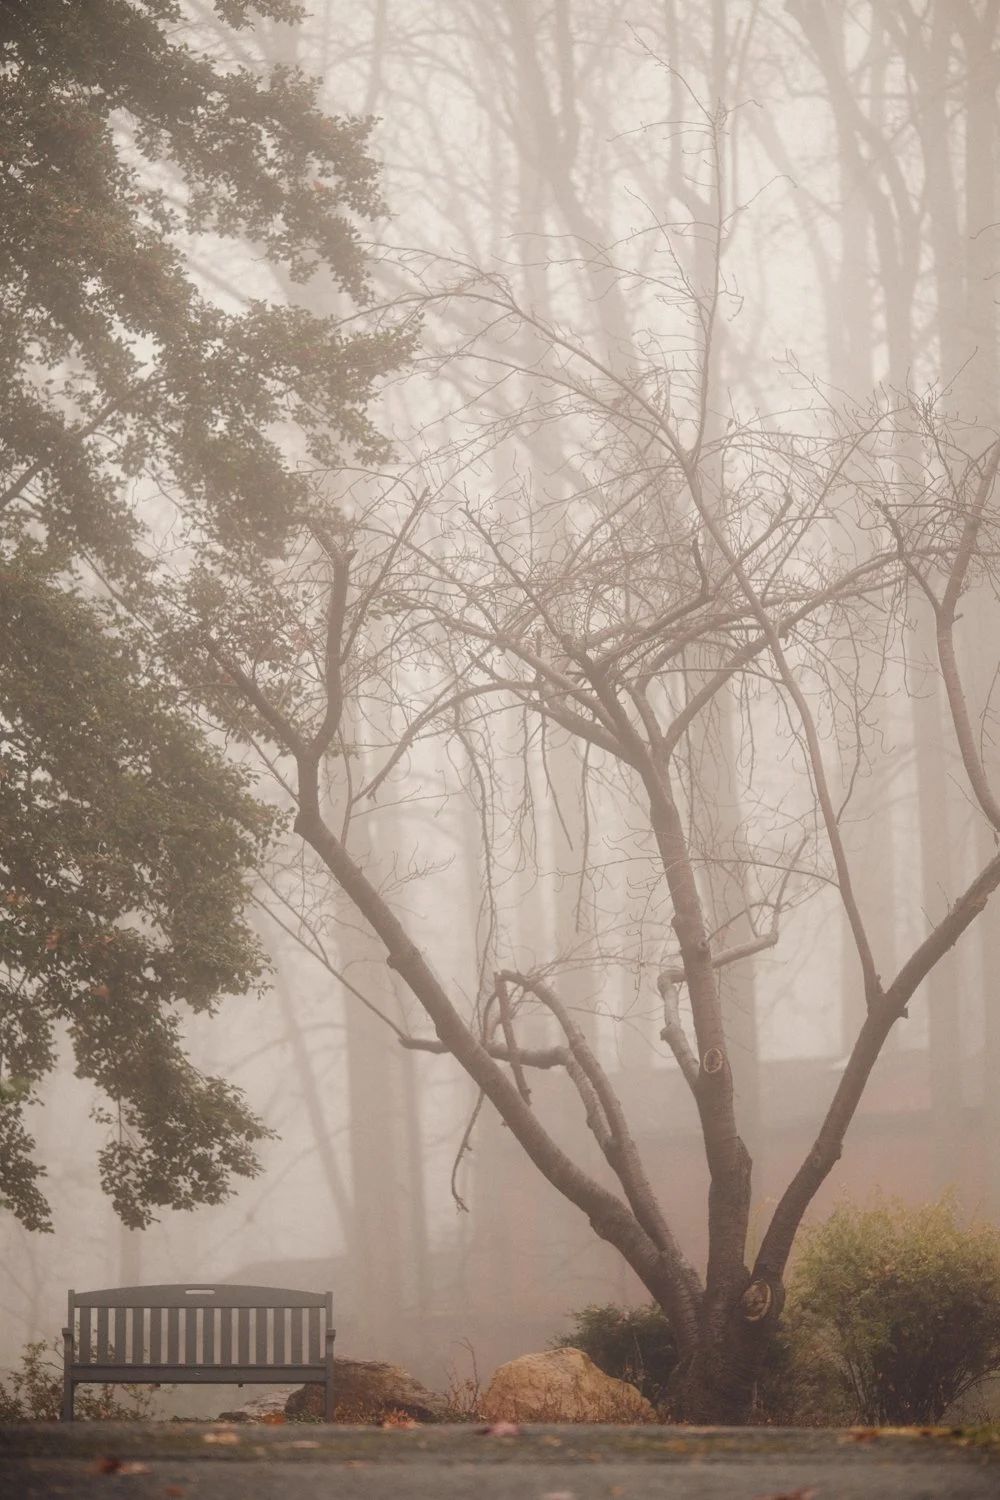
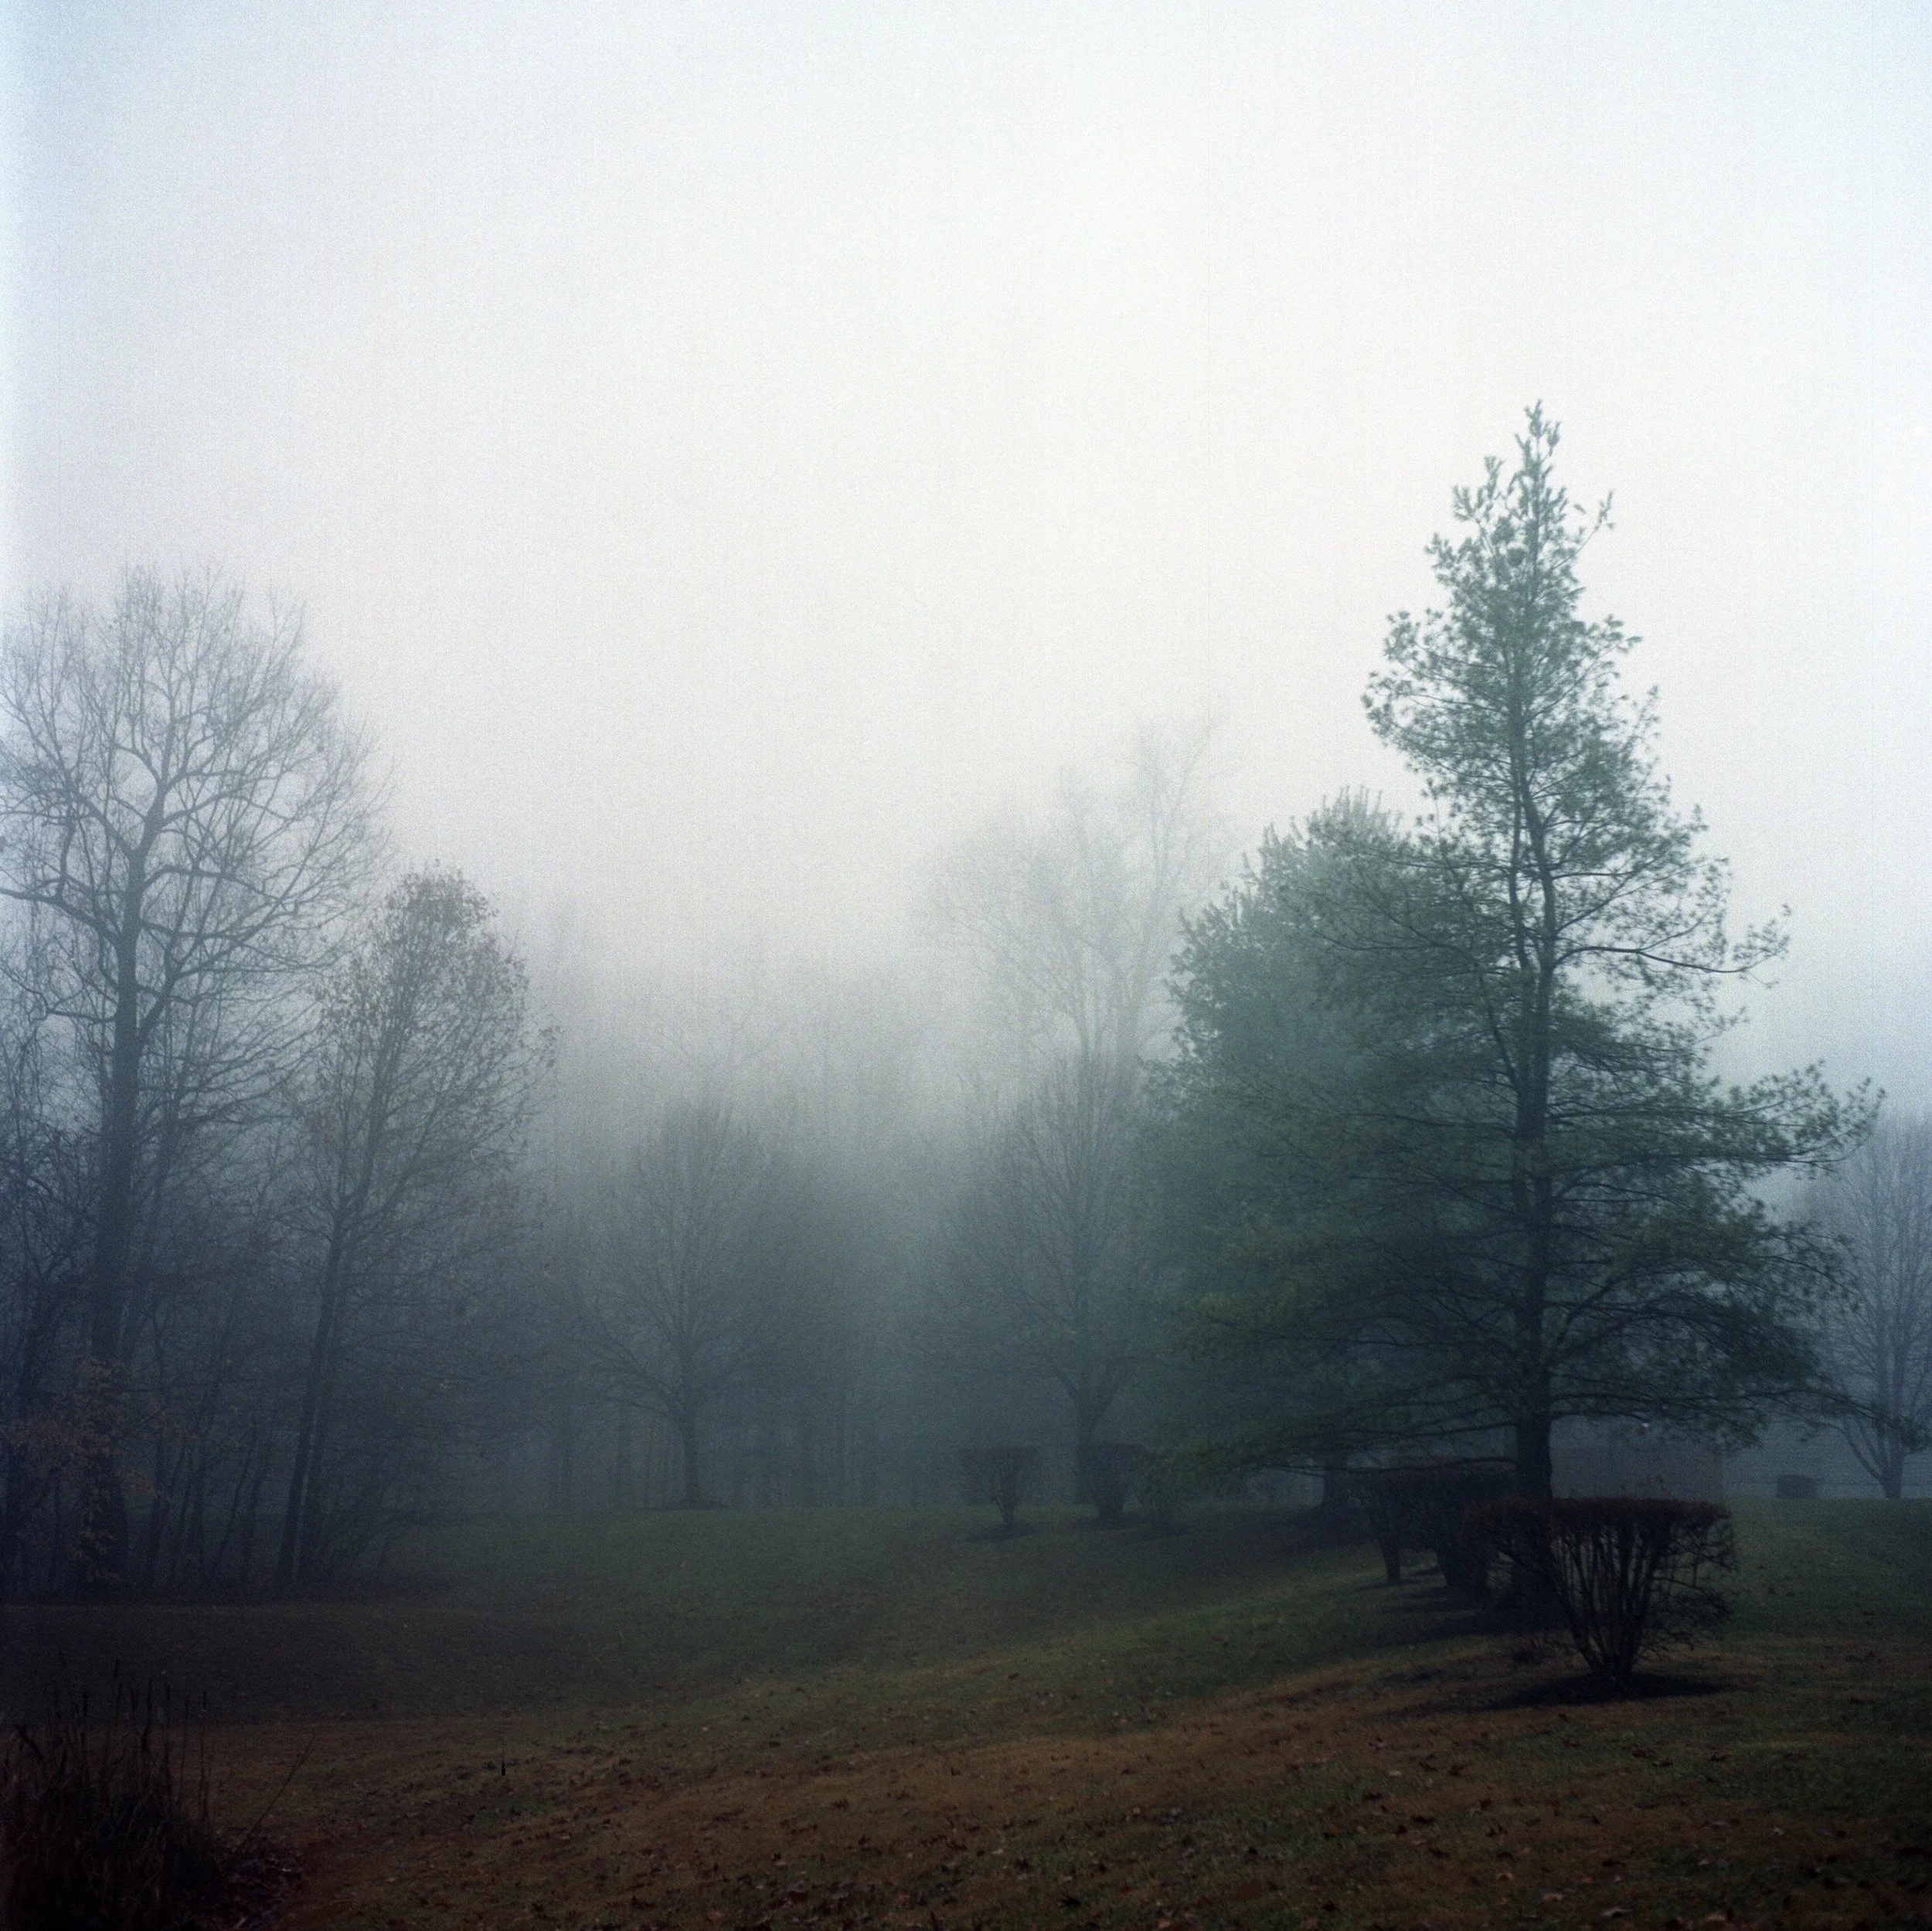
Sure, it isn’t always easy to know when the fog will hit, but you may live in an area where it tends to be foggy during certain seasons. So, when it does get foggy, get out there!
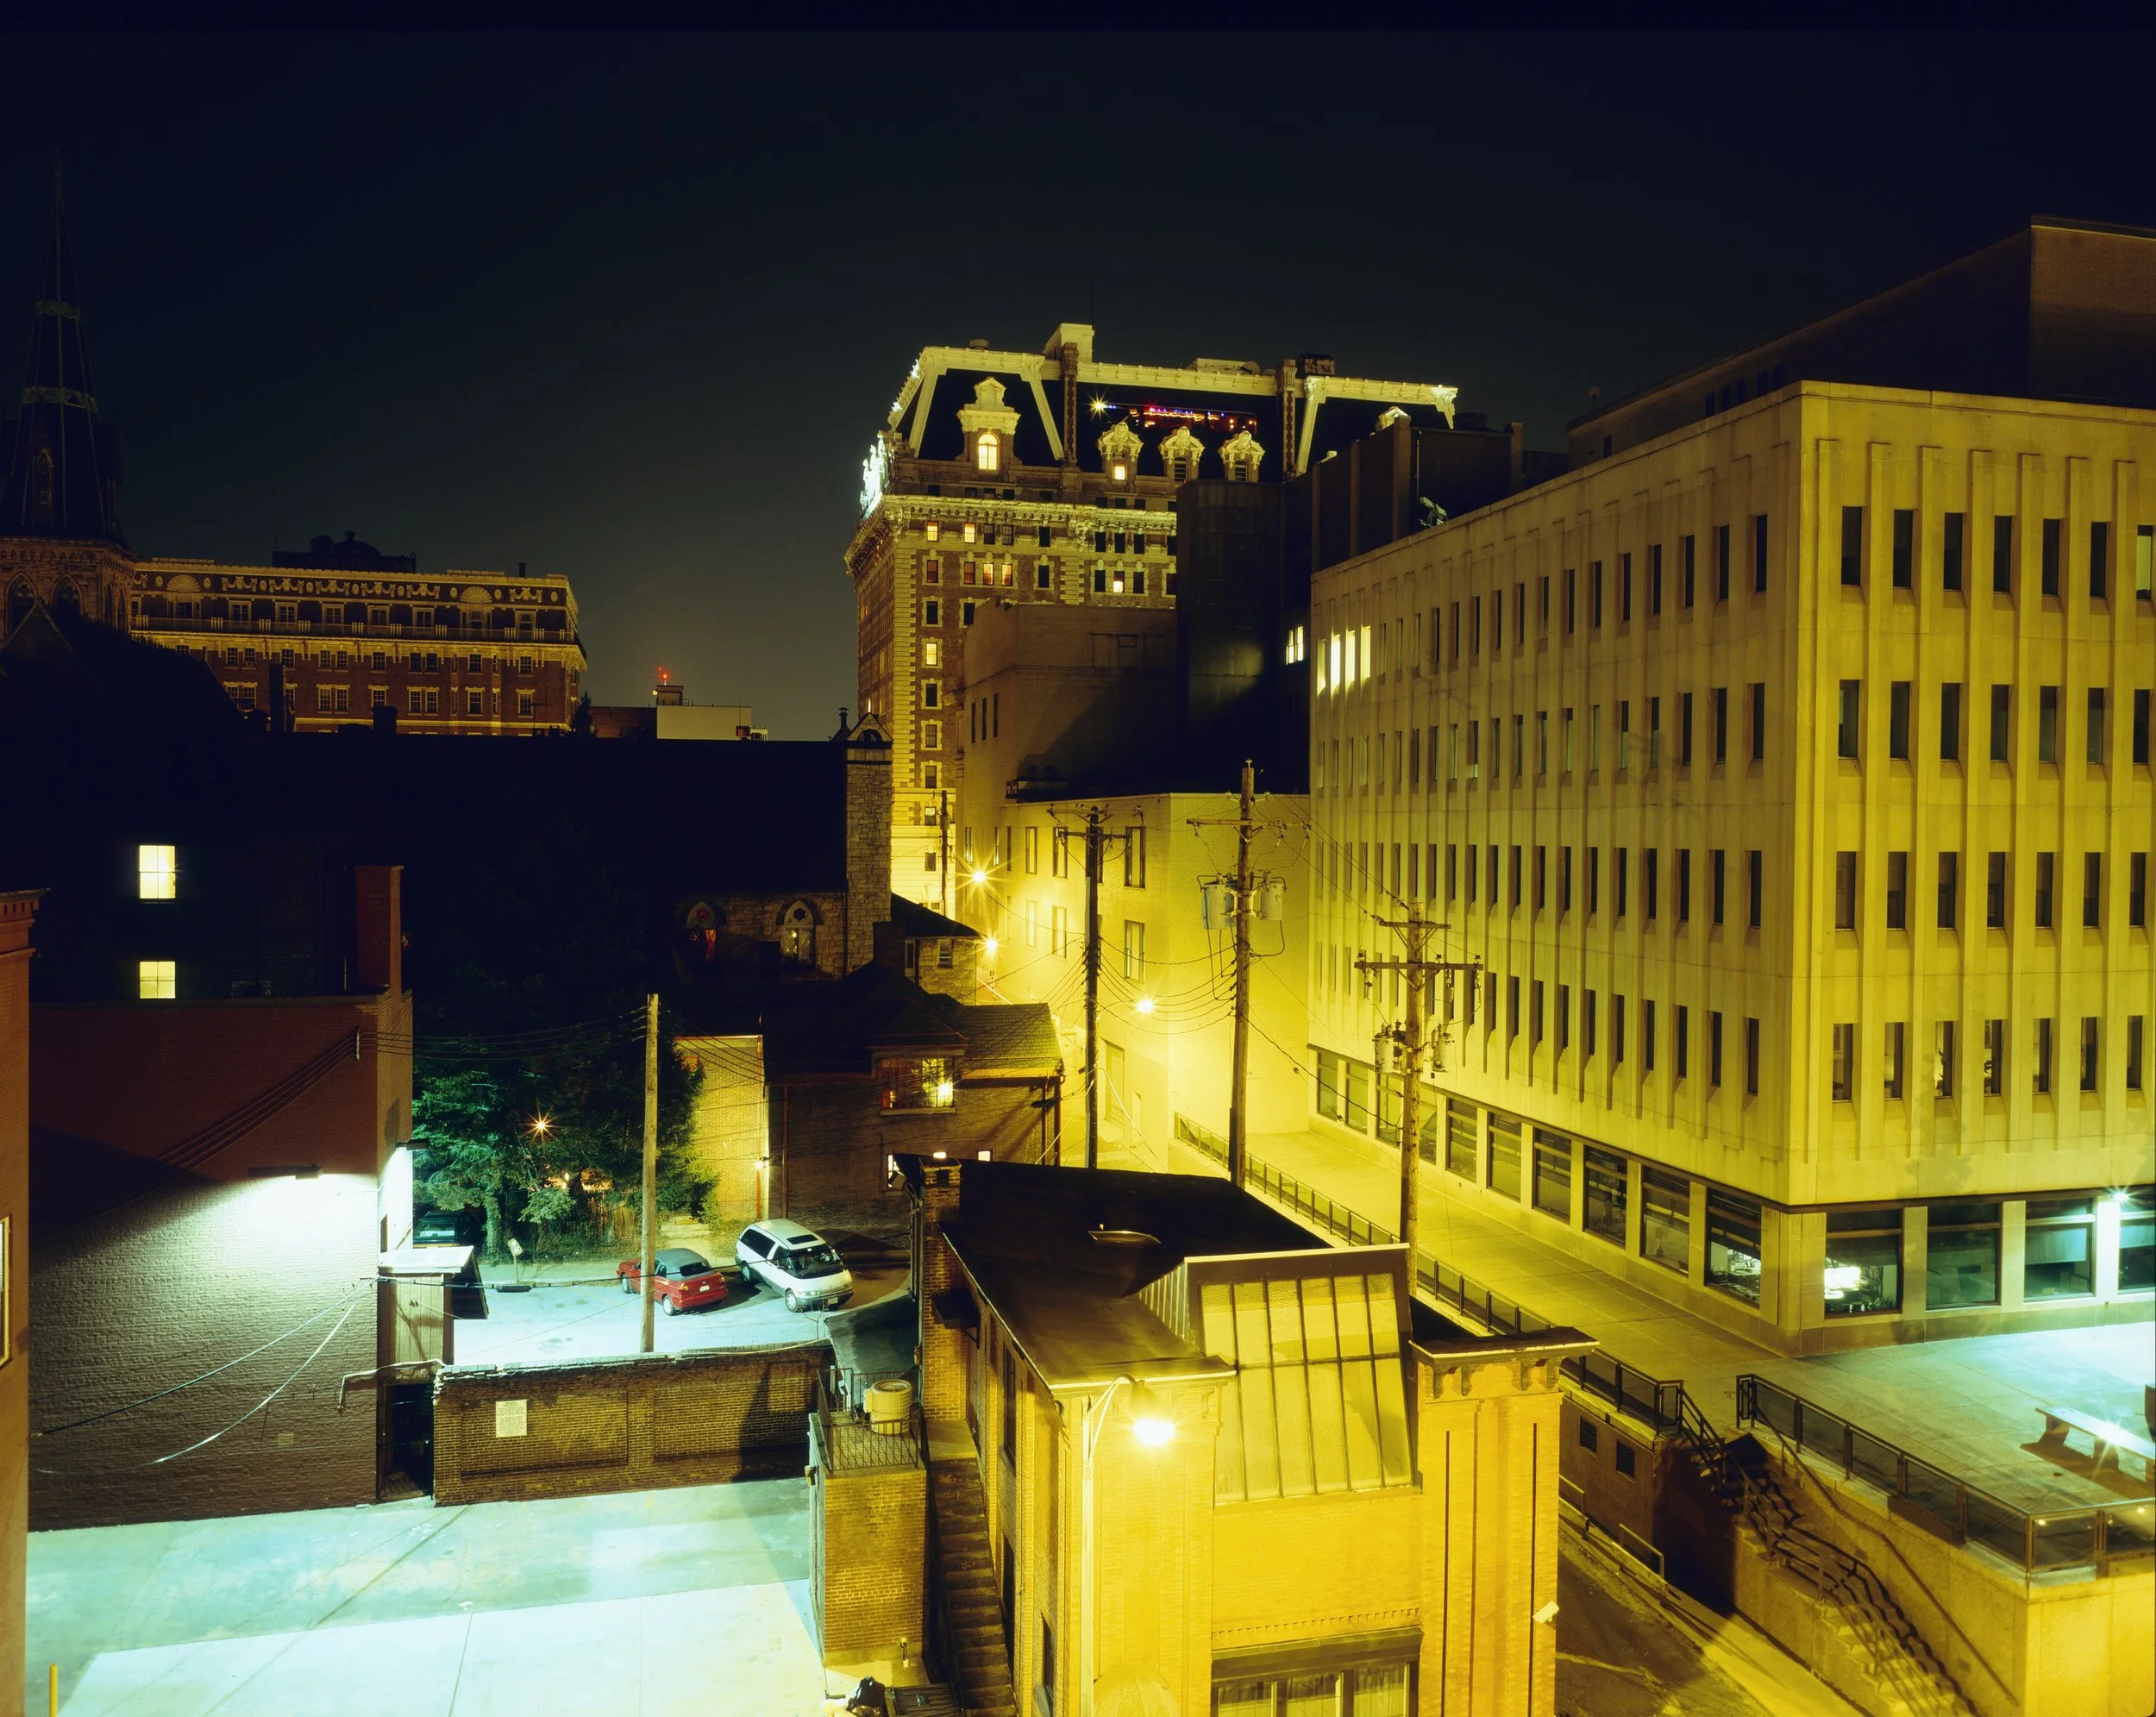
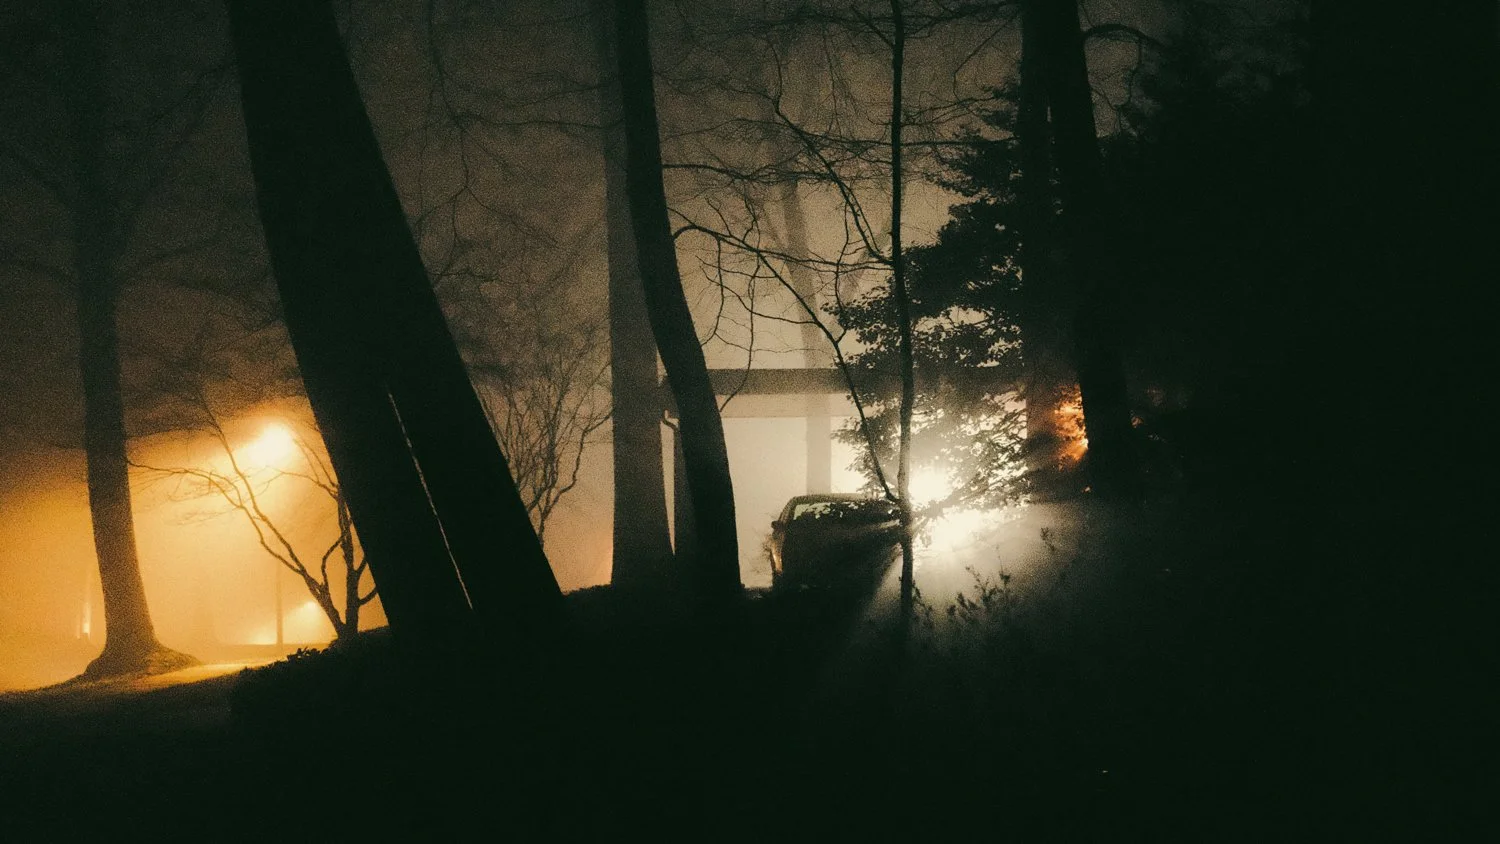
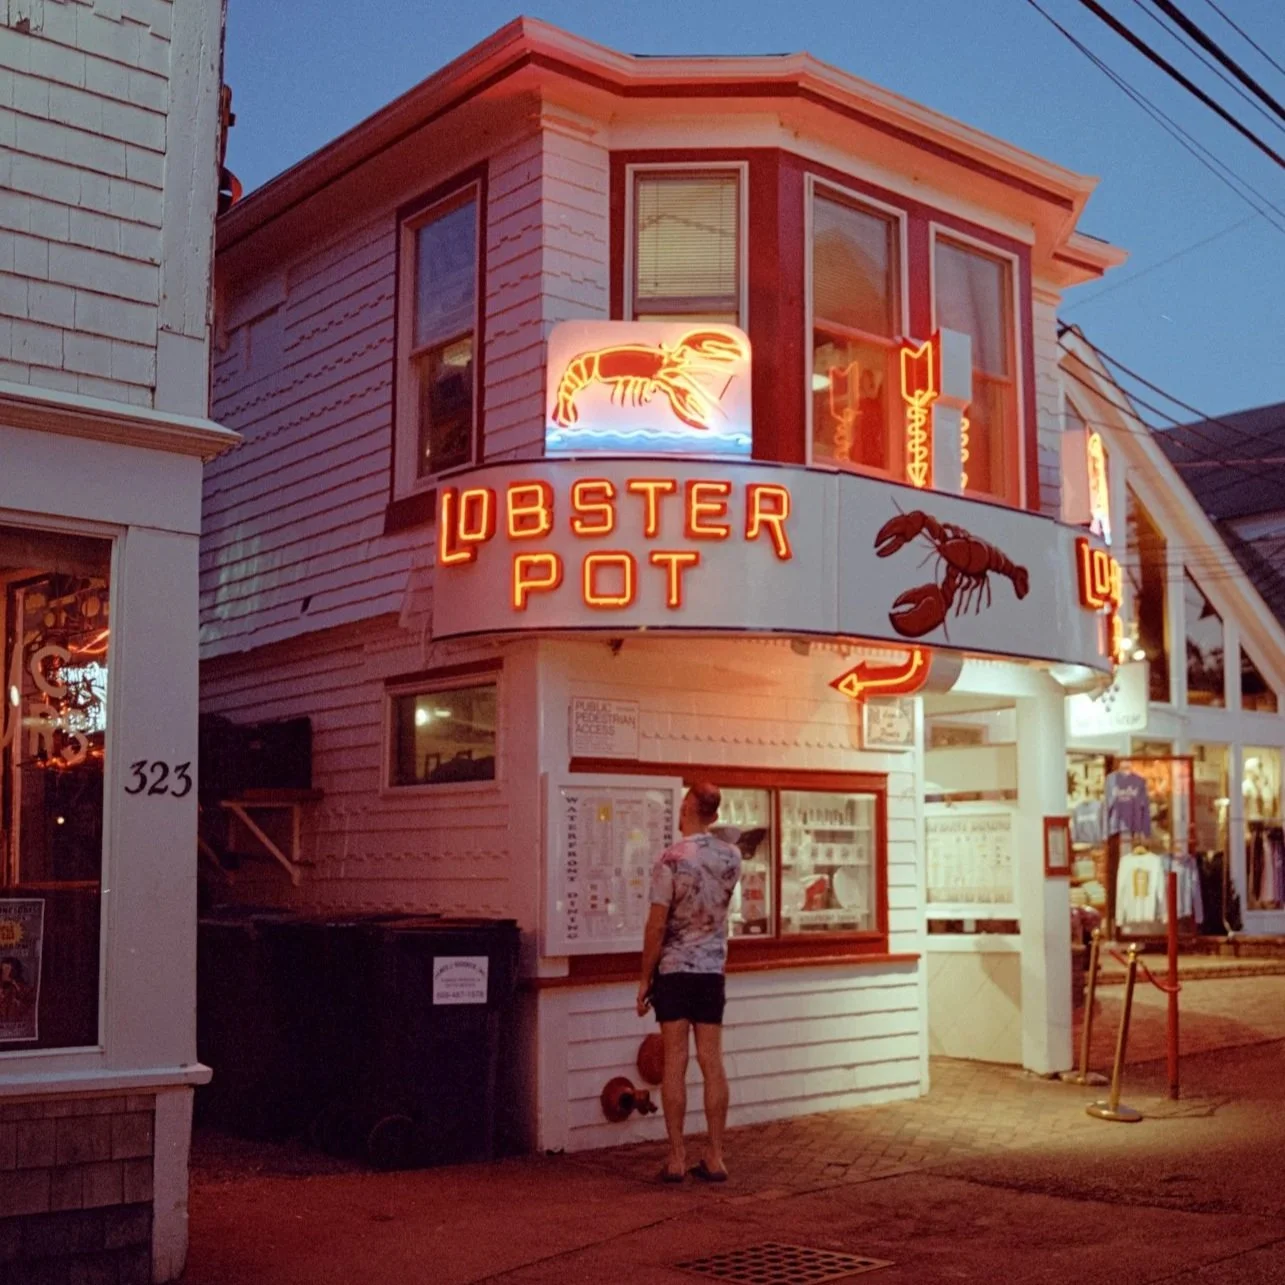
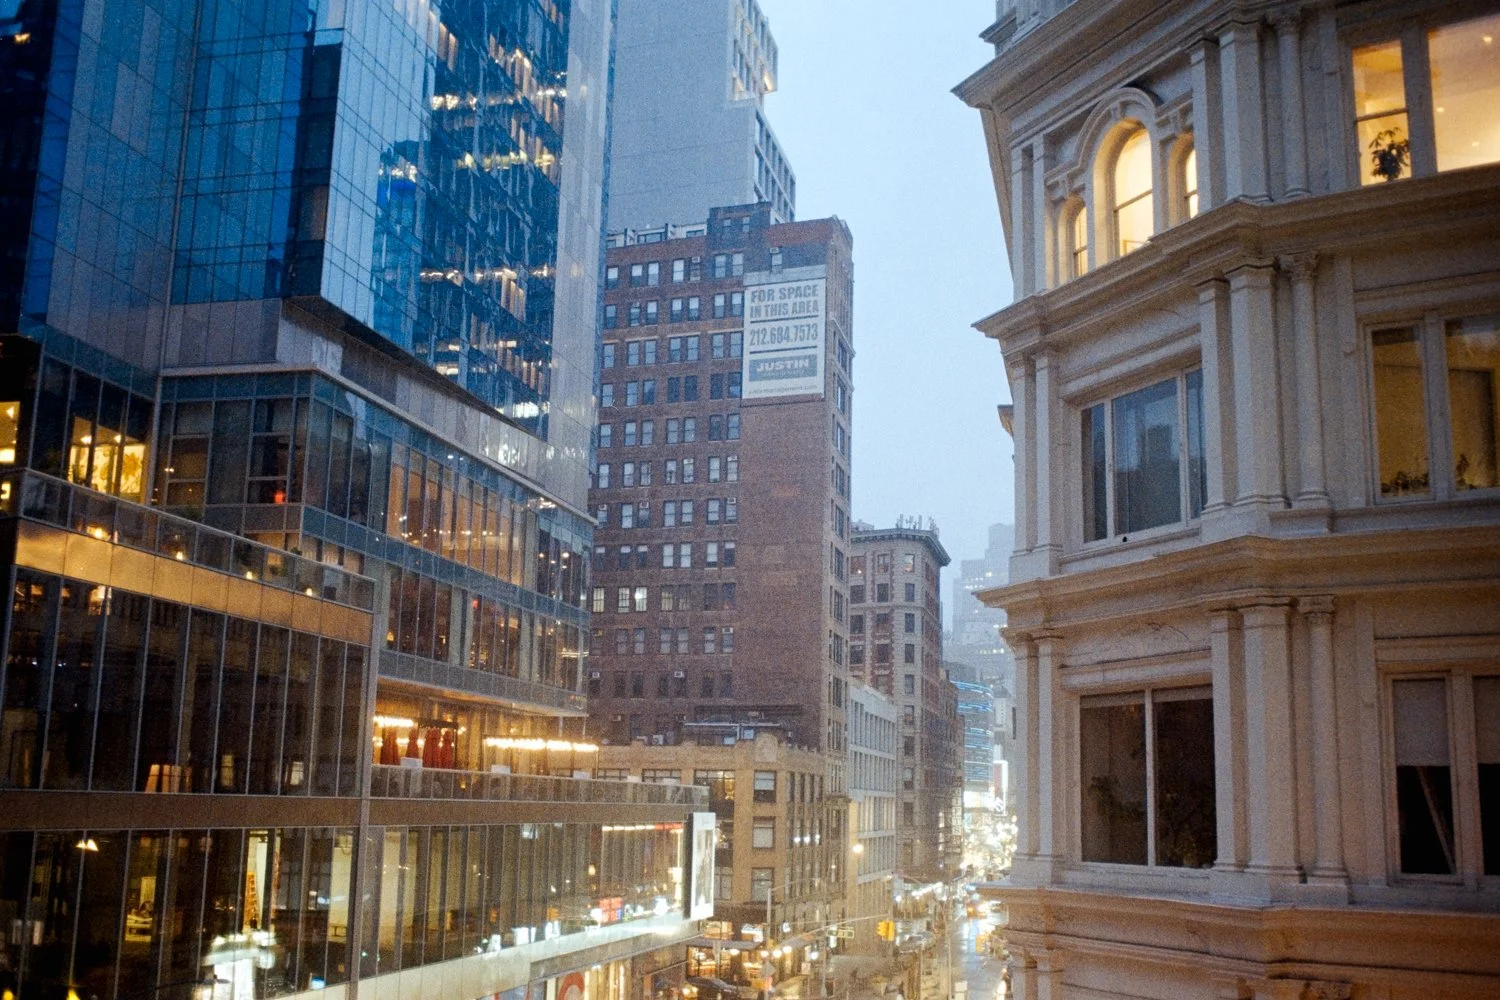
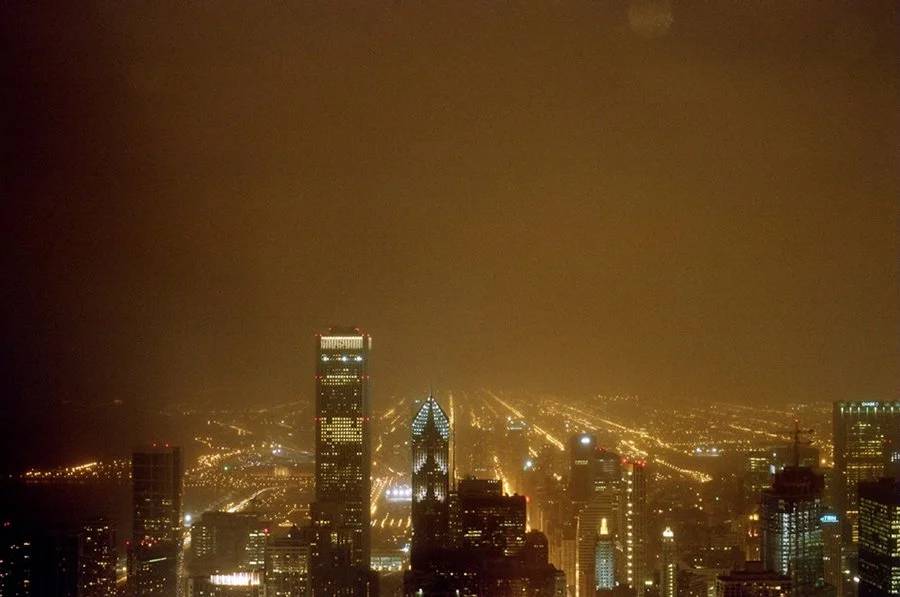
Evening & Night
No tripod? No problem! If you are shooting film, you’ll need at least an 800 speed film. If you’re shooting digital, don’t be afraid to push that ISO up, up, up! You don’t need a stupidly fast lens, either. Sure, everyone will tell you that you have to have f/1.4 or you won’t get a single good shot. Well, guess what? That’s just silly. Of course, it can help I suppose, but if you’ve shot wide open at f/1.8 or f/1.4, you’ll know how easy it is to miss focus, even with autofocus, let along manual focus. If you want proof you can get away with a slow lens in low light, the first photo below of the Lobster Pot was taken with my Hasselblad and the CF 60mm f3.5 on Portra 800. And I even cropped in some on the frame! I did use the Hasselblad’s mirror-up function, so I did my best to remember the composition and keep the camera as still as possible, et voilà!
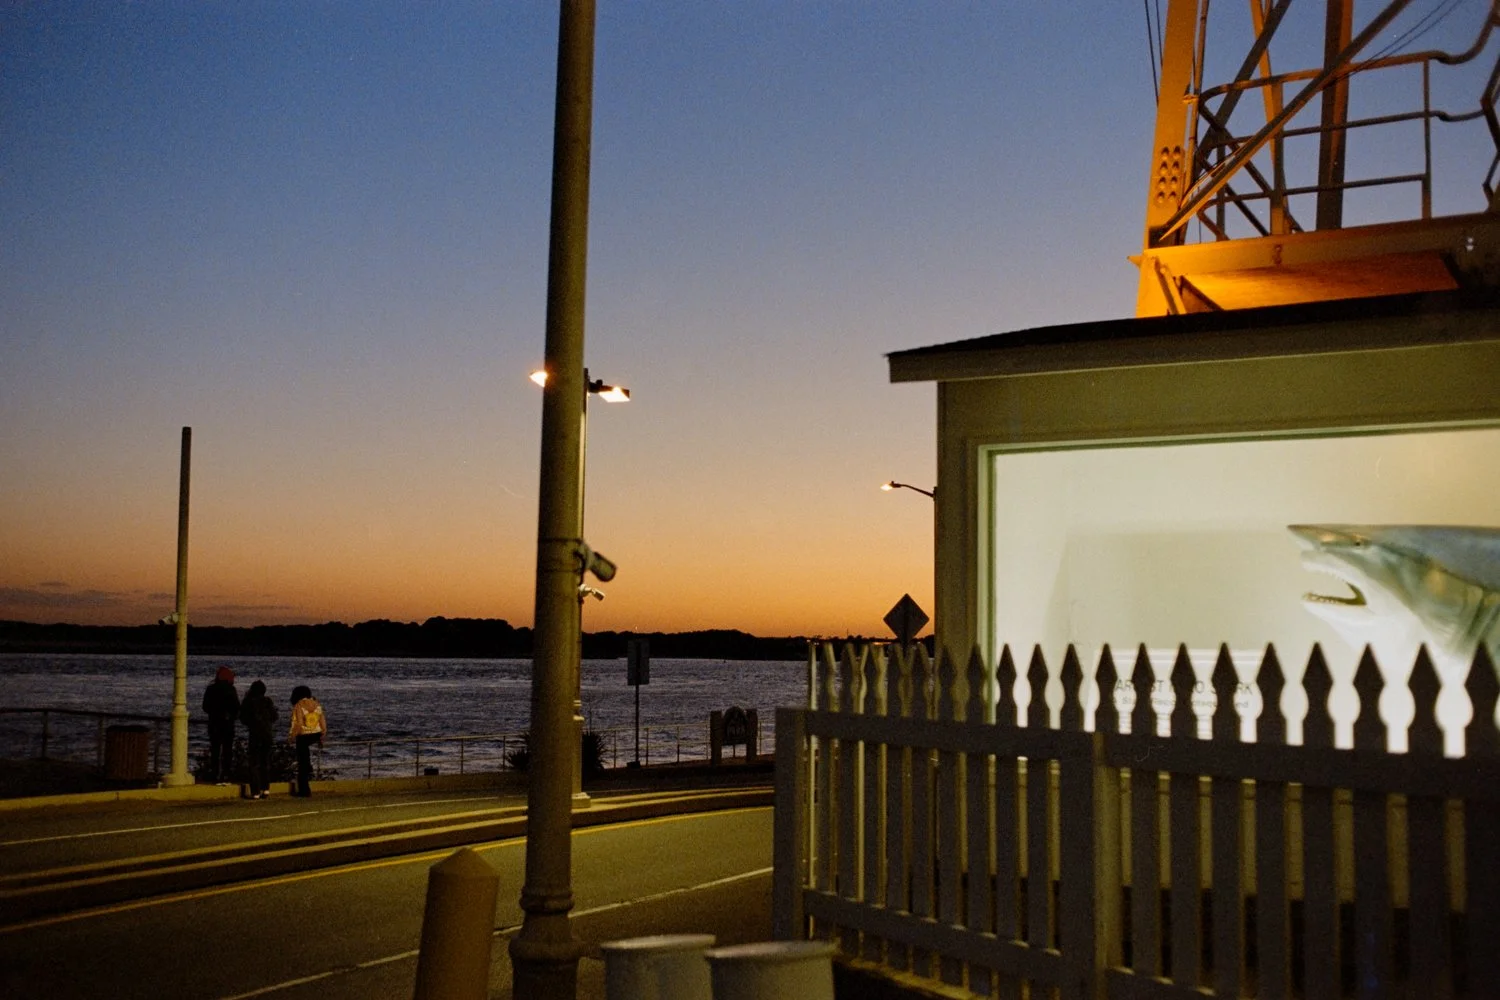
What you need to focus on is the minimum shutter speed you can get away with based on the focal length you are shooting with. Typically, you’ll have heard that 1/60th is the minimum shutter speed you can get away with while shooting handheld. That’s because this rule comes from the days of film when most 35mm cameras came with a 50mm lens, but there’s more to it.
So, let’s say you go out shooting and your lens is a 28mm f/2.8. You can comfortably shoot at 1/30th without worrying about camera shake, maybe even 1/15th. If you are shooting with a rangefinder, you can comfortably get down to 1/15th, or even 1/8th if you’re real good at staying still. This is because the camera has no mirror. Mirrors slap up and down, which can cause the camera to shake. If you are shooting with an SLR and it has mirror lock-up, you can try using that, just remember that means you won’t be able to see anything through the viewfinder. If you can set the mirror up while you are holding the camera to your eye, it isn’t too hard to get the composition you planned
If you use a strap to carry your camera, there are ways of wrapping the strap around your arm, tucking in your elbows, and pressing the camera against your forehead that will stabilize the camera, allowing you to shoot at slower speeds. You can also put your camera down on a stable surface. Try using the self-timer, or you can pair the slower speeds with motion blur techniques and really get some interesting and creative photography. The two photos were made by setting the camera down on the dashboard while in the passenger seat of a car, holding the camera as steady as I could while the car moved and I pressed the shutter button. Pretty fun results!
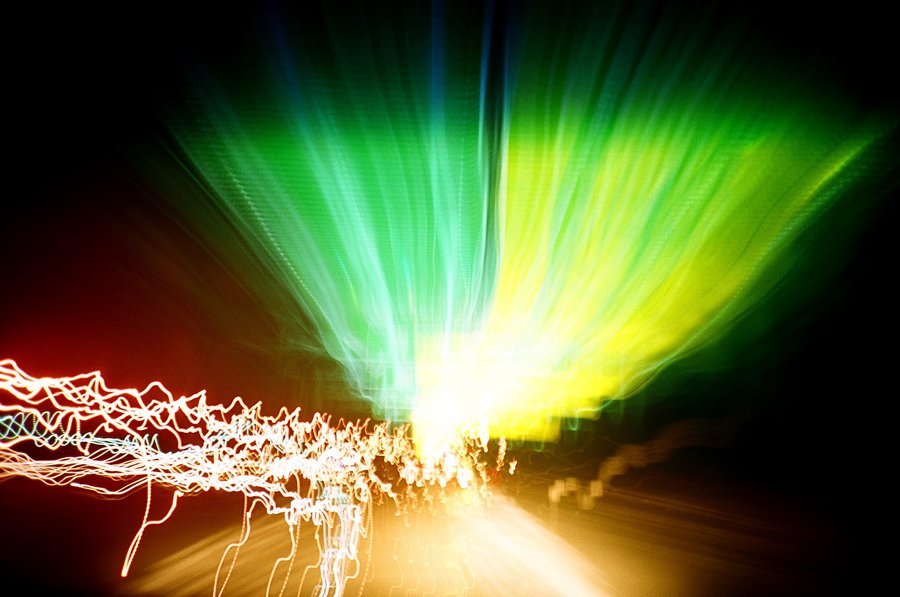
LOMO LC-A, Fuji Superia 200
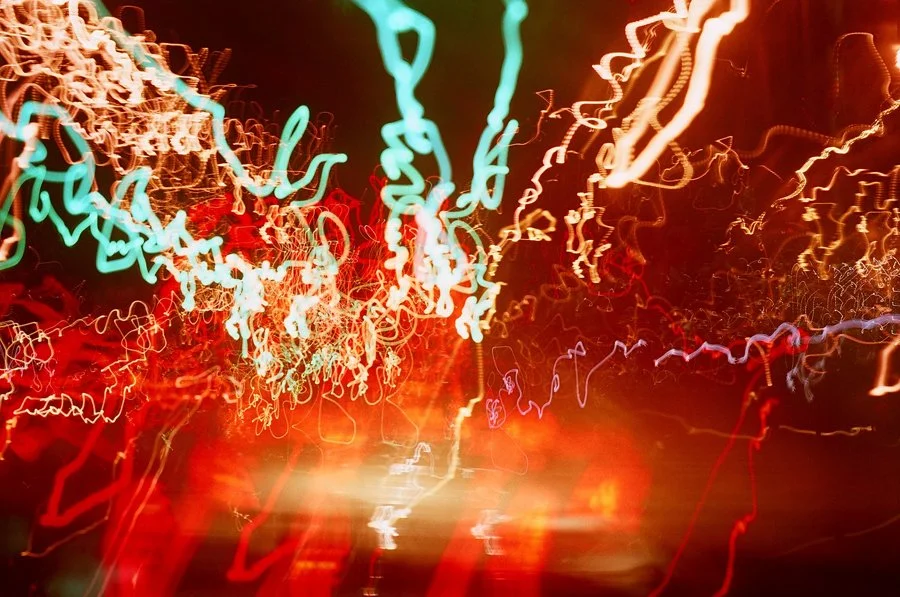
Olympus OM-1, Fuji Superia 200
The more ambient light in the scene will obviously push up your shutter speed and that’s a good thing. So, if you stick to reasonably lit areas at night, you should be able to get some good results. Again, there’s so much potential with photos taken at night with a lot of ambient artificial lighting. Portraits can be a lot of fun. Street photography in busy areas would be fun, especially if you introduce flash. You can then experiment with freezing subjects with the flash, but get motion blur in the background because of the slower sink speeds, at least if you are shooting with a film camera.
Let’s wrap this up!
None of this is revolutionary. It isn’t going to change your photography overnight. It may even make you feel like you are going backwards. But that is the way of progress. One step forward, two steps backward. Rinse and repeat. Hopefully, it will open up your creativity and start pushing you out of your comfort zone. If you are uncomfortable, that’s good. It means this is new and it is challenging. Accept the challenge, fail some, learn some, and come out on the other side having grown. Sounds good to me!
Light is so important for photography, but that doesn’t mean only certain light. Anytime is the right time to photograph and the best light is the light available to you. Get out there and take photos because the more you shoot, the better you get. The more situations you shoot in, the more well-rounded of a photographer you will be. And who knows, you might find a style of photography that really speaks to you along the way.
Feel free to share some of your results if you get some you are proud of, or you want some feedback.
Until next time,
Ryan